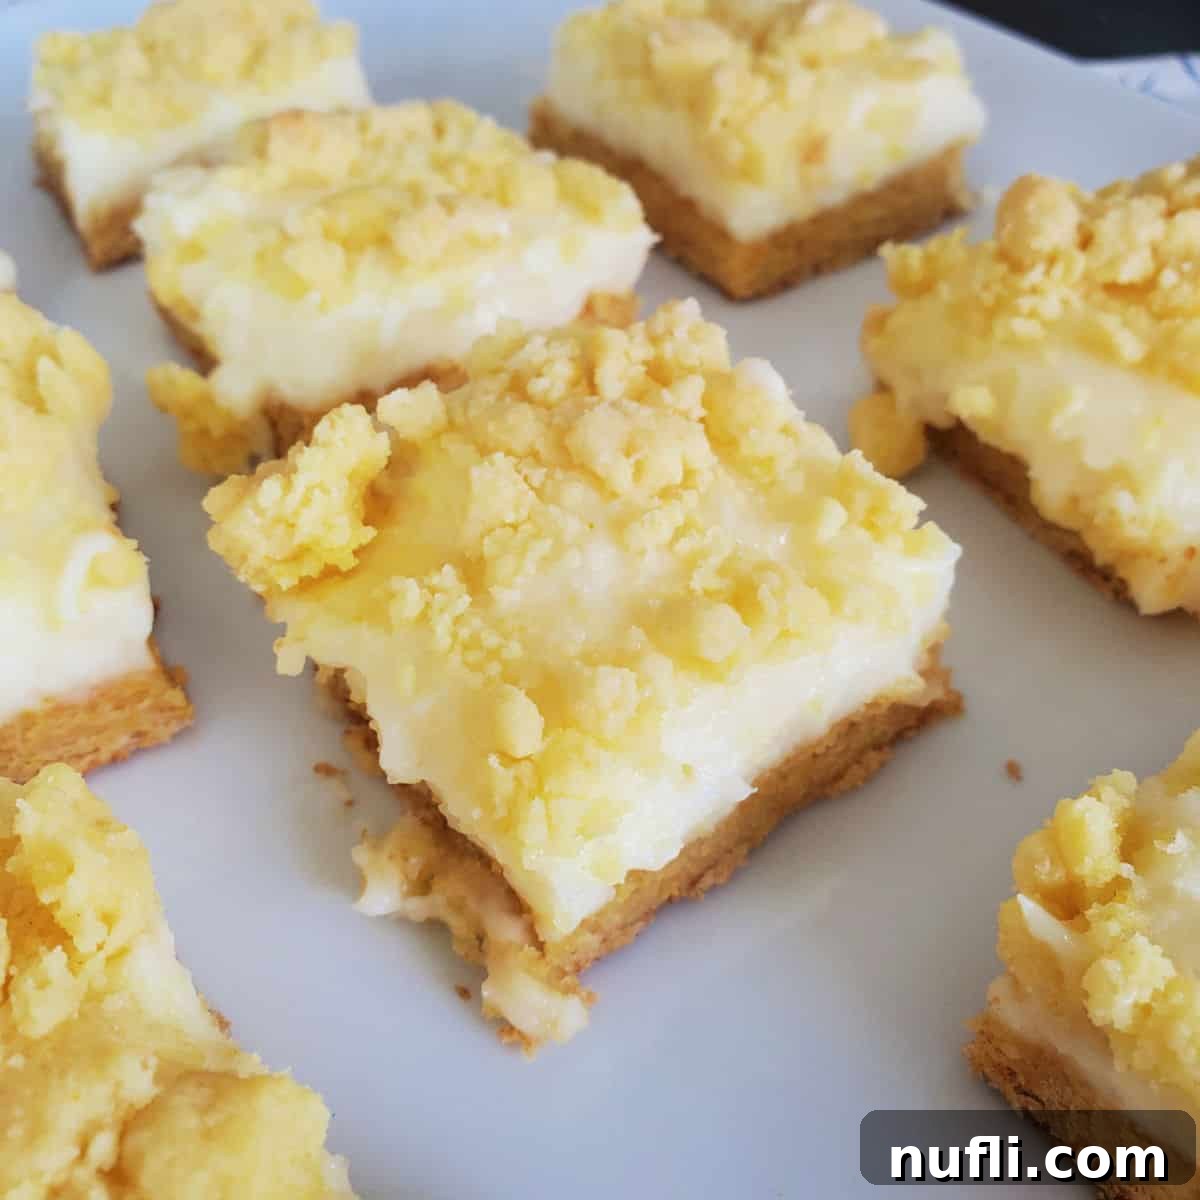
Indulge in the vibrant flavors of summer with these incredibly Easy Lemon Cheesecake Bars, a dessert so simple yet so satisfying, it will quickly become a cherished recipe in your kitchen. Crafted with the convenience of a boxed cake mix, this delightful treat proves that extraordinary taste doesn’t require hours of complicated baking. Prepare to be amazed by how effortlessly you can create a dessert that tastes like it came straight from a gourmet bakery, offering the perfect blend of tangy lemon and creamy cheesecake, all nestled atop a tender, crumbly crust.
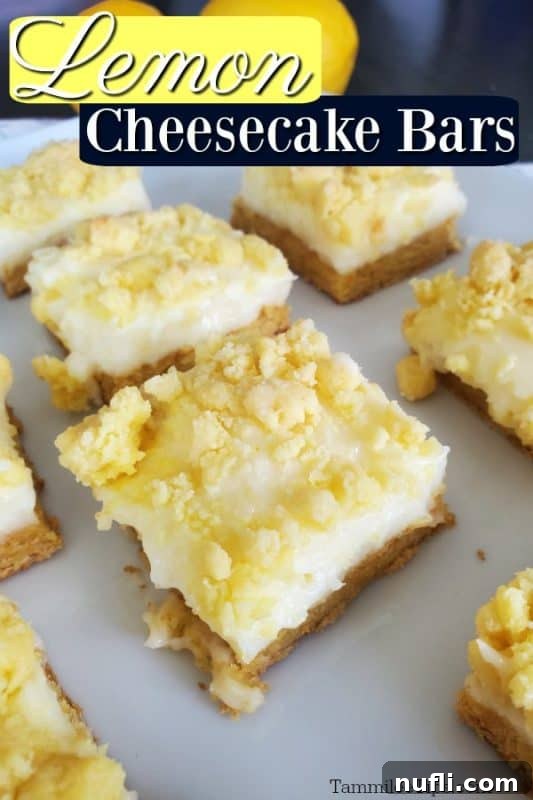
Effortless Elegance: Easy Lemon Cheesecake Bars
There’s something inherently cheerful about lemon desserts, and these cheesecake bars are no exception. They bring a burst of sunshine to any occasion, making them a favorite for gatherings, potlucks, or simply a sweet everyday indulgence. My mother-in-law, for instance, has an undeniable passion for all things lemon. It’s a joy to whip up a fresh batch of these bars, knowing they’ll bring a smile to her face and to my husband’s 93-year-old grandmother, especially during times when bringing homemade food feels more meaningful than ever. Baking and cooking for loved ones has become a wonderful creative outlet, pushing me to explore new flavors and simplify classic recipes to fit a busy lifestyle.
While our website is brimming with a variety of lemon recipes, it’s surprising that these particular Easy Lemon Cheesecake Bars haven’t been shared until now. Their simplicity is truly their superpower, fitting perfectly with our philosophy of making delicious baking accessible to everyone. If you’re a long-time follower of our culinary adventures, you’ll know that we’re huge proponents of using convenient ingredients like cake mixes to streamline the baking process without compromising on flavor or quality. This recipe embodies that spirit, transforming a simple box of lemon cake mix into a sophisticated dessert with minimal effort.
I distinctly remember the days of working long hours, coming home exhausted, and still wanting to create something wonderful in the kitchen. The desire to bake was there, but the energy to tackle complex, multi-step recipes often wasn’t. Weekends were a whirlwind of errands – laundry, meal prep, grocery shopping, and all the myriad tasks that fill our precious downtime. It was this realization that spurred me to adapt and develop recipes that cut out unnecessary steps, offering a shortcut to homemade goodness without sacrificing taste. These Lemon Cheesecake Bars are a testament to that journey, designed for anyone who craves homemade treats but needs a recipe that fits into a demanding schedule.
Key Ingredients for Zesty Perfection
Creating these delightful lemon cheesecake bars requires a handful of common ingredients, many of which you likely already have in your pantry or fridge. The magic truly lies in their combination and the smart use of a boxed cake mix to form the foundation of our crust and a delightful crumb topping. Here’s what you’ll need:
- Lemon Cake Mix: The star of our crust, providing a tender base and a hint of lemon flavor.
- Egg: Acts as a binder for the cake mix crust, giving it structure.
- Vegetable Oil: Adds moisture and richness to the crust, ensuring it’s perfectly tender.
- Cream Cheese: The heart of our creamy, tangy filling. Ensure it’s at room temperature for a smooth, lump-free mixture.
- Granulated Sugar: Balances the tartness of the lemon in the cheesecake layer, creating a harmonious sweet-tart profile.
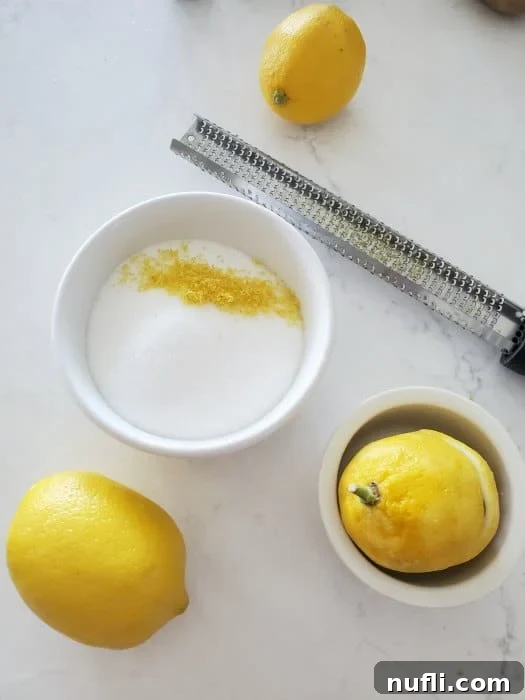
- Fresh Lemon Juice and Zest: The essence of lemon, providing an intense, bright flavor and aromatic lift to the cheesecake filling.
Expert Baking Tips for Flawless Lemon Cheesecake Bars
Achieving bakery-quality lemon cheesecake bars at home is easier than you think, especially with a few insider tips. These pointers will help ensure your bars turn out perfectly every time, from the golden crust to the smooth, creamy filling and clean, elegant slices.
The Power of Fresh Lemon
While convenience often calls for shortcuts, nothing quite compares to the bright, zesty flavor of fresh lemon juice. We highly recommend using freshly squeezed lemons for the most authentic and vibrant taste in your cheesecake filling. If fresh lemons are unavailable, bottled lemon juice can be an alternative, but proceed with caution. Bottled varieties can sometimes be more concentrated and potent, so start with half the recommended amount and gradually add more, tasting as you go, to achieve your desired level of tanginess. Don’t forget the zest! Lemon zest is packed with essential oils, delivering an intense citrus aroma and flavor that juice alone cannot provide. It truly elevates the entire dessert.
Choosing Your Baking Dish Wisely
For this recipe, an 8×8 inch baking dish is ideal. It yields bars with a perfect balance of crust and a generous, creamy cheesecake layer. If you opt for a larger 9×13 inch pan, be aware that your cake base and cheesecake layer will be significantly thinner. While still delicious, the texture and proportion will change. Should you choose the larger pan, remember to adjust your baking time accordingly – it will likely bake faster. Keep a close eye on it to prevent over-baking, checking for doneness often.
Preheating is Paramount
Always preheat your oven to 350 degrees Fahrenheit (175 degrees Celsius) before you even begin mixing ingredients. This ensures the oven reaches and maintains the correct temperature, allowing your cheesecake bars to bake evenly and achieve the perfect texture from the start. A properly preheated oven is a fundamental step in successful baking.
Embracing the Crumbly Dough
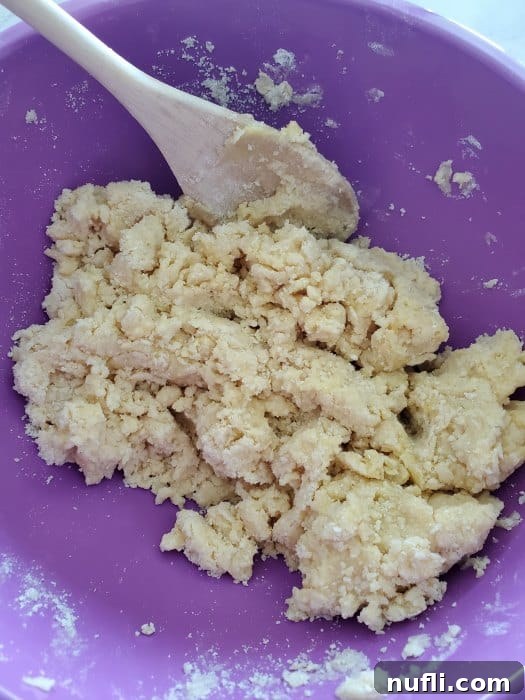
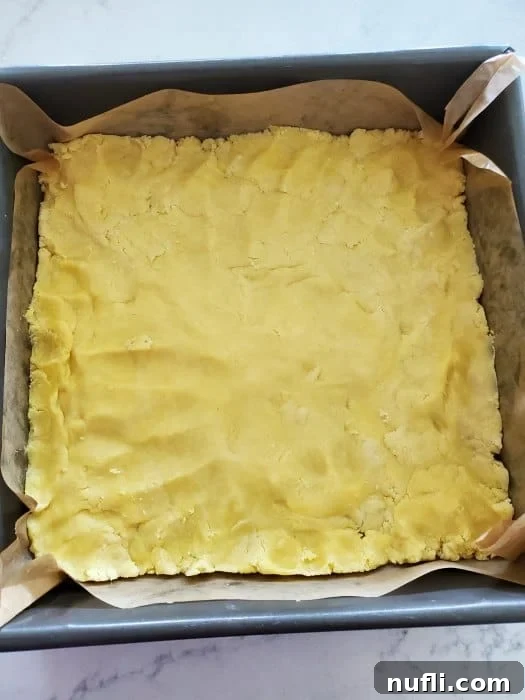
When you first mix the cake mix, egg, and vegetable oil, the resulting dough will appear quite crumbly. This is perfectly normal and exactly what you want for a tender, shortbread-like crust. Don’t be alarmed! It will come together beautifully when pressed into the baking pan. Use the back of a spoon or your fingers to firmly and evenly press the mixture across the bottom of the pan, creating a compact base for your cheesecake.
The Non-Stick Secret: Parchment Paper
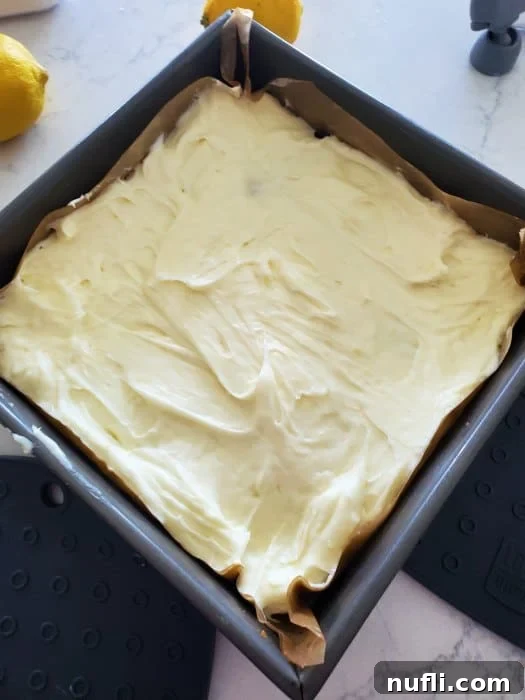
Lining your baking pan with parchment paper is a non-negotiable step for these bars. It acts as a sling, allowing you to easily lift the entire slab of baked cheesecake out of the pan once cooled. This prevents sticking and makes cutting clean, perfect squares a breeze. Make sure the parchment paper extends beyond the edges of the pan, creating “handles” that you can use to lift the bars out. This also ensures the creamy cheesecake filling doesn’t seep into the corners and stick.
The Art of Cooling
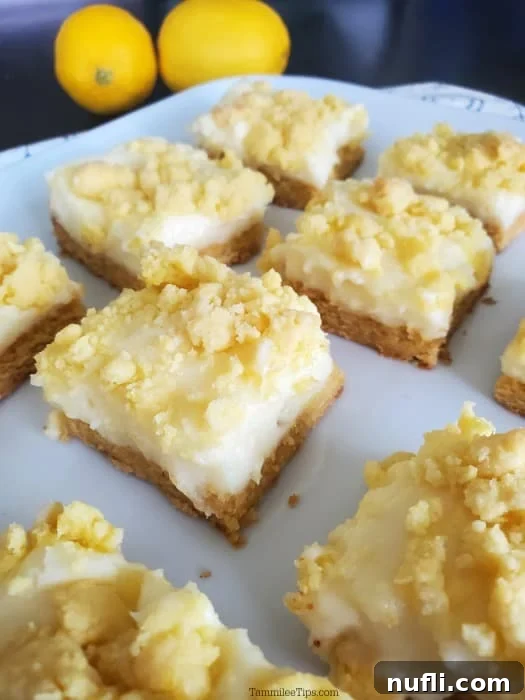
Patience is a virtue, especially when it comes to cheesecake. It is absolutely crucial to allow the lemon cheesecake layer to cool completely before attempting to cut the bars. This might be the hardest part of the recipe, but it’s essential for structural integrity. Cooling allows the cheesecake filling to fully set and firm up, ensuring that each bar holds its shape beautifully when served. Trying to cut them while warm will result in a messy, crumbling disaster. For best results, let them cool at room temperature for a couple of hours, then refrigerate for at least 2-3 hours, or even overnight, before slicing.
More Zesty Lemon Delights to Explore
If you’re a fan of the bright and refreshing taste of lemon, you’re in for a treat! We have an array of delightful lemon-infused recipes that are perfect for any occasion. From comforting cakes to sophisticated cookies and refreshing drinks, there’s a lemon creation for every craving. Don’t miss out on these fantastic recipes:
Lemon Blueberry Dump Cake: A super easy, fruity, and moist cake that bakes right in your slow cooker!
Lemon Jello Poke Cake: A light and airy cake infused with vibrant lemon jello, creating a refreshing dessert.
Lemon Dutch Baby: A puffy, impressive pancake-like dessert that’s elegant yet simple to make, especially with a squeeze of fresh lemon.
Lemon Drop Martini: A classic, perfectly balanced cocktail that’s tart, sweet, and wonderfully refreshing.
Lemon Butter Cookies: Delicate, melt-in-your-mouth cookies with a lovely hint of lemon, perfect for tea time.
Lemon Meringue Cookies: Light as air, chewy meringue cookies bursting with tangy lemon flavor.
Classic Lemon Dump Cake: Another incredibly easy dump cake variation, focusing purely on that bright lemon taste.
We truly hope you enjoy these tangy and delightful lemon cheesecake bars! This particular recipe has earned its place among our esteemed Cream Cheese Recipes collection, a testament to its irresistible flavor and texture. And for more inventive and time-saving dessert ideas, make sure to explore all of our epic cake mix recipes!
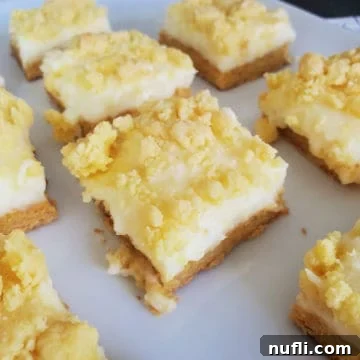
Lemon Cheesecake Bars Recipe
Print
Rate
15 minutes
45 minutes
1 hour
16
292
kcal
Tammilee Tips
Ingredients
-
15.25
oz
Lemon Cake Mix -
1
egg -
½
cup
Vegetable Oil -
16
oz
Cream Cheese
room temperature -
⅔
cup
White Sugar -
5
Tablespoon
Lemon Juice - Lemon Zest
Instructions
- Pre-heat oven to 350 degrees F (175 degrees C).
- In a large bowl, combine the lemon cake mix, egg, and vegetable oil. Mix until a crumbly dough forms.
- Reserve approximately ½ cup of this cake mix mixture for the crumb topping later.
- Line an 8×8 inch baking pan with parchment paper, leaving an overhang on the sides for easy removal. Press the remaining dough firmly and evenly into the bottom of the prepared pan.
- Bake the crust for 15 minutes at 350 degrees F (175 degrees C), until lightly golden.
- While the crust bakes, prepare the cheesecake filling: In a medium bowl, add the softened cream cheese, granulated sugar, lemon juice, and lemon zest.
- Using a hand mixer or stand mixer, beat the ingredients until the mixture is completely smooth and creamy, scraping down the sides of the bowl as needed.
- Evenly spread the cream cheese mixture over the warm, partially baked crust.
- Crumble the reserved ½ cup of cake mix mixture evenly over the top of the cream cheese layer.
- Bake for an additional 20-25 minutes, or until the cheesecake filling is set and the crumb topping is lightly golden. The center may still have a slight jiggle.
- Allow the bars to cool completely at room temperature, then refrigerate for at least 2-3 hours (or preferably overnight) before cutting into squares and serving. This ensures clean, firm slices.
Kitchen Tools
- 8×8 inch Baking Pan
- Large Mixing Bowl
- Hand Mixer (or Stand Mixer)
- Parchment Paper
Nutrition
Calories from Fat 162
Love this recipe?
Follow @TammileeTIps on Pinterest
Tried this recipe?
Mention @TammileeTipsLife when you share a photo!
