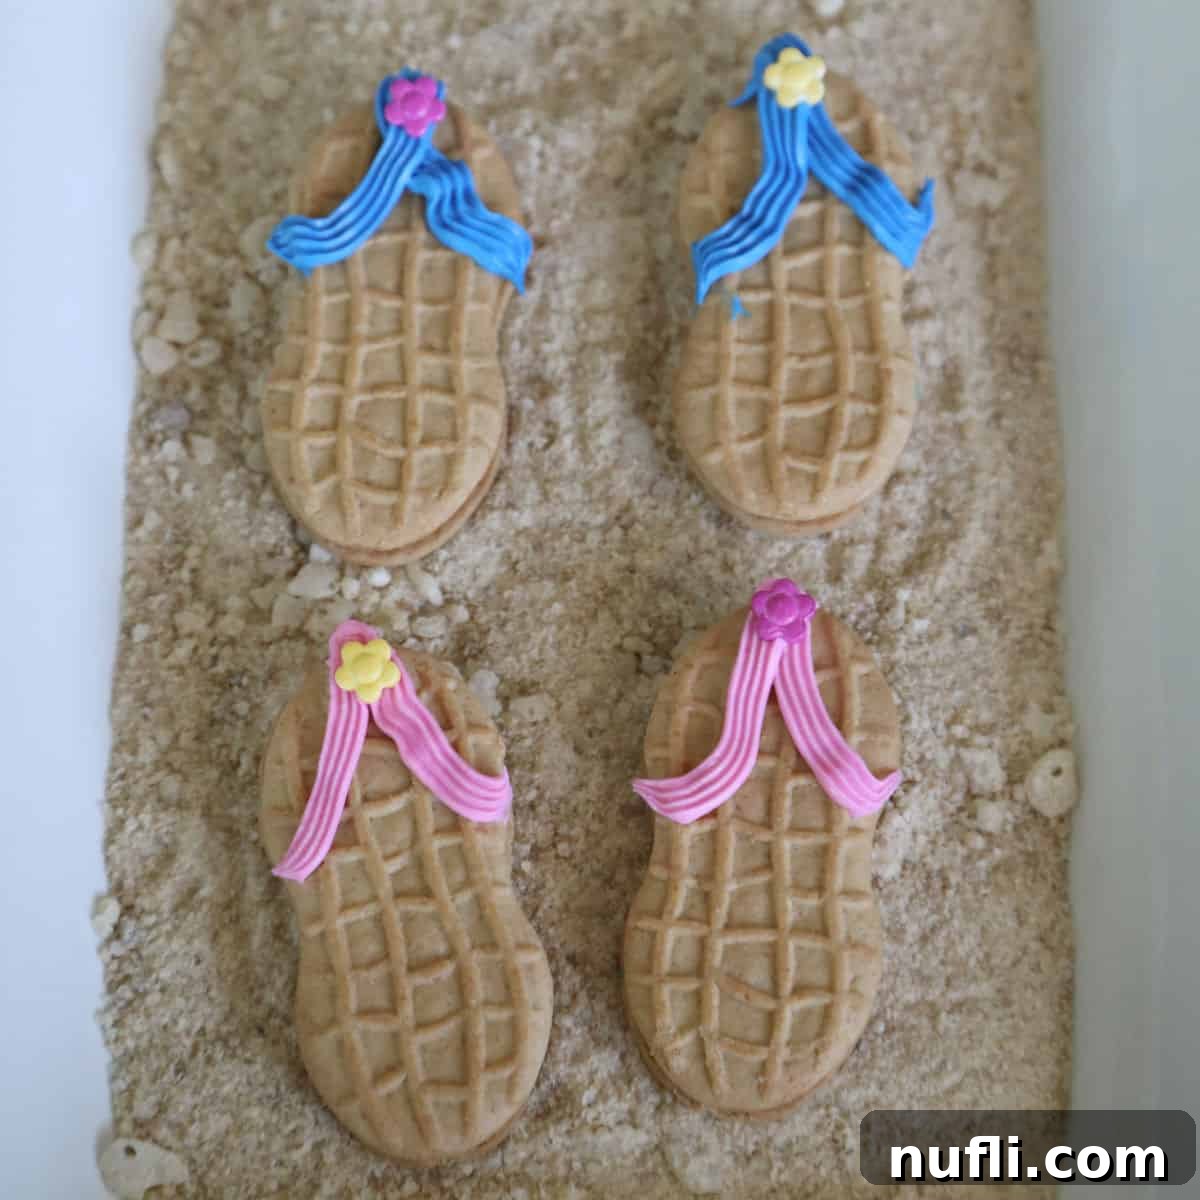
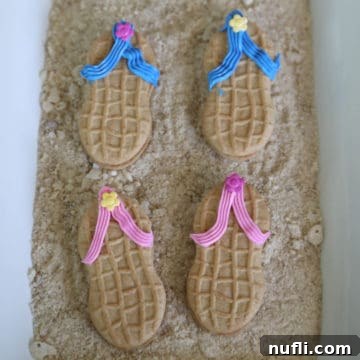
Get ready to make the most adorable and effortlessly charming summer treat! These delightful Flip Flop Nutter Butter cookies are my absolute favorite go-to for any warm-weather gathering, from lively beach parties and festive luaus to backyard barbecues or simply when a quick, cute, and easy dessert is needed. They are incredibly simple to assemble, and the final Nutter Butter Flip Flops always turn out irresistibly cute! What makes them even more special is the accompanying edible sand display. It’s truly entertaining to watch guests try to guess its secret ingredients – and I must confess, no one has ever guessed correctly!
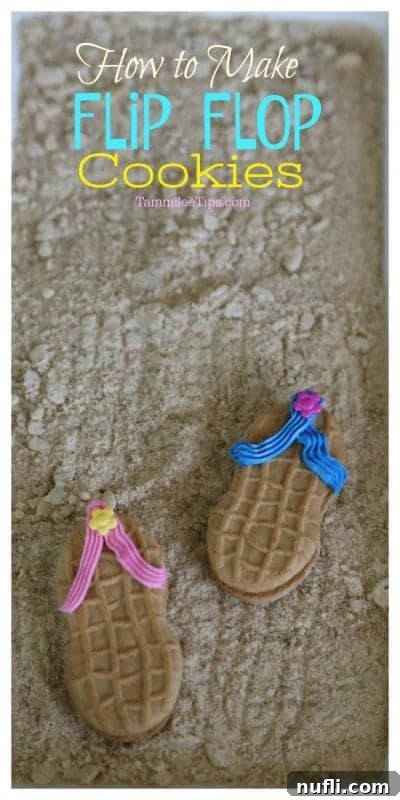
Crafting Adorable Flip Flop Nutter Butter Cookies for Your Next Event
These Flip Flop Nutter Butters are more than just a dessert; they’re a miniature edible vacation! Imagine the smiles these will bring to faces at your next poolside gathering or themed party. The classic peanut butter flavor of Nutter Butters provides the perfect base, making them a hit with both kids and adults. Plus, the no-bake aspect means less time in the kitchen and more time enjoying the summer fun!
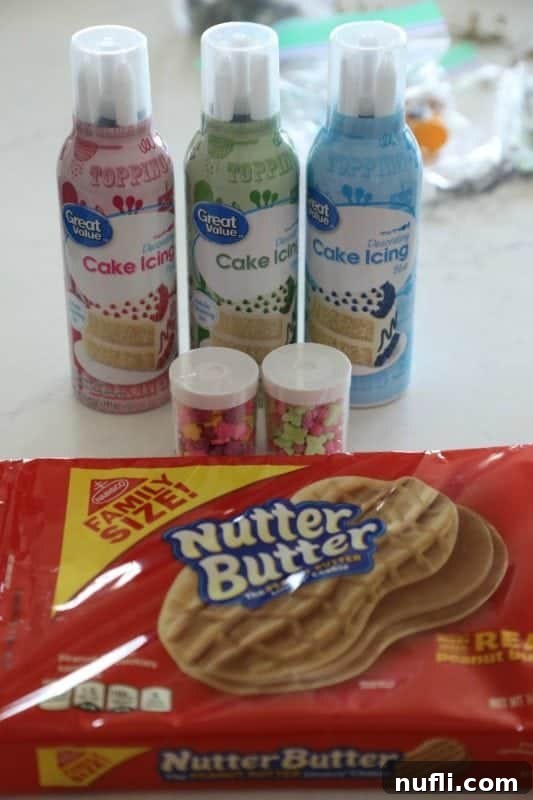
Essential Ingredients for Your Easy Nutter Butter Flip Flop Cookies
The beauty of this recipe lies in its simplicity. You only need a few readily available items to transform ordinary cookies into extraordinary summer delights:
- Nutter Butters: The star of our show! Their iconic shape and delicious peanut butter filling are perfect for our flip-flop base. One package will yield many adorable cookies.
- Cans of Cupcake Icing: For ultimate convenience, pre-filled cupcake icing canisters with various tips are ideal. Choose bright, summery colors to make your flip-flops pop! Think blues, greens, pinks, and yellows.
- Flower Candies or Sprinkles: These small edible decorations add that final touch of summer flair. Look for miniature flower candies, colorful sugar pearls, or even tiny edible stars to embellish your flip-flops.
Beyond these core ingredients, feel free to get creative! Small edible beads, nonpareils, or even a dash of edible glitter can elevate your designs. Having a variety of colors and shapes on hand will allow for endless customization.
Step-by-Step Guide to Decorating Your Nutter Butter Flip Flop Cookies
Transforming Nutter Butters into charming flip-flops is a delightful and straightforward process. I highly recommend using the pre-filled cupcake icing canisters that come equipped with various icing tips. These are a true time-saver and incredibly easy to handle, even for beginners. For the flip-flop straps, I found the waffle weave tip works wonders, creating a realistic textured strap. For the decorative flower on top, a simple star tip or a round tip can be used to attach a pre-made flower candy.
When selecting your decorations, don’t limit yourself! While small flower candies are perfect for a classic look, feel free to explore other cute flower sprinkles or themed decorations. I often stock up on these around holidays like Easter, as they are plentiful and can be stored to have on hand for all my summer baking projects.
Pro Tip for Icing Cans: Before you start decorating your beautiful cookies, always test the premade icing cans on a paper towel or napkin. The first few squeezes can sometimes be uneven or squirt out a bit unexpectedly. A few test tries will help you get a consistent flow and ensure your straps look neat and tidy. Also, keep a generous supply of paper towels and napkins nearby – the vibrant colors of the icing can easily transfer to your fingers!
Creative Icing Ideas: Don’t be afraid to experiment with different strap designs. You could try simple straight lines for a minimalist look, or cross them over for an X-strap effect. Use contrasting icing colors for the straps and the flower for an extra pop. For a truly personalized touch, use different colored icings for each pair of flip-flops, creating a vibrant assortment.
Crafting the Perfect Edible Sand for a Beach-Themed Display
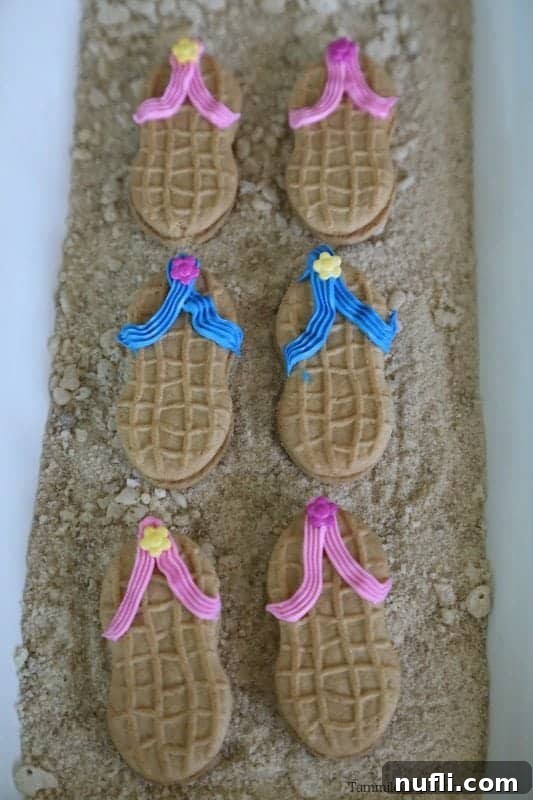
One of my absolute favorite ways to present these super cute and easy Flip Flop Nutter Butter Cookies is on a captivating bed of edible sand. This simple addition elevates the entire presentation, creating a fun, immersive beach party atmosphere that guests adore. The edible sand display truly enhances the visual appeal, making your dessert table stand out and sparking delightful conversation.
I crafted this unique edible sand using a combination of Rice Krispies Cereal and light brown sugar. The process is incredibly simple: I used my bullet blender to pulse the Rice Krispies and brown sugar into fine grains. The key is to pulse the mixture a few times rather than continuously blend it. This creates varying textures within the “sand,” mimicking the natural unevenness of real beach sand and making it look even more realistic and appealing.
Once pulsed, simply spread this delightful edible sand evenly over your serving platter. Arrange your Nutter Butter Flip Flops on top, and voilà – you have an instant miniature beach scene! This versatile edible sand isn’t just for flip-flop cookies; it would also work wonderfully for decorating cakes, cupcakes, or other desserts with a beach or summer theme. Imagine a blue-frosted cake with a border of this edible sand, perhaps even with a few tiny edible seashells or gummy sharks!
Tips for Edible Sand:
- Alternative Ingredients: If you don’t have Rice Krispies, finely crushed graham crackers or shortbread cookies also make excellent edible sand. For a darker “sand,” use chocolate graham crackers.
- Texture is Key: Remember to pulse, not pulverize! A mix of fine crumbs and slightly larger pieces gives the best realistic sand effect.
- Flavor Variations: A tiny pinch of cinnamon can add a warm, subtle flavor, or a drop of vanilla extract can enhance the sweetness.
- Serving Ideas: Beyond platters, consider serving individual portions in small clear cups, mini buckets, or even cleaned decorative seashells for a truly authentic beach feel.
More Easy Cookie Recipes to Delight Your Taste Buds
If you’ve enjoyed making these fun flip-flop cookies, you’ll love exploring other simple and delicious cookie recipes. Here are some of our favorites:
- Earth Day Cookies – A vibrant and eco-friendly treat.
- Lemon Sugar Cookies – Bright, zesty, and refreshing.
- Bacon Peanut Butter Cookies – An unexpected savory-sweet combination.
- 3 Ingredient Peanut Butter Cookies – Unbelievably easy and quick!
- Potato Chip Cookies – A crunchy, salty-sweet sensation.
Don’t stop there! Check out all of our simple cookie recipes for even more inspiration.
Do you love discovering new recipes? Be sure to explore our extensive collection, including fantastic copycat recipes to recreate your restaurant favorites at home, indulgent dessert recipes for every craving, and our incredibly convenientCrock Pot Recipes for effortless meals.
Flip Flop Nutter Butters
10 minutes
10 minutes
Tammilee Tips
Ingredients
- 1 package Nutter Butter cookies
- Cupcake Icing (various colors)
- Flower Candy or other small edible decorations
Instructions
- Utilize pre-filled cupcake icing canisters equipped with various icing tips. Use a waffle weave tip to create the main straps of the flip-flops, and a star or round tip to affix the flower candy or other decorations on top. Feel free to use cute flower sprinkles or other small embellishments for added charm. Many find decorative candies around holidays like Easter, so consider stocking up!
- Before decorating the cookies, always test the premade icing on a paper towel or napkin. The initial dispenses can sometimes be uneven. A few practice attempts will help achieve an even flow. Keep plenty of paper towels or napkins nearby, as the vibrant icing colors can easily stain fingers.
- For the edible sand: In a bullet blender or food processor, pulse 1 cup of Rice Krispies cereal with 1/4 cup of light brown sugar until a fine, sand-like texture with some varying grains is achieved. Spread this mixture evenly on your serving platter.
- Arrange the decorated Nutter Butter flip-flops on the bed of edible sand to create a fun, beach-themed display. Serve immediately or store in an airtight container for up to 3 days.
Love this recipe?Follow @TammileeTIps on Pinterest
Tried this recipe?Mention @TammileeTipsLife when you share a photo!
Originally shared January 26, 2012, updated March 24, 2020, and further enhanced for clarity and SEO.
