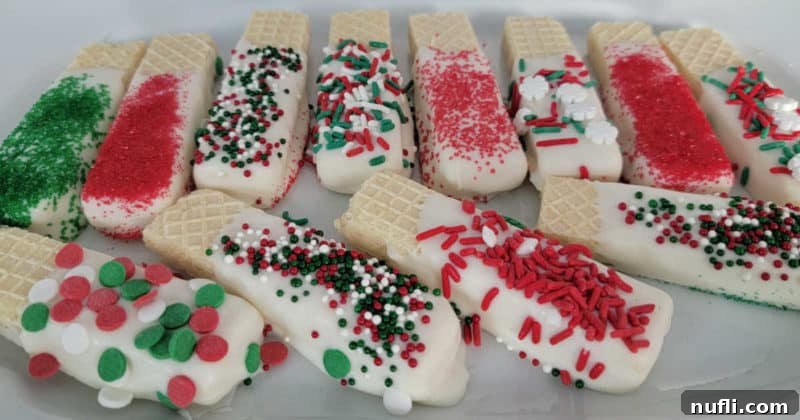
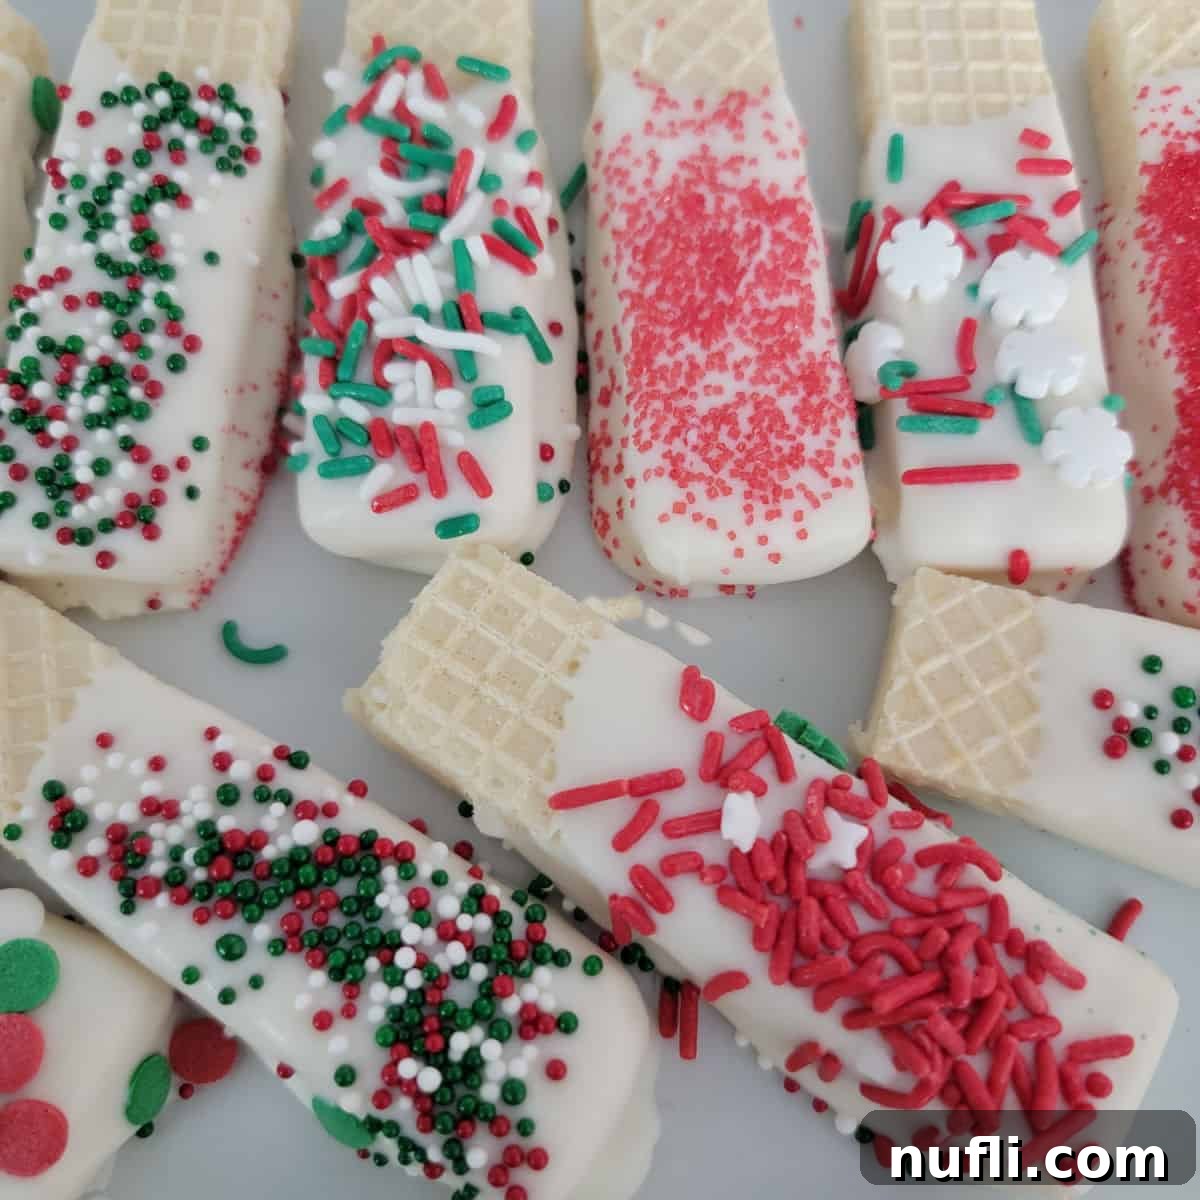
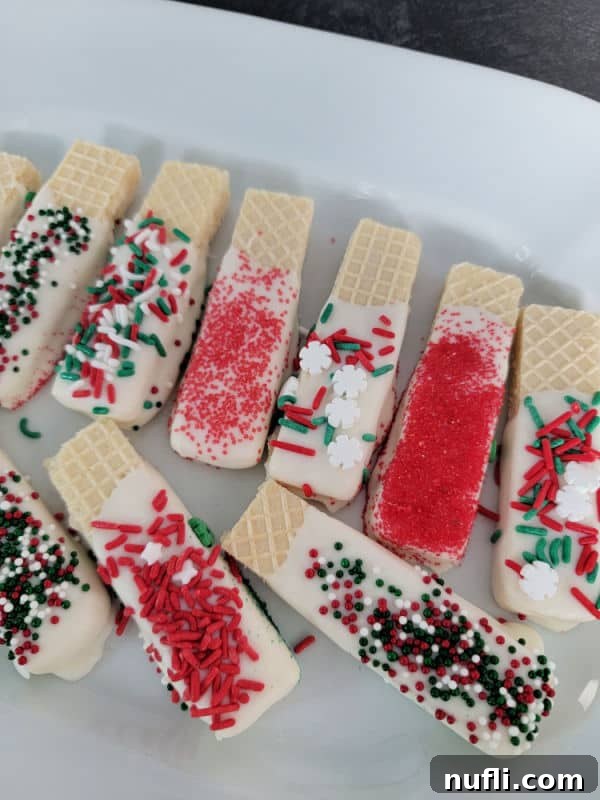
Get ready to add a sprinkle of joy to your holidays with these incredibly easy White Chocolate Dipped Sugar Wafers! This delightful recipe is not just a treat for the taste buds but also a fantastic activity for the whole family, transforming simple sugar wafers into festive, eye-catching desserts. Whether you’re planning a holiday party, looking for a quick Christmas dessert, or simply want a fun DIY baking project with the kids, these chocolate-covered wafers are your perfect solution. Their simplicity makes them an ideal choice for bakers of all skill levels, ensuring a stress-free and enjoyable experience that results in truly delicious, customizable goodies.
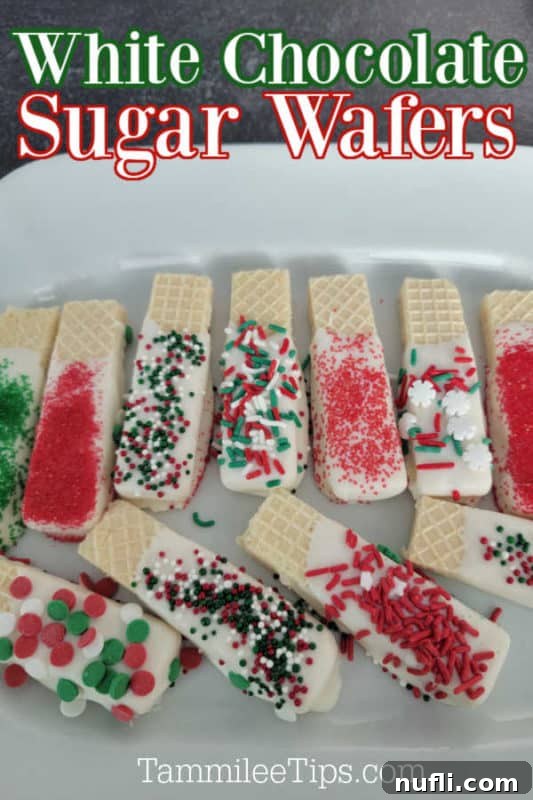
Easy & Delicious White Chocolate Dipped Sugar Wafers: Your Go-To Holiday Treat
The holiday season is a magical time of year, often filled with festive preparations, gift-giving, and, of course, lots of delicious baking! While the joy of the holidays is unparalleled, it can also bring a whirlwind of tasks, making time a precious commodity. That’s where these White Chocolate Dipped Sugar Wafers shine as a beacon of effortless holiday cheer. Unlike elaborate baking projects that require hours in the kitchen, these treats come together in mere minutes, making them perfect for busy schedules and impromptu celebrations.
What makes this recipe truly special is its incredible ease and the opportunity it provides for everyone to get involved. From melting the chocolate to dipping the wafers and showering them with colorful sprinkles, each step is simple enough for even the youngest family members to participate, fostering wonderful memories and a sense of accomplishment. Not only are they a quick and easy holiday treat, but their versatility means they can be adapted for virtually any occasion throughout the year, simply by changing up the sprinkle colors and themes.
Beyond their charm and ease, these dipped sugar wafers are undeniably delicious! The crisp, light texture of the wafer combined with a smooth, sweet chocolate coating creates a delightful contrast that is hard to resist. While classic vanilla wafer cookies are always a hit, don’t hesitate to experiment with different wafer flavors for an extra touch of gourmet flair. We especially adore using the delightful Manner Wafer Cookies, a personal favorite discovered during our travels in Switzerland. Their delicate crunch and rich flavor make them an exceptional base for this recipe. My husband makes a point to pick up a few packages of these whenever we visit CostPlus World Market, ensuring a steady supply for his lunch treats and, of course, our dipped wafer creations!
Kids absolutely adore the interactive nature of this recipe. The freedom to decorate their own personalized treats makes it a truly super kid-friendly activity. If you’re looking for another fun and simple holiday dessert idea that kids will love, be sure to check out our Chocolate Covered Oreos – another festive favorite!
Essential Ingredients for Dipped Sugar Wafers
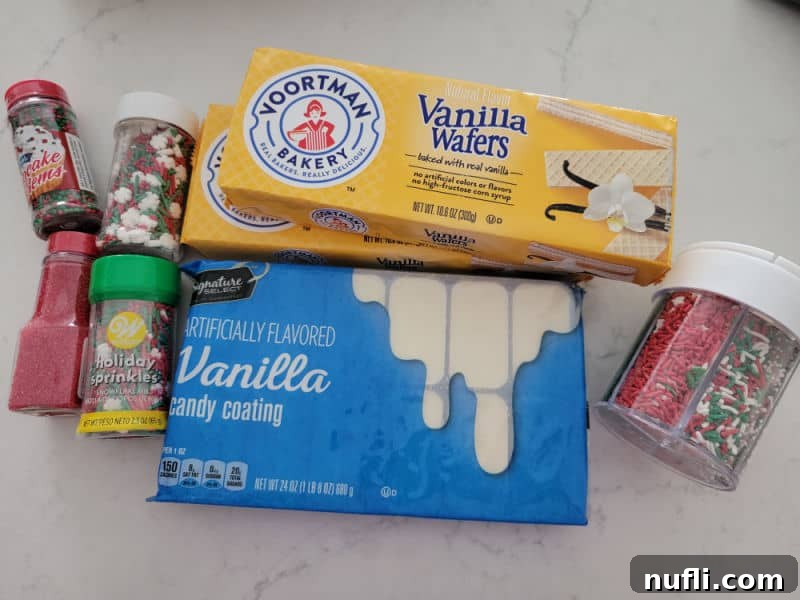
Crafting these delectable dipped sugar wafers requires just a handful of simple ingredients. The beauty of this recipe lies in its flexibility, allowing you to customize flavors and decorations to suit any taste or occasion. Here’s what you’ll need to gather:
- Sugar Wafer Cookies: The foundation of our treat. You have a world of flavors to explore here! While classic vanilla sugar wafers are always a fantastic choice, feel free to get creative. We’ve had amazing results with lemon wafers, chocolate wafers, strawberry wafers, key lime, orange, and even banana-flavored wafers. Honestly, nearly any flavor you enjoy will taste incredible once coated in chocolate. You can find a wide variety of Sugar Wafer Cookies at your local grocery store or online.
- White Candy Bark Coating: This forms the smooth, sweet shell of your dipped wafers. We typically opt for White Candy Bark Coating (also known as almond bark or vanilla candy coating) for its ease of melting and smooth finish. However, you can certainly substitute with good quality white chocolate chips, melted carefully, for a richer chocolate flavor.
- Sprinkles: This is where the magic of personalization happens! Sprinkles instantly transform your treats into festive masterpieces. The beauty of sprinkles is their endless variety. Change them up to match the holiday or theme you’re celebrating. Think red and green for Christmas, pastels for Easter, red, white, and blue for patriotic holidays, or vibrant rainbow sprinkles for birthdays. This recipe is the perfect excuse to invest in a sprinkle assortment container and let your imagination run wild with decorating possibilities!
- Optional: Candy Melts: For an extra pop of color or intricate designs, consider using colored candy melts. These are fantastic for drizzling patterns over the white chocolate or creating two-toned dipped wafers.
Necessary Equipment for Dipping Success
Preparing these dipped sugar wafers doesn’t require any fancy kitchen gadgets. Just a few basic tools will ensure a smooth and enjoyable process from start to finish. Here’s a list of the equipment you’ll need:
- Large Microwave-Safe Mixing Bowl: A sturdy bowl is essential for melting your candy bark. We are particularly fond of glass batter bowls that feature a convenient handle. The handle makes it incredibly easy to grip and pour, while the weight of the glass helps keep the bowl stable on your counter as you stir and dip. Make sure it’s microwave-safe if you’re using a microwave to melt your coating.
- Wooden Spoon or Silicone Spatula: For stirring the melting chocolate coating. A sturdy wooden spoon or a flexible silicone spatula works perfectly to ensure an even, lump-free consistency.
- Parchment Paper: This is crucial for preventing your dipped wafers from sticking to the surface as they set. Laying down parchment paper on your baking sheet makes for easy removal and cleanup. It’s far superior to wax paper for this purpose, as chocolate tends to adhere less to parchment.
- Jelly Roll Baking Dish or Cookie Sheet with Sides: You’ll need a flat surface to place your freshly dipped wafers on to set. A baking sheet with raised edges (like a jelly roll pan) is ideal, as it helps contain any stray sprinkles and prevents the wafers from sliding off.
Step-by-Step Guide: How to Make Chocolate Dipped Sugar Wafers
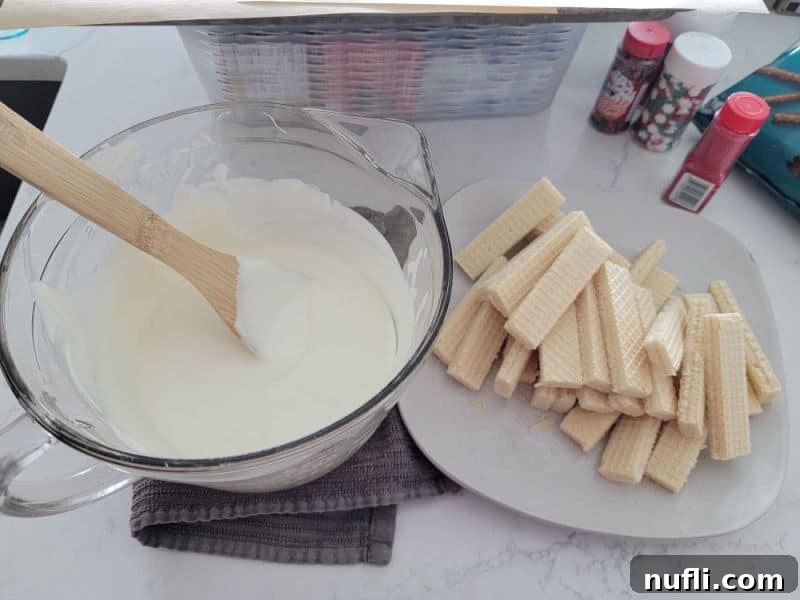
Making these delightful White Chocolate Dipped Sugar Wafers is incredibly straightforward and quick. Follow these simple steps for a perfect batch every time:
Step 1: Melt the White Chocolate Bark until Smooth.
Begin by placing your white candy bark coating (or white chocolate chips) into a large, microwave-safe mixing bowl. It’s crucial to ensure your bowl is completely dry, as even a tiny bit of water can cause chocolate to seize and become clumpy. Heat the candy bark in the microwave in short intervals, typically 30 seconds at a time. After each 30-second burst, remove the bowl and stir the chocolate thoroughly with a wooden spoon or silicone spatula. This intermittent heating and stirring prevent the chocolate from burning, which can result in an unpleasant, scorched flavor and texture. Continue this process until the chocolate is about 70-80% melted. At this point, remove it from the microwave and continue stirring continuously. The residual heat from the already melted chocolate will often be enough to melt the remaining solids, ensuring a perfectly smooth, glossy consistency without overheating. Trust us, you definitely want to avoid that burnt chocolate flavor!
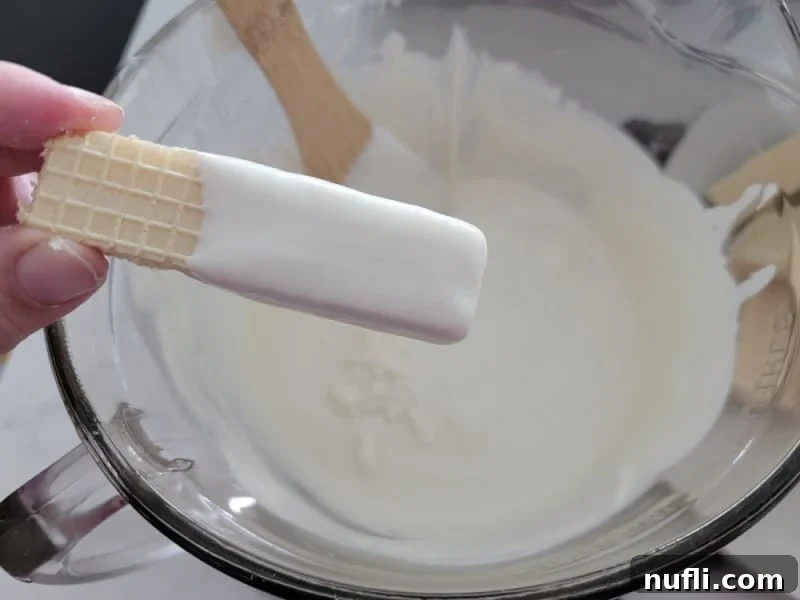
Step 2: Dip the Sugar Wafers into the Melted Chocolate.
Once your white chocolate coating is beautifully melted and smooth, it’s time for the fun part: dipping the sugar wafers! Gently hold a sugar wafer cookie and immerse it into the melted chocolate. You have full creative control over how much of the wafer you want to cover. You can dip them three-quarters of the way for a classic look, half-way for a more minimalist design, completely submerge them for total chocolate indulgence, or even just dip the ends for a subtle touch. Whatever your preference, ensure that you allow any excess chocolate to drip off back into the bowl. A light tap against the rim of the bowl can help remove drips, ensuring an evenly coated, clean finish on your chocolate-dipped wafers.
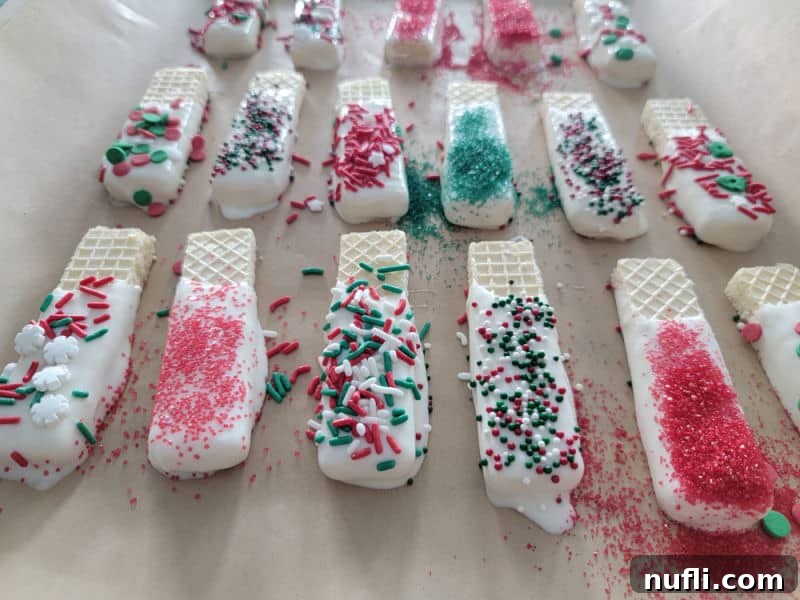
Step 3: Decorate with Sprinkles and Allow to Set.
Immediately after dipping each sugar wafer, carefully place it onto a sheet of parchment paper laid out on your baking sheet. This is the critical moment for adding your decorative sprinkles or colored sugar! Generously sprinkle your chosen decorations over the still-wet chocolate. Timing is key here: if you wait too long, the chocolate will begin to harden, and the sprinkles won’t adhere properly, leading to them simply falling off. Once decorated, leave the dipped wafers undisturbed on the parchment paper at room temperature (or in the refrigerator for faster setting) until the chocolate is completely firm and set. This typically takes about 15-30 minutes at room temperature, or less in the fridge.
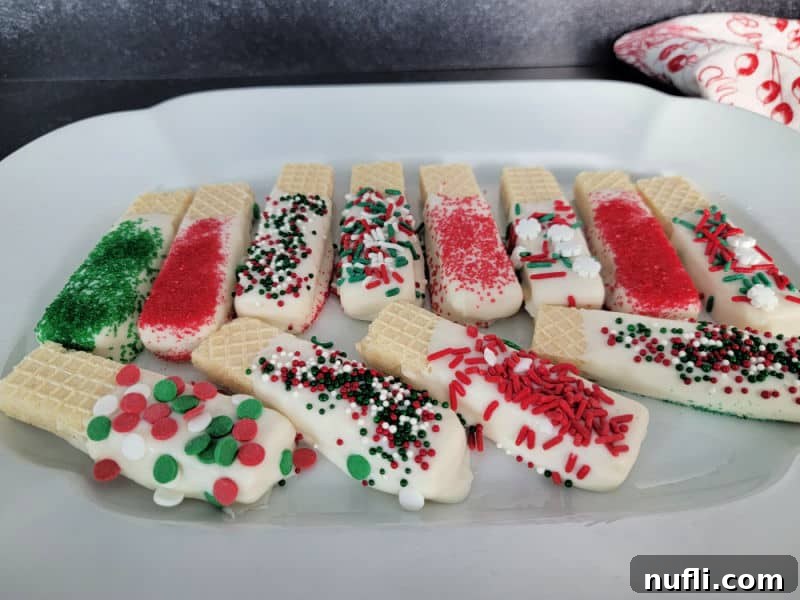
Recipe Success Tips & Variations
These White Chocolate Dipped Sugar Wafers are incredibly versatile and forgiving, but a few simple tips can elevate your experience and ensure perfect results every time. Plus, we’ll share some ideas to help you customize them for any occasion:
- Seasonal & Occasional Treats: The beauty of this recipe lies in its adaptability. You can easily transform these chocolate-covered sugar wafers into delightful treats for any holiday or celebration. Think pink and red sprinkles for Valentine’s Day, pastels for Easter, orange and black for Halloween, or even team colors for game day. With a simple change of sprinkles or colored candy melts, you have a fun and festive dessert that takes mere minutes to prepare for any event.
- Optimal Storage: To keep your dipped sugar wafers fresh and delicious, store them at room temperature in an airtight container. If you live in a very warm climate, you might store them in the refrigerator, but allow them to come to room temperature briefly before serving for the best texture and flavor. Stored properly, they can last for up to a week.
- Parchment Paper is Key: We strongly recommend using parchment paper instead of wax paper for setting your chocolate-coated wafers. Chocolate tends to release much more easily from parchment paper, preventing any frustrating sticking or breakage. This simple swap makes cleanup a breeze and ensures your beautiful treats remain intact.
- Creative Dipping Styles: Don’t limit yourself to just full dips! Try dipping only half of the wafer, or create a diagonal dip for an artistic flair. You can also drizzle contrasting colored candy melts over the set white chocolate for an extra layer of design and flavor.
- Kid-Friendly Fun: When involving children, set up a “dipping station.” Have all ingredients laid out, provide small bowls of sprinkles, and supervise the melting process. Let them choose their favorite sprinkles and dipping styles. This makes it an engaging and memorable activity.
- Gifting Idea: These dipped wafers make fantastic homemade gifts! Arrange them in decorative boxes, clear cellophane bags tied with festive ribbons, or as part of a larger holiday treat platter. They are always a welcome present.
- Nutrition Information Disclaimer: Please note that the nutrition information provided, including calories, protein, calcium, carbohydrates, fiber, vitamin C, potassium, cholesterol, sodium, trans fat, monounsaturated fat, polyunsaturated fat, and more, will vary significantly based on the specific brands and types of sugar wafer cookies, candy coating, and sprinkles you choose to use.
More Great Holiday Recipes to Explore
If you loved making these easy dipped sugar wafers, you’re in for a treat! We have a plethora of other simple and delicious recipes perfect for the holidays and beyond. Expand your festive baking repertoire with these fan favorites:
- Grinch Bark: A whimsical and vibrant chocolate bark inspired by the classic Dr. Seuss character, perfect for adding a pop of green to your holiday table.
- Hot Chocolate Dip: A rich, creamy, and decadent dip that tastes just like your favorite cozy beverage, ideal for serving with cookies, fruit, or marshmallows.
- Reindeer Chow: A festive and addictive snack mix, also known as muddy buddies or puppy chow, but with a holiday twist!
- 2 Ingredient Oreo Bark: Simplicity at its best! This incredibly easy chocolate bark uses just two ingredients for a quick and satisfying dessert.
- No Bake Peanut Butter Pie: A smooth, creamy, and utterly delicious pie that requires no oven time, making it perfect for busy bakers.
- Eggnog Latte: Warm up with this cozy and festive beverage, bringing the flavors of the holidays into your cup.
- Sugared Cranberries: Beautiful, sparkling cranberries that make a stunning garnish for desserts or a lovely edible decoration.
Do you love discovering new recipes? Be sure to check out our extensive collection of copycat recipes to recreate your restaurant favorites at home, explore our wide array of dessert recipes for every sweet craving, and simplify your meal prep with our convenient Crock Pot Recipes.
Stay connected and never miss a delicious update! Follow Tammilee Tips on Facebook, Instagram, and Pinterest for all our latest recipe posts and culinary inspiration.
White Chocolate Dipped Sugar Wafers
How to make easy chocolate dipped sugar wafers perfect for the holidays.
Prep Time: 20 minutes
Total Time: 20 minutes
Servings: 32
Calories: 181 kcal
Author: Tammilee Tips
Ingredients
- 32 Sugar Wafer Cookies
- 24 Ounce Vanilla Almond Bark
- Sprinkles
Instructions
- Melt Vanilla bark in a microwave safe mixing bowl. Microwave in 30 second intervals stirring between each interval until the chocolate is melted and smooth.
- Dip sugar wafer into the chocolate. Let excess chocolate drip off making sure they are evenly coated.
- Place on parchment paper and immediately decorate with fun sprinkles.
Kitchen Tools
- Large Mixing Bowl
- Parchment Paper
- Cookie Sheets
Notes
Store in an airtight container at room temperature.
Nutrition
Calories from Fat 63
Love this recipe? Follow @TammileeTIps on Pinterest!
Tried this recipe? Mention @TammileeTipsLife when you share a photo!
