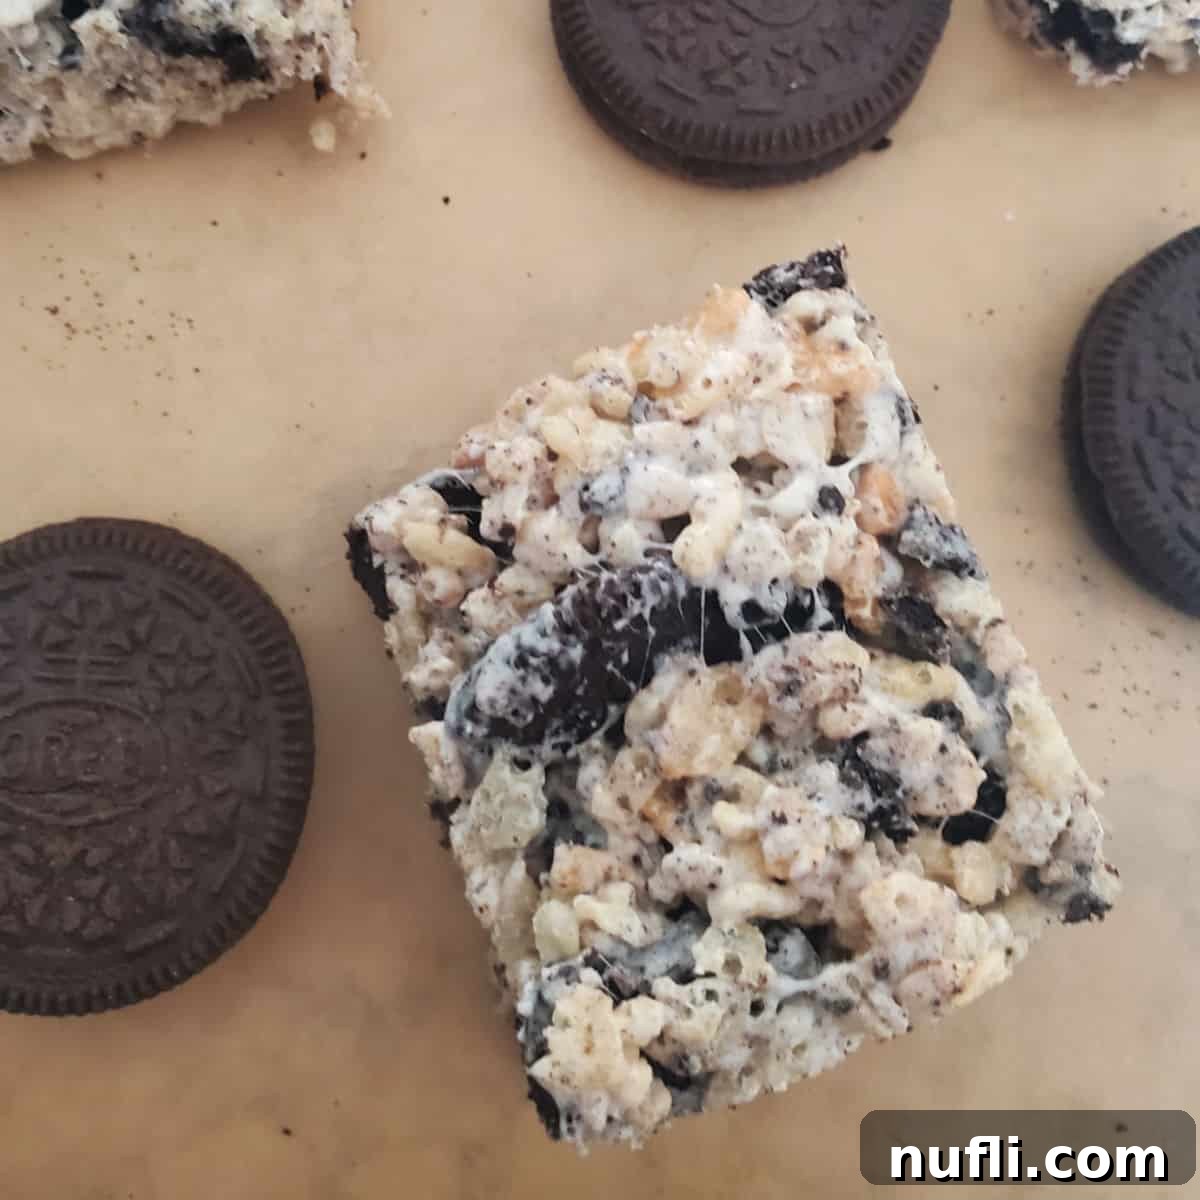
Irresistible Oreo Rice Krispie Treats: Your New Go-To No-Bake Dessert
Prepare to delight your taste buds with the ultimate twist on a beloved classic: Oreo Rice Krispie Treats! This incredibly easy, 4-ingredient recipe transforms ordinary crispy treats into extraordinary cookies and cream masterpieces. Perfect for satisfying sweet cravings, impressing guests, or simply enjoying a moment of pure bliss, these no-bake wonders are a guaranteed crowd-pleaser that everyone will adore. Get ready to discover your new favorite quick dessert!
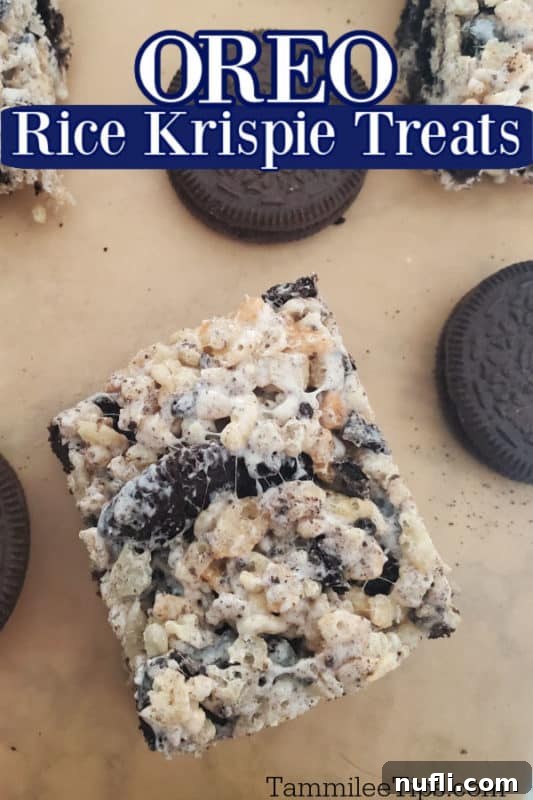
Unleash the Magic of Cookies and Cream in Every Bite
Who doesn’t love a classic Rice Krispie Treat? The harmonious blend of crunchy cereal and gooey, melted marshmallows has a universally appealing charm. But what if we told you there’s a way to elevate this nostalgic snack to an even more exciting level? Enter the magical world of Oreo Rice Krispie Treats, where the iconic chocolate sandwich cookie infuses every bite with a rich, irresistible cookies and cream flavor.
Our journey to create these epic treats began with a simple realization: while classic Rice Krispie Treats are fantastic, there’s a vast universe of mix-ins and flavor combinations waiting to be explored. We’ve previously experimented with delightful variations like Peanut Butter Rice Krispie Treats, Salted Caramel Rice Krispie Treats, and even seasonal Pumpkin Spice Rice Krispie Treats. Each one brought its unique charm, but there was always a craving for a treat that captured the beloved essence of cookies and cream. And so, the Oreo Rice Krispie Treat was born, a recipe so delicious it’s met with an enthusiastic “oh my goodness, yes please!” every time.
The beauty of this recipe lies in its sheer simplicity and speed. In less than 30 minutes, you can transform four basic ingredients into a pan of delectable, chewy, and crunchy treats. It’s the perfect solution when you need a quick dessert for an unexpected guest, a last-minute contribution to a potluck, or simply a sweet reward after a long day. The irresistible aroma that fills your kitchen while these treats come together is a treat in itself – just ask my husband, who was practically hovering over the mixing bowl, eagerly awaiting the first taste!
Just 4 Simple Ingredients for Maximum Flavor
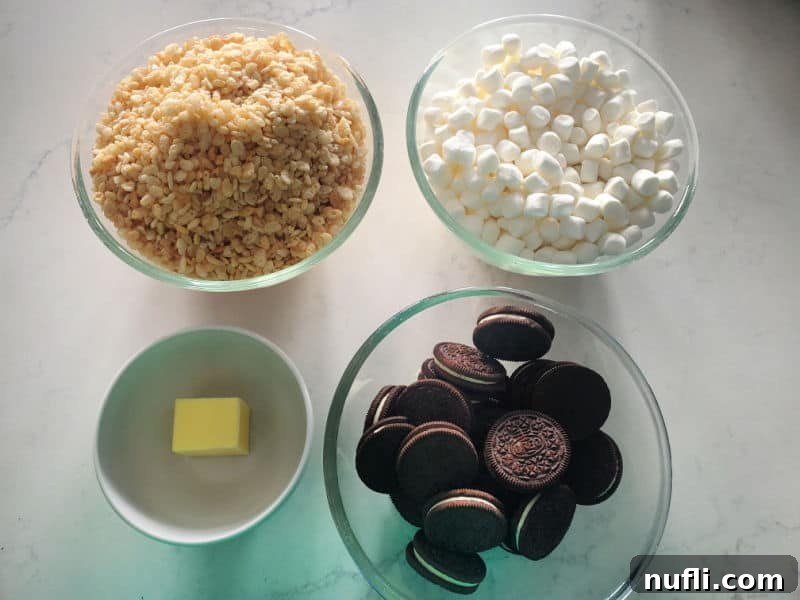
Creating these delightful Oreo Rice Krispie Treats requires a surprisingly short list of ingredients, making them an accessible and budget-friendly option for any baker. Here’s what you’ll need to gather:
- Oreo Cookies: The star of our show! We recommend using original or Double Stuf Oreos for that classic chocolatey crunch and creamy filling. However, feel free to experiment with any of your favorite Oreo flavors – mint, peanut butter, or even seasonal varieties can add a unique twist.
- Butter: Essential for melting the marshmallows and creating that rich, buttery base. Unsalted butter is generally preferred in baking to control the salt content, but a good quality salted butter can also work, adding a subtle salty counterpoint to the sweetness.
- Mini Marshmallows: These are crucial for the gooey texture. Mini marshmallows melt more quickly and evenly than their larger counterparts, ensuring a smooth, consistent binder for your treats. A standard-sized bag typically holds the required amount.
- Rice Krispie Cereal: The crispy foundation! We use classic Rice Krispies cereal, but any similar crisp rice cereal will do. For an extra layer of chocolate goodness, consider using Cocoa Krispies – it perfectly complements the Oreo flavor.
The beauty of this recipe lies in its adaptability. While Double Stuf Oreos offer an extra creamy kick, you can truly make these treats your own by swapping in different Oreo flavors. Imagine a batch made with Golden Oreos for a vanilla and cream variation, or mint Oreos for a refreshing twist. The possibilities are endless!
Essential Equipment for a Smooth Baking Experience
While this is a no-bake recipe, having the right kitchen tools can make the process even smoother and more enjoyable. You likely already own most of these items:
- Large Pot: A spacious pot is key! You’ll be melting butter and marshmallows, then adding a significant volume of cereal and crushed Oreos. A large pot ensures ample room for mixing without ingredients spilling over, making cleanup much easier.
- Sturdy Wooden Spoon or Heat-Resistant Spatula: A strong mixing utensil is essential. The marshmallow mixture becomes quite thick and sticky, so a sturdy wooden spoon or a durable heat-resistant spatula will allow you to combine all ingredients thoroughly and efficiently.
- 9×13 Baking Dish: This standard-sized baking dish is perfect for achieving treats of a desirable thickness. If you prefer thicker, more substantial treats, an 8×8-inch pan can be used, but note that the treats will be much taller.
- Parchment Paper: This is your secret weapon for easy cleanup and serving! Lining your baking dish with parchment paper prevents sticking, making it incredibly simple to lift the entire batch of treats out of the pan for cutting. While wax paper can be an alternative, parchment paper generally provides superior non-stick properties and is more heat-resistant.
- Heat-Resistant Potholders: Safety first! Always use reliable potholders when handling hot pots. We learned this the hard way after a minor kitchen scare with a regular cloth potholder. Investing in heat-resistant silicone potholders is a small step that can prevent accidents and ensure a worry-free cooking experience.
Expert Tips for Perfectly Chewy Treats Every Time
Achieving the perfect balance of chewy, crispy, and creamy in your Oreo Rice Krispie Treats is simple with a few key techniques. Follow these tips to ensure your batch is absolutely irresistible:
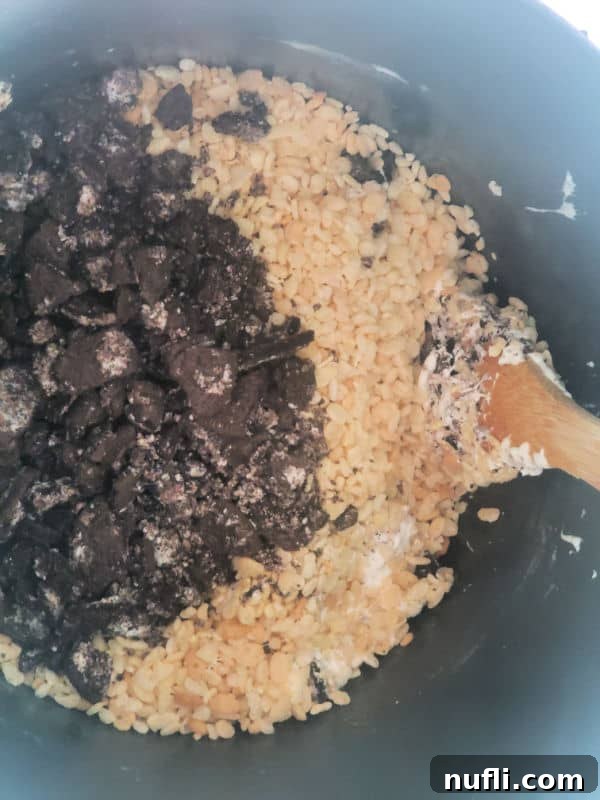
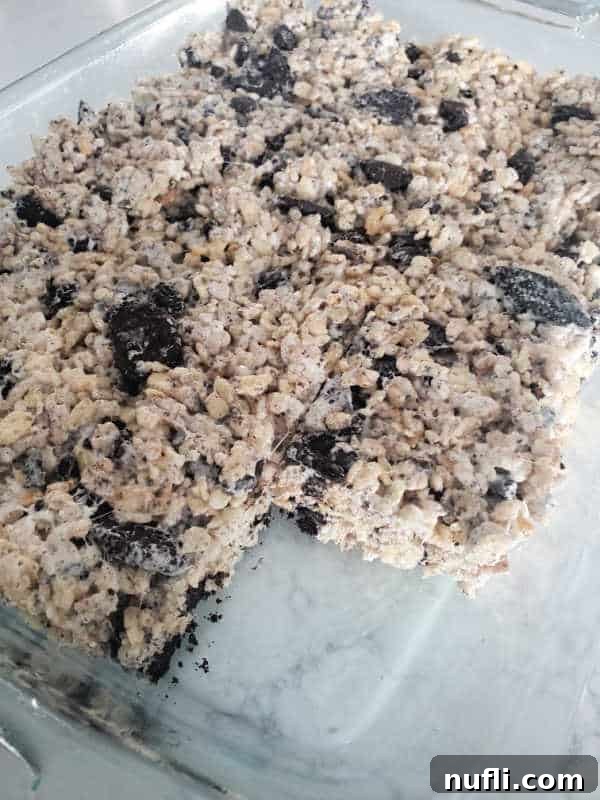
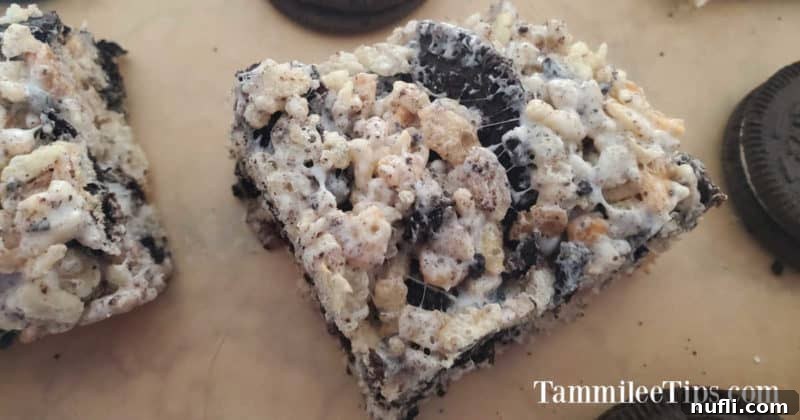
- Oreo Preparation is Key: Don’t just crush your Oreos uniformly. For the best texture, aim for a mix of smaller crumbs and larger chunks. This variation provides both a delicate chocolate flavor throughout and satisfying bites of crunchy cookie pieces. You can achieve this by placing Oreos in a sturdy Ziploc bag and crushing them with a rolling pin or a heavy pan, or by pulsing them briefly in a food processor. Remember to separate the cream filling from about 10 Oreos to add directly to the marshmallow mixture – this intensifies the “cookies and cream” flavor.
- Gentle Heat for Marshmallows: When melting the butter and marshmallows, use medium to low heat. This gentle approach prevents the butter from burning and ensures the marshmallows melt slowly and evenly without becoming hard or brittle. Overheating marshmallows is a common cause of rock-hard Rice Krispie Treats. Stir continuously until they are just melted and smooth.
- Fresh Marshmallows Make a Difference: Always use fresh, soft marshmallows. Stale marshmallows can be difficult to melt smoothly and may result in a tougher treat.
- Don’t Over-Compact: Once you’ve transferred the mixture to your parchment-lined baking dish, press it down firmly but gently. You want the treats to hold their shape, but over-compacting them with too much pressure can lead to dense, hard treats instead of the desired chewy texture. A light touch is best.
- Non-Stick Assistance: To prevent the sticky mixture from adhering to your hands or spatula while pressing it into the pan, lightly spray your hands or the back of your spoon/spatula with a little cooking spray. This makes the process much cleaner and easier.
- Cool Completely: Allow your treats to cool completely at room temperature before cutting and serving. This allows them to set properly, resulting in clean, firm squares that hold their shape. Rushing this step can lead to a messy cutting experience and treats that fall apart.
- Storage for Freshness: Store any leftover Oreo Rice Krispie Treats in an airtight container at room temperature. They are best enjoyed within 3-5 days. While they rarely last that long in most households, proper storage helps maintain their delightful chewiness and flavor. Avoid refrigerating them, as this can make them hard and less enjoyable.
- Creative Variations: Feel free to get creative! Drizzle melted white chocolate or dark chocolate over the top once cooled for an extra layer of decadence. A sprinkle of sea salt can also enhance the flavors by providing a delightful contrast.
Serving Suggestions and Occasions
Oreo Rice Krispie Treats are incredibly versatile and perfect for almost any occasion. Their eye-catching appearance and universally loved flavor make them a fantastic choice for:
- Birthday Parties: A fun and easy alternative to cake, especially for kids!
- Potlucks and Gatherings: They travel well and are always a hit.
- School Lunches or After-School Snacks: A delightful surprise in any lunchbox.
- Holiday Buffets: Adaptable for any season with decorative sprinkles or themed Oreos.
- Movie Nights: The perfect chewy, crunchy snack to munch on.
- Everyday Treats: Sometimes, you just need a little sweet indulgence!
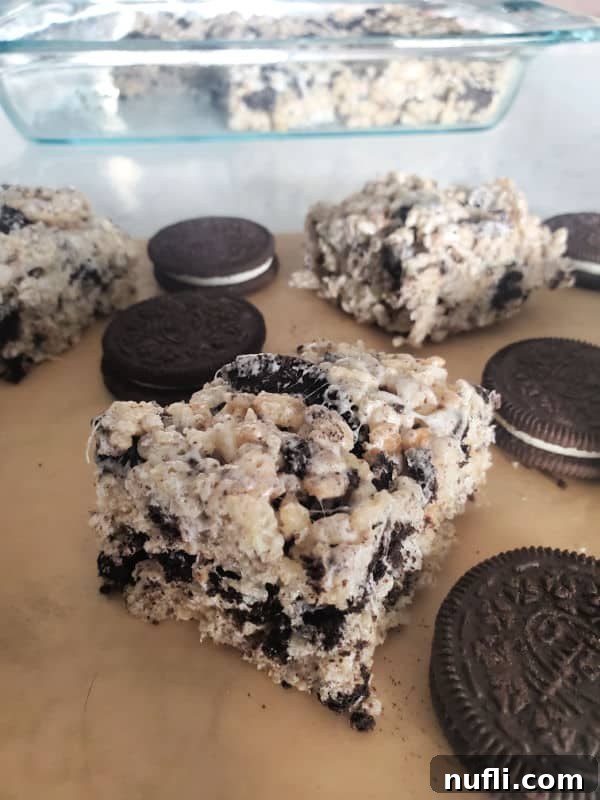
For an extra touch, stack them artfully on a platter, or arrange them next to a glass of cold milk for a comforting, nostalgic presentation. You can even cut them into fun shapes using cookie cutters (just make sure to grease the cutters!).
Frequently Asked Questions About Oreo Rice Krispie Treats
Can I use large marshmallows instead of mini marshmallows?
Yes, you can! However, you’ll need to adjust the quantity. A 10-ounce bag of large marshmallows is roughly equivalent to 5 cups of mini marshmallows. Large marshmallows will also take a bit longer to melt, so be patient and keep the heat low to prevent burning.
How long do Oreo Rice Krispie Treats last?
When stored in an airtight container at room temperature, these treats will stay fresh and chewy for 3 to 5 days. Beyond that, they tend to start losing their soft texture and can become a bit hard.
Can I freeze these treats?
Absolutely! For longer storage, you can freeze Oreo Rice Krispie Treats. Wrap individual treats tightly in plastic wrap, then place them in a freezer-safe bag or container. They can be frozen for up to 6 weeks. Thaw them at room temperature for a few hours before serving.
Why are my Rice Krispie Treats hard?
The most common reasons for hard treats are: 1) Overcooking the marshmallows. Marshmallows should be melted gently over low heat until just smooth. Excessive heat or boiling them can make them brittle. 2) Pressing the mixture too firmly into the pan. This compacts the cereal too much, resulting in a dense, hard treat. A gentle press is all that’s needed.
Can I make these gluten-free?
Yes, you can! Many brands of crisp rice cereal are naturally gluten-free, but always check the label to be sure. Most Oreo cookies in the US are not gluten-free, but Nabisco does offer a gluten-free Oreo cookie that would work perfectly for this recipe.
Do I have to remove the cream from the Oreos?
You don’t *have* to remove the cream from all the Oreos, but removing it from about 10 cookies and melting it into the marshmallow mixture truly enhances the “cookies and cream” flavor profile. It adds a subtle richness and creamy texture to the base that makes a noticeable difference. The remaining Oreos with cream can be crushed and folded in.
More Great Easy Dessert Recipes
If you loved these Oreo Rice Krispie Treats, you’ll definitely want to explore more of our easy and delicious dessert recipes:
- Oreo Fluff
- Peanut Butter Cheerio Bars
- 3 Ingredient No Bake Hershey Pie
- Graham Cracker Owls
- Key Lime Pie Bars
- Chocolate Covered Rice Krispie Treats
- Minion Rice Krispie Treats
- S’mores Bars with Golden Grahams
Don’t forget to check out our broader categories for even more culinary inspiration: copycat recipes, dessert recipes, and our Crock Pot Recipes.
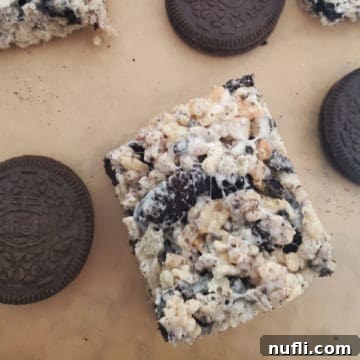
Oreo Rice Krispie Treats
How to make Oreo Rice Krispie Treats with only 4 ingredients.
Rating: 5 out of 5 stars from 1 vote
Print Recipe | Rate This Recipe
Prep Time: 15 minutes | Cook Time: 10 minutes | Total Time: 25 minutes
Servings: 16 | Calories: 193 kcal
Author: Tammilee Tips
Ingredients
- 24 Oreo cookies
- 3 Tablespoon Butter
- 5 cups Mini Marshmallows
- 6 cups Rice Krispie Cereal
Instructions
- Remove the cream filling from 10 Oreos and set it aside.
- Break the remaining Oreo Cookies into smaller pieces and chunks.
- Melt butter over low heat in a large pot to prevent burning. Once the butter is melted, add in the mini-marshmallows and the reserved Oreo cream.
- Stir the marshmallows until they are fully melted and smooth. Once melted, remove the pan from the heat and gently fold in the Rice Krispie Cereal and the crushed Oreo pieces. Stir until everything is well combined and coated.
- Pour the mixture into a parchment-lined 9×13 baking pan and press down gently and evenly until the mix is compacted together.
Kitchen Tools
- 9X13 Pan
- Parchment Paper
- 8X8 Pan (Optional, for thicker treats)
- Large Pot
- Sturdy Wooden Spoon or Spatula
- Heat-Resistant Potholders
Nutrition
Love this recipe? Follow @TammileeTIps on Pinterest
Tried this recipe? Mention @TammileeTipsLife when you share a photo!
