Mastering the Art of Homemade Twinkies: Your Ultimate Guide
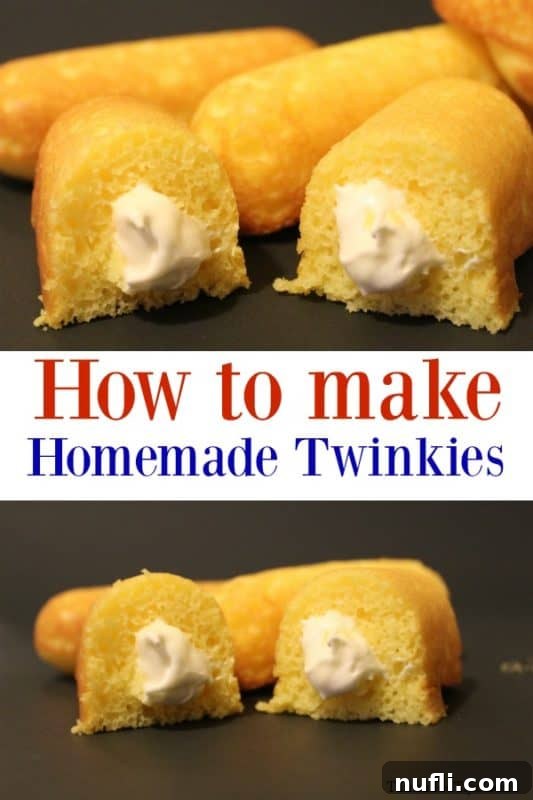
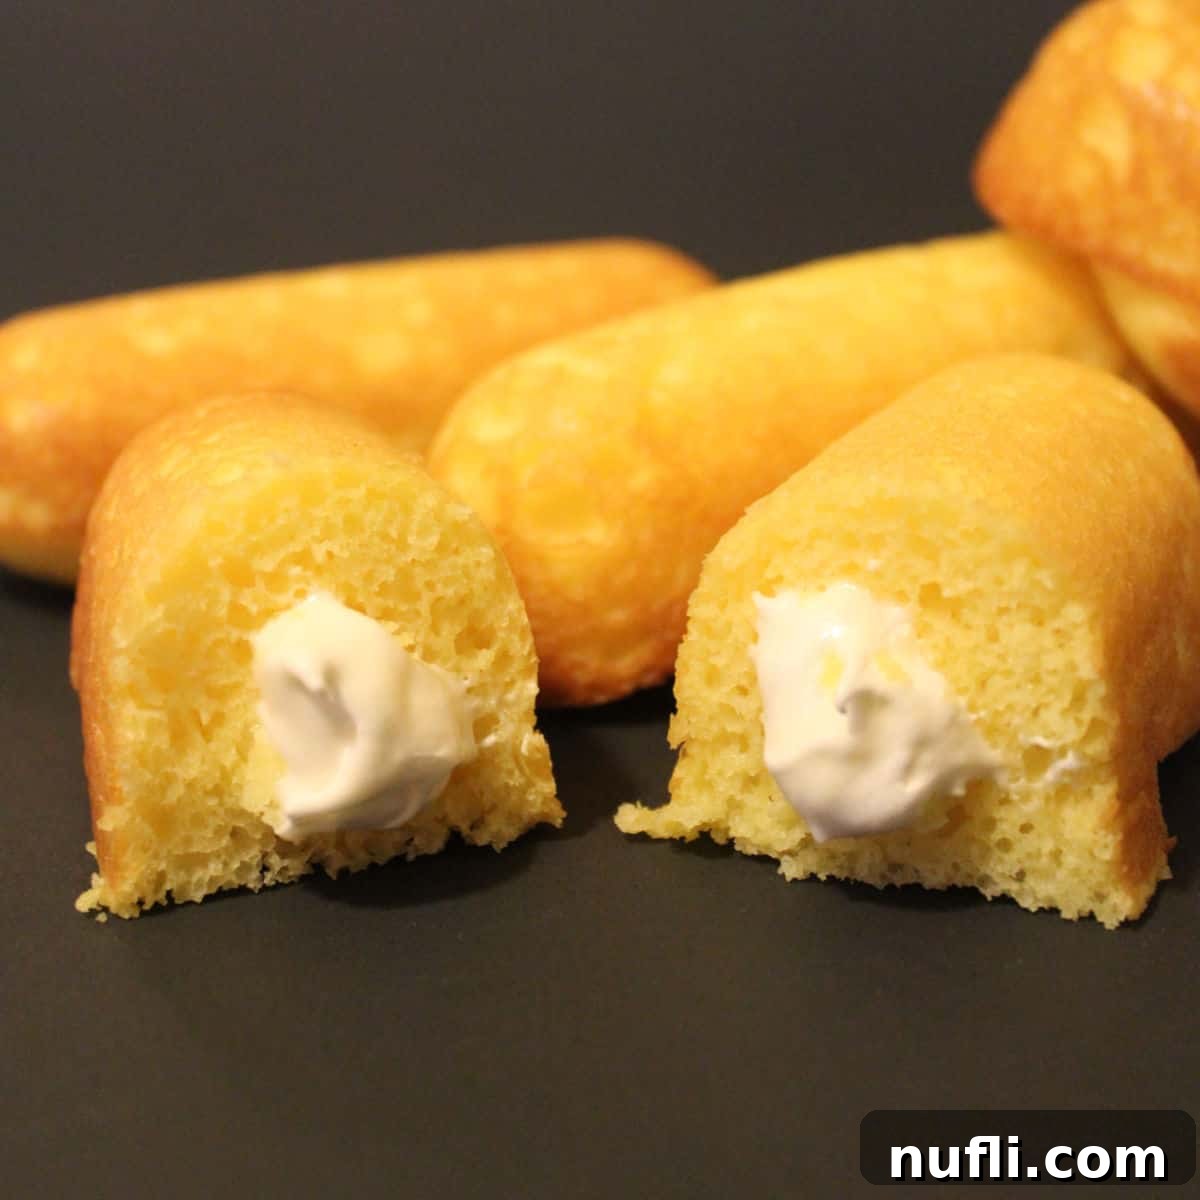
There’s something undeniably nostalgic about a Twinkie. That golden sponge cake, that creamy filling – it’s a taste of childhood. But what if you could recreate that iconic flavor, only better, fresher, and right in your own kitchen? Welcome to the ultimate guide to making your very own **homemade Twinkies recipe**! This delightful treat is perfect for those moments when a store run isn’t feasible, or when you simply crave the satisfaction of baking a beloved classic from scratch. Prepare to amaze your friends and family with these incredibly delicious, light, and fluffy golden cakes.

The Enduring Appeal of Twinkies and the Great Twinkie Crisis of 2012
The Twinkie isn’t just a snack cake; it’s a cultural icon. For generations, its distinctive shape and sweet taste have been a staple in lunchboxes and pantries across America. But do you remember the nationwide panic that struck in 2012? Hostess, the beloved brand behind Twinkies and other cherished treats, announced it might cease operations, sending shockwaves through the country. Production halted, shelves emptied, and boxes of Twinkies were reportedly selling for hundreds of dollars online, leading many to believe the world, as they knew it, was truly coming to an end!
It’s hard to believe that nearly a decade has passed since that dramatic “Twinkie Crisis.” During that time of culinary uncertainty, I, like many others, found myself asking: Could I recreate this childhood favorite at home? Fueled by a desire to bring comfort back to our kitchens and quell the national snack anxiety, I embarked on a mission to develop a reliable **homemade Twinkie recipe**. The goal was simple: to capture the essence of the original while infusing it with homemade freshness and flavor. Little did I know, this recipe would become one of our most popular copycat recipes, proving that even in the face of a snack apocalypse, a little ingenuity and a lot of love can save the day.
The joy of baking these iconic treats yourself is immense. Not only do you get to experience the delightful process, but you also gain full control over the ingredients, ensuring the freshest, highest-quality outcome. You’ll be astonished by how simple it is to whip up a batch of these golden wonders!
My Personal Journey to Crafting the Perfect DIY Twinkies
The 2012 Twinkie crisis wasn’t just a news story for us; it was a personal quest. My husband, John, and I ventured out to five different grocery stores across Spokane, searching for any remaining Hostess products. We found nothing – not a single Twinkie or cupcake. The only relic of the Hostess empire we managed to uncover was a solitary fruit cake, which, while interesting, certainly didn’t satisfy the Twinkie craving. It was then that I made a firm decision: I would learn how to **make Twinkies at home**.
As I gathered my ingredients, a stroke of luck occurred. I started rummaging through a tub of old cake pans my Mom had recently brought over. To my absolute delight, nestled within, was a Norpro 3964 Cream Canoe Pan With Bonus 9 Piece Decorating Set. It was as if fate had intervened! I called my Mom immediately, bubbling with excitement. She confessed she’d owned the pan for years but had never used it. It’s truly wonderful when something unused finds its perfect purpose.
Seeing boxes of original Twinkies fetching upwards of $100 on eBay solidified my resolve. Everyone deserved to enjoy this iconic snack without breaking the bank or succumbing to market scarcity. That’s why I’m so thrilled to share this tried-and-true recipe with you. And if you’re a fan of other Hostess classics, don’t miss our incredible copycat Hostess Chocolate Cupcakes!
Understanding the Ingredients: The Heart of Your Homemade Twinkies
Creating an authentic-tasting Twinkie requires a blend of classic baking ingredients and a couple of clever shortcuts. Let’s break down what you’ll need for both the signature golden cake and its irresistible creamy filling.
Twinkies Cake Ingredients:
- Eggs: Essential for structure and richness, giving the cake its characteristic tender crumb.
- Butter (Melted and Cooled): Provides moisture and a delicate buttery flavor, contributing to the cake’s light texture. Ensure it’s cooled to lukewarm to avoid cooking the eggs prematurely.
- Water: Helps to hydrate the cake mix and creates the perfect batter consistency.
- Instant Vanilla Pudding Mix (5.1 ounces): This is one of our secret weapons! The pudding mix adds incredible moisture, enhances the vanilla flavor, and contributes to the cake’s signature softness and stability. It’s key to achieving that classic Twinkie texture.
- Yellow Cake Mix (18.25 ounces): A convenient shortcut that forms the base of our sponge cake. Using a quality yellow cake mix simplifies the process without compromising on flavor, allowing you to focus on the filling and assembly.
Creamy Filling Ingredients:
The soul of a Twinkie lies in its sweet, fluffy, and creamy filling. This homemade version is remarkably similar to the original, with a delightful richness and a hint of tanginess from the cream cheese.
- Butter (Room Temperature): Forms the base of our buttercream-like filling, contributing to its smooth texture and rich flavor. Room temperature butter creams beautifully.
- Cream Cheese (8 ounces, Room Temperature): This ingredient is what elevates our homemade filling. It adds a subtle tang and an irresistible creaminess that balances the sweetness, making the filling truly divine. Ensure it’s at room temperature for a lump-free, smooth mixture.
- Confectioners’ Sugar (5 cups, Sifted): Also known as powdered sugar, this fine sugar is crucial for the filling’s smooth consistency and sweetness. Sifting it prevents lumps and ensures a silky-smooth cream.
- Frozen Whipped Topping (8 ounces, Thawed): Adds incredible lightness and fluffiness to the filling, mimicking the airy texture of the original. Make sure it’s fully thawed before incorporating.
- Vanilla Extract (1 teaspoon): A touch of pure vanilla extract enhances all the sweet flavors, bringing warmth and depth to the filling.
Essential Equipment for Homemade Twinkies
While the ingredients are straightforward, having the right tools can make all the difference in achieving that iconic Twinkie shape and perfect filling. Here’s what you’ll need:
- Norpro 3964 Cream Canoe Pan: This pan is a game-changer! Its unique canoe shape is precisely what gives homemade Twinkies their classic look. You can bake up to 8 Twinkies at a time, making the process efficient and fun. If you don’t have this exact pan, you can experiment with other oval or mini loaf pans, though the shape might vary slightly.
- Icing Injector: This tool is essential for easily and neatly filling your homemade Twinkies. It allows you to inject the creamy filling into the center of the cake, just like the store-bought version. While you could attempt using a pastry bag with a small round tip, an injector minimizes mess and ensures a consistent fill every time. Trust me, it’s worth the investment for a perfect finish!
- Large Mixing Bowl: For combining your cake batter and filling ingredients.
- Electric Mixer (Handheld or Stand): While you can mix by hand, an electric mixer will make beating the batter and whipping the filling much quicker and smoother.
- Wire Racks: Crucial for cooling your cakes completely and evenly after baking.
Homemade vs. Store-Bought: A Taste Test You Won’t Forget
I have to confess, I believe these homemade Twinkies actually taste better than the original ones. There’s a distinct difference that sets them apart. They are incredibly light and fluffy, with a delicate texture that melts in your mouth. The flavor is brighter, fresher, and more pronounced, thanks to the quality of ingredients and the fact that they’re made right before your eyes. The creamy filling is rich yet not overly sweet, perfectly complementing the moist sponge cake. This recipe delivers a truly superior snack experience that brings a gourmet touch to a classic treat. Once you try them, you might never go back to the packaged version!
If you’re eager to explore more Hostess-inspired recipes, or simply love creative baking, consider checking out The Twinkies Cookbook: An Inventive and Unexpected Recipe Collection from Hostess and The Wonder Bread Cookbook: An Inventive And Unexpected Recipe Collection from Wonder on Amazon. They both promise a collection of really fun and inventive recipes to try at home, perfect for expanding your baking repertoire.

Homemade Twinkie Recipe
Print
Rate
Ingredients
- 4 Eggs
- ½ cup Butter melted and cooled to lukewarm
- 1 cup Water
- 5.1 ounces instant vanilla pudding mix
- 18.25 Ounce yellow cake mix
Filling ingredients:
- ½ cup Butter room temperature
- 8 Ounce Cream Cheese room temperature
- 5 cups Confectioners Powdered Sugar sifted
- 8 Ounce Cool Whip thawed
- 1 teaspoon Vanilla Extract
Instructions
- Preheat an oven to 350 degrees F (175 degrees C). This ensures the oven is at the correct temperature for even baking from the start.
- In a large mixing bowl, beat the eggs until they are well combined and slightly frothy. Gradually stir in the melted butter, ensuring it’s cooled to lukewarm so it doesn’t scramble the eggs. Next, add the water, the instant vanilla pudding mix, and the yellow cake mix. Stir everything together thoroughly until a thick, uniform batter forms. Be careful not to overmix, as this can lead to a tough cake.
- Prepare your canoe pans (or alternative shaped pans) by greasing and flouring them well, or lining them if applicable. Evenly divide the thick batter among the prepared pans. Smooth the tops with a spatula to ensure consistent cake height.
- Bake for 15 to 20 minutes, or until the cakes are golden brown and spring back when lightly pressed with a finger. You can also insert a wooden skewer or toothpick into the center; if it comes out clean, the cakes are ready. Once baked, remove the pans from the oven and let them cool in the pans for a few minutes before inverting them onto wire racks to cool completely. This step is crucial; attempting to fill warm cakes will result in a melted, runny mess.
Twinkie Filling Instructions
- To prepare the irresistible filling, combine the room-temperature butter, cream cheese, and sifted confectioners’ sugar in a clean mixing bowl. Beat these ingredients together with an electric mixer until the mixture is light, smooth, and completely free of lumps. Finally, gently fold in the thawed whipped topping and vanilla extract until just combined. The filling should be airy and creamy.
- Once the cakes are completely cooled, you’re ready for the signature step: filling them! Use an icing injector (the kit often comes with the Norpro 3964 Cream Canoe Pan, or you can purchase one separately) to create three small holes along the bottom of each Twinkie cake. Carefully insert the injector tip into each hole and squeeze gently to fill the cake with the creamy mixture. Continue until you feel the cake has absorbed enough filling and feels plump. You’ll likely see a small amount of filling emerge from the holes when it’s full.
Kitchen Tools
- Twinkie Pan (or Canoe Pan)
- Icing Injector
- Large Mixing Bowl
- Electric Mixer
- Wire Racks
Nutrition
Calories from Fat 171
Tips for Success in Making Homemade Twinkies
- Room Temperature Ingredients: For the filling, ensure your butter and cream cheese are at room temperature. This is vital for a smooth, lump-free, and creamy consistency.
- Don’t Overmix the Batter: Overmixing can develop the gluten in the flour, leading to a tough cake. Mix until just combined.
- Cool Cakes Completely: Patience is key! Trying to fill warm cakes will cause the creamy filling to melt and seep out, ruining the texture.
- Sift Confectioners’ Sugar: This step prevents lumps in your filling, ensuring it’s perfectly smooth and pipeable.
- Practice Filling: If you’re new to using an icing injector, it might take a cake or two to get the feel for it. Don’t worry, even a slightly imperfectly filled Twinkie still tastes amazing!
- Storage: Store your homemade Twinkies in an airtight container in the refrigerator for up to 3-5 days. They are best enjoyed fresh, but they keep well.
Frequently Asked Questions About DIY Twinkies
Can I make these Twinkies without a special canoe pan?
While the canoe pan helps achieve the classic shape, you can use other small oval or mini loaf pans. The taste will be the same, just the appearance will differ slightly. You could even bake the cake in a sheet pan and use a cookie cutter to create oval shapes, though this might yield a flatter result.
What if I don’t have an icing injector?
You can try using a pastry bag fitted with a small round tip. However, an icing injector is typically more efficient and creates less mess for this specific task. Alternatively, you could cut the cakes in half lengthwise and spread the filling, but this won’t replicate the original “filled” experience.
Can I make this recipe gluten-free?
Yes, you can substitute the yellow cake mix with a gluten-free yellow cake mix. Ensure all other ingredients (like pudding mix) are also certified gluten-free. Results may vary slightly in texture.
How far in advance can I make the cakes or the filling?
You can bake the cakes a day in advance and store them in an airtight container at room temperature. The filling can also be made a day ahead and stored in the refrigerator. Just ensure the filling comes back to room temperature and is re-whipped briefly before filling the cakes for optimal consistency.
More Delicious Copycat Recipes to Try
If you’ve loved mastering these **DIY Twinkies**, you’re in for a treat! Our collection of copycat recipes brings restaurant favorites and snack aisle staples right into your kitchen. Explore some of our other popular creations:
- Chick-Fil-A Sauce: Recreate that famous dipping sauce for all your chicken and fry needs.
- Chili’s Salsa Recipe: A fresh and zesty salsa that’s perfect for parties or a quiet night in.
- Wendy’s Chili: Warm up with a hearty bowl of this classic fast-food chili, made even better at home.
- Texas Roadhouse Butter: That incredibly sweet, cinnamon-infused butter you crave with your rolls.
- Cracker Barrel Chicken and Dumplings: A comforting, soul-satisfying dish that tastes just like Grandma used to make.
- Olive Garden Zuppa Toscana: Enjoy a flavorful and robust Italian soup right from your slow cooker.
Explore Even More Tempting Recipes
Beyond our copycat delights, we have a vast array of recipes to satisfy every craving. Dive into more of our culinary explorations:
Discover more easy and delicious treats with all of our Yellow Cake Mix recipes.
For light and creamy desserts, check out all of our Cool Whip recipes.
Do you love exploring new flavors and culinary adventures? Be sure to check out all our delightful copycat recipes, indulgent dessert recipes, and our convenient CrockPot Recipes, perfect for any occasion.
Join Our Community!
Don’t miss out on any of our exciting recipe posts and kitchen tips! Follow Tammilee Tips on MSN, Facebook, Instagram, and Pinterest. We love seeing your creations, so be sure to tag us!
Recipe originally shared on November 17, 2012. Updated in September 2020.
