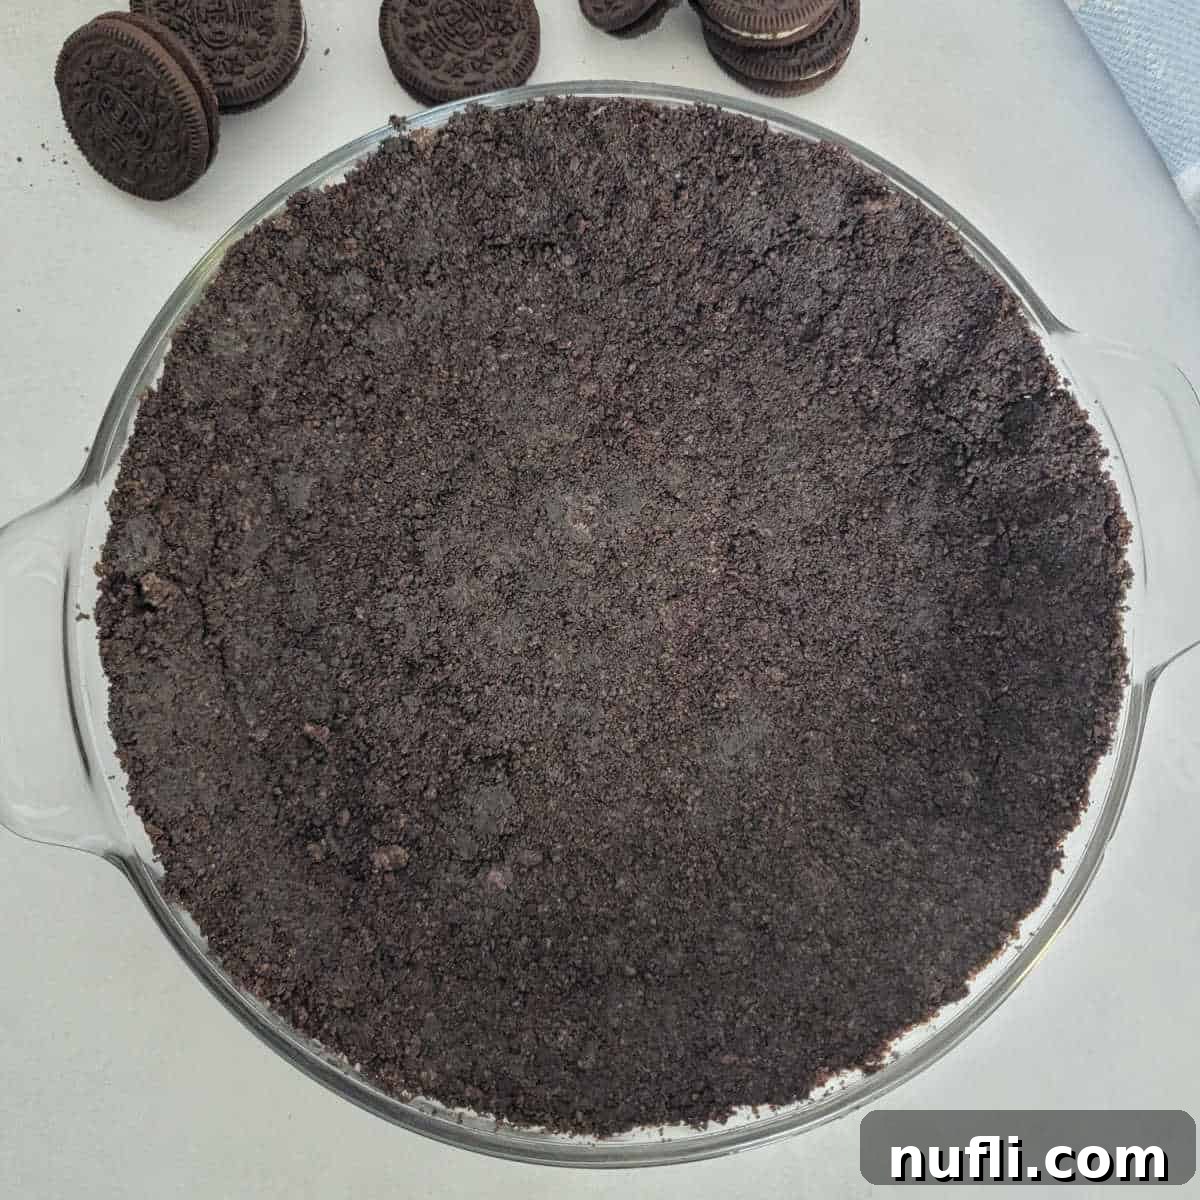
This easy Oreo Pie Crust takes minutes to prepare! It’s the perfect base for no-bake cheesecakes and ice cream cakes.
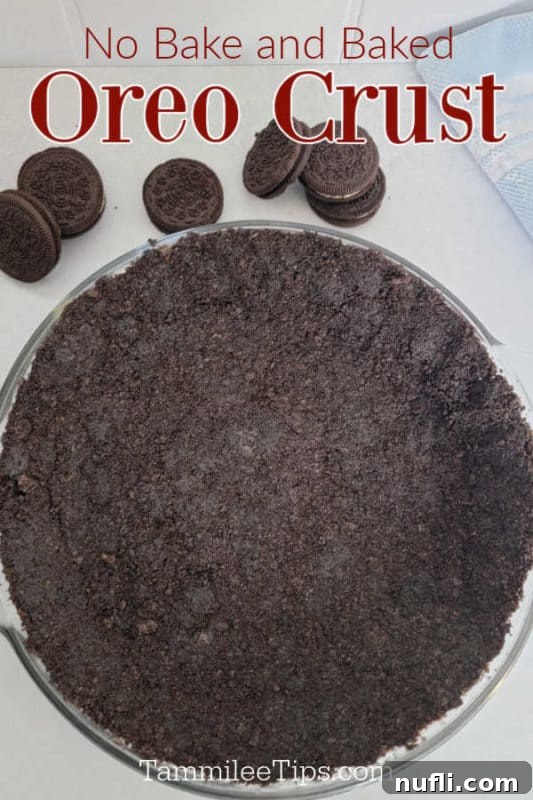
Crafting the Perfect Homemade Oreo Pie Crust: A Comprehensive Guide
There’s an undeniable charm and convenience to a perfectly prepared pie crust. While store-bought options promise ease, they often fall short on taste, leaving us with a stale, uninspired foundation for our desserts. That familiar disappointment after purchasing yet another lackluster crust was the catalyst for a delightful discovery: crafting a homemade Oreo cookie crust is not only incredibly simple but also yields a superior, fresh, and irresistibly delicious base. This easy-to-follow guide will walk you through creating an amazing Oreo pie crust that will elevate any dessert, from classic no-bake cheesecakes to decadent ice cream pies.
Making your own Oreo pie crust is a game-changer for any dessert enthusiast. Forget the bland, crumbly texture of pre-made crusts. With just two simple ingredients and a few minutes of preparation, you can achieve a rich, chocolatey, and perfectly textured crust that’s ready to impress. The best part? These homemade wonders can be prepped in advance, ensuring you’re always ready to whip up a show-stopping dessert like a no-bake Oreo Cheesecake or an epic strawberry pie. The secret lies in the quality of the ingredients and the simplicity of the method.
What truly sets homemade Oreo crusts apart is the ability to customize them with an array of exciting Oreo flavors. The possibilities are virtually endless, making each dessert creation unique. Imagine the vibrant taste of Mint Oreos complementing a festive St. Patrick’s Day treat, or the intensified chocolate goodness of Chocolate Oreos providing an extra layer of decadence. For Nutella aficionados, Chocolate Hazelnut Oreos offer a sophisticated twist, while Peanut Butter Oreos are a dream come true for anyone who adores the classic chocolate and peanut butter pairing. I’m personally eager to try a bright, zesty no-bake cheesecake atop a crust made from Lemon Oreos – hello, pure deliciousness!
This quick and easy pie crust recipe is so straightforward, you’ll wonder why you ever bought one from the store. With only four main steps, even novice bakers can achieve a perfect result every time. Whether you choose to bake it for a slightly crispier texture or chill it for a classic no-bake finish, this Oreo cookie crumb crust is guaranteed to be a crowd-pleaser and the perfect foundation for your culinary masterpieces.
Essential Ingredients for Your Oreo Pie Crust
Crafting this incredible Oreo pie crust requires minimal ingredients, proving that simplicity often leads to the most satisfying results. Here’s a detailed look at what you’ll need to create a truly epic crust. Specific measurements and comprehensive step-by-step instructions are provided in the full recipe card at the end of this article.
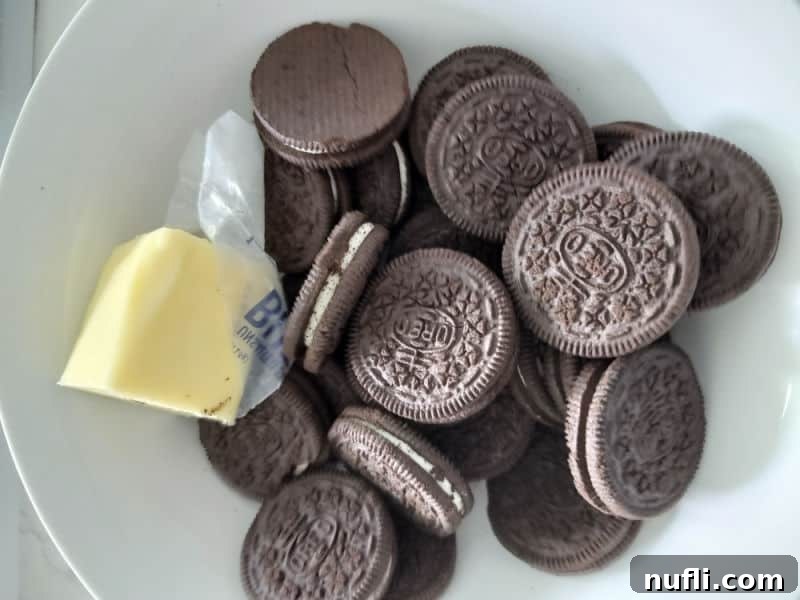
- Oreo Chocolate Sandwich Cookies: The star of our show! You have complete freedom here to choose your favorite variety. Classic Oreos provide that timeless chocolate and cream flavor, but don’t hesitate to experiment with gluten-free Oreos, Double Stuffed, or even Thin Oreos. Each type offers a slightly different texture and flavor profile, opening up a world of possibilities for your desserts. Consider using specific flavors to match your pie filling, such as Mint Oreos for a grasshopper pie or peanut butter Oreos for a chocolate peanut butter dream.
- Unsalted Butter: Butter is crucial for binding the cookie crumbs together and creating a firm, cohesive crust. We recommend using unsalted butter to give you complete control over the overall saltiness of your crust. If you only have salted butter on hand, you can use it, but be mindful of any additional salt in your pie filling. For those looking for a vegan alternative, plant-based butter works wonderfully as well. Ensure it’s melted before mixing.
Optional Ingredient: Granulated Sugar. Depending on the sweetness of your pie filling and your personal preference, you might consider adding a tablespoon or two of granulated sugar to your no-bake pie crust mixture. This is entirely optional, as Oreos are already quite sweet, but it can enhance the overall flavor balance, especially with a tart filling. Fine granulated sugar mixes best with the crumbs.
Tools and Equipment You’ll Need
Having the right tools can make the process even smoother and more enjoyable. While some items are essential, others offer convenient alternatives. Here’s a list of equipment to prepare your homemade Oreo crust:
- 9-inch Pie Plate or Springform Pan: The choice between these depends on your dessert. A standard 9-inch pie plate is perfect for traditional pies that will be sliced directly from the dish. For cheesecakes or multi-layered desserts that you want to easily remove and present beautifully, a springform pan with its removable sides is ideal. Ensure your pan is clean and ready.
- Measuring Cups: Essential for accurately measuring your melted butter and, if you choose, any optional sugar. Precision helps ensure the perfect consistency for your crust.
- Food Processor or Blender: These kitchen powerhouses are the quickest and most efficient way to transform whole Oreos into fine, uniform crumbs. Achieve the best results by processing until no large chunks remain. If you don’t have either, don’t worry! You can easily crush the Oreos by placing them in a sturdy freezer bag and using a rolling pin or the bottom of a heavy glass. This method is also a fantastic and fun way to get kids involved in the dessert-making process, making it a true family activity.
- Microwave Silicone Cover: A highly recommended accessory for melting butter safely and cleanly. I can’t stress enough how much these covers prevent messy butter splatters inside your microwave. Far too many baking sessions have been interrupted by butter explosions, but this simple lid keeps the butter contained in its bowl and off the microwave’s interior, saving you cleanup time.
- Large Mixing Bowl: You’ll need a spacious bowl to combine your Oreo crumbs and melted butter thoroughly. A bowl large enough to allow for easy stirring without spillage is key.
How to Prepare Your Perfect Oreo Pie Crust
Creating this delicious Oreo pie crust is incredibly simple, requiring just a few steps. While complete instructions and exact measurements are detailed in the printable recipe card below, here’s a concise overview to get you started on your culinary adventure.
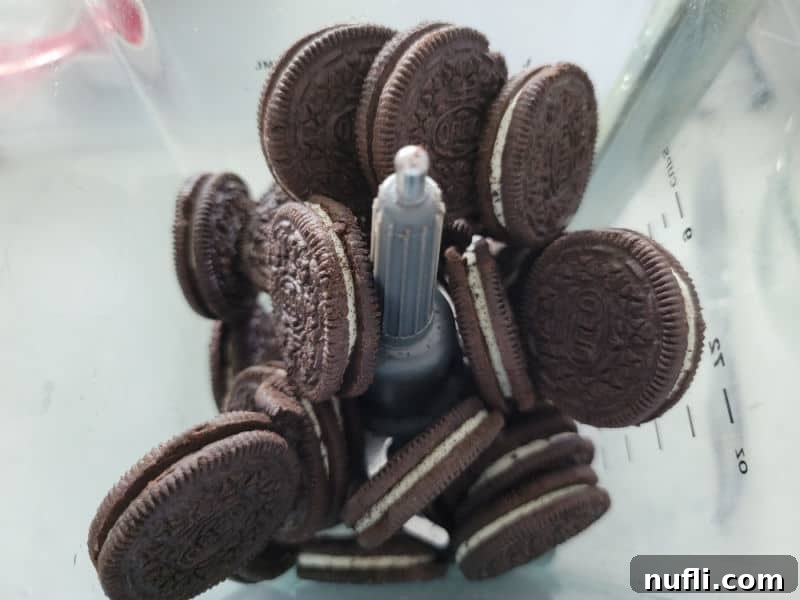
Step 1: Transform Oreos into Fine Crumbs. Begin by adding your desired quantity of Oreo cookies, including their creamy filling, into a food processor or a high-powered blender. Process them until they are transformed into very fine, uniform crumbs. The consistency should resemble finely ground coffee or sand. Ensuring the crumbs are consistently fine is crucial for a smooth and well-bound crust that won’t fall apart. Avoid leaving any large chunks, as these can create weak spots in your crust.
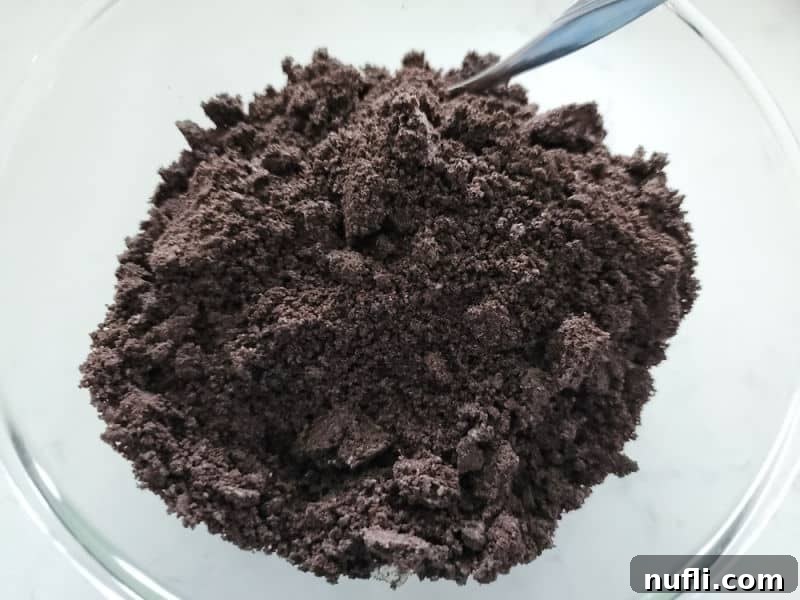
Step 2: Combine Crumbs with Melted Butter. Transfer the finely crushed Oreo crumbs into a large mixing bowl. Pour the melted unsalted butter over the crumbs. Stir the mixture thoroughly using a spoon or spatula until the butter is evenly distributed and every crumb is moistened. The ideal consistency you’re aiming for is similar to wet sand – when you press a small amount between your fingers, it should hold together without being excessively greasy or overly dry. This “wet sand” texture is vital for a crust that holds its shape beautifully.
If you find that your Oreo crumb mixture is too dry and doesn’t hold together, gradually add more melted butter, one tablespoon at a time, mixing well after each addition, until the desired consistency is achieved. Conversely, if your mixture feels too wet or greasy, incorporate a few more crushed Oreo crumbs until the moisture level feels just right, allowing the mixture to stick together easily without being sticky.
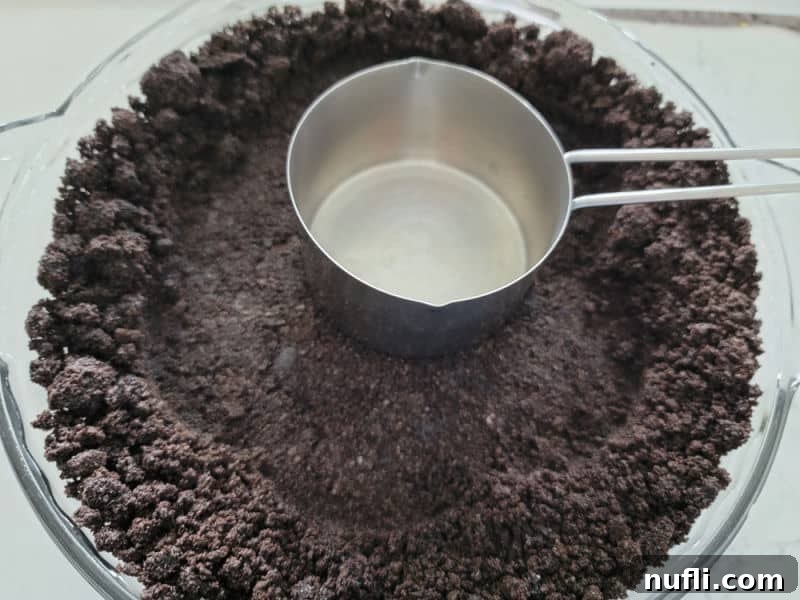
Step 3: Press into Your Pan. Once your Oreo crumb mixture has the perfect wet sand consistency, pour it into your chosen pie dish or springform pan. Begin by evenly spreading the mixture across the bottom of the pan. Then, using the bottom of a flat-bottomed measuring cup, a glass, or even your clean hands, firmly press the crumbs down to create a compact and even layer on the bottom. Continue pressing the mixture up the sides of the pan, forming a uniform crust around the edges. A firm, even press ensures that your crust will be sturdy and won’t crumble when sliced. Take your time to achieve a smooth and consistent thickness.
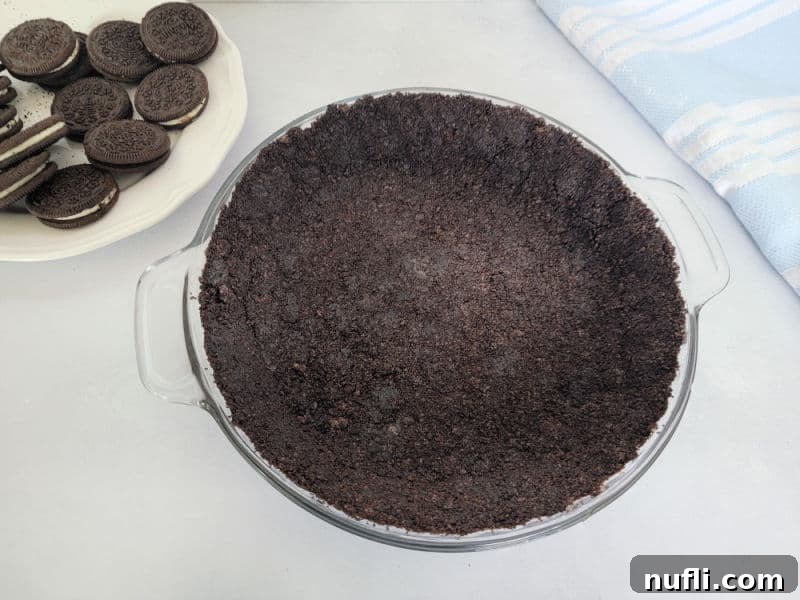
Step 4: Chill or Bake to Set. The final step is to set your crust. For a classic no-bake pie crust, place the pan in the refrigerator for a minimum of 30 minutes, or ideally for an hour or more, to allow the butter to solidify and bind the crumbs firmly. For an even quicker set, especially if you’re short on time, you can freeze the crust for about 15-20 minutes. If you prefer a slightly crisper, more baked crust, you can bake it in a preheated oven at 350°F (175°C) for 8-10 minutes. Baking will give it a slightly toasted flavor and a firmer texture. Allow a baked crust to cool completely before adding any filling.
Preparation, Storage, and Baking Tips
One of the many benefits of this homemade Oreo pie crust is its versatility and make-ahead friendliness. Proper preparation and storage can ensure you always have a perfect base ready for your dessert creations.
Make-Ahead & Storage: This Oreo Pie Crust is perfectly suited for advance preparation, saving you valuable time when you’re ready to assemble your dessert. After pressing the crust into the pan, wrap it snugly. For optimal freshness and to prevent freezer burn, first wrap it tightly in plastic wrap, then follow with a layer of aluminum foil. Alternatively, store it in an airtight container. Your prepared crust can be stored in the refrigerator for up to three days or frozen for an extended period of up to three months. When ready to use a frozen crust, simply let it thaw in the refrigerator for a few hours or at room temperature for about 30 minutes before adding your filling.
How to Bake (for a crispier crust): While primarily a no-bake recipe, you can easily bake this pie crust if you prefer a firmer, slightly crispier texture. To do so, preheat your oven to 350°F (175°C). Place the crust in the oven and bake for 8-10 minutes. Keep an eye on it to prevent over-browning. Once baked, allow it to cool completely on a wire rack before filling to ensure it sets properly and doesn’t make your filling soggy.
Creative Recipe Variations and Dietary Adaptations
This simple Oreo pie crust recipe is a fantastic starting point for endless culinary creativity. Here are some ways to adapt it to your preferences and dietary needs:
Substitutions for Oreos: The beauty of this recipe lies in its adaptability to different Oreo flavors. Feel free to use regular, gluten-free, or any special edition Oreo flavor you love. Consider the overall flavor profile of your dessert. For instance, a chocolate mint filling would be divine with Mint Oreos, while a berry pie might pair wonderfully with Golden Oreos or Lemon Oreos for a bright contrast.
Vegetarian Option: This recipe is inherently vegetarian, as all ingredients (Oreo cookies and butter) are derived from plant-based or dairy sources, making it suitable for lacto-ovo vegetarians without any modifications.
Vegan Option: To make this recipe completely vegan, the only substitution required is swapping traditional unsalted butter for a high-quality plant-based butter alternative. Many reliable vegan butter brands are available on the market that perform identically to dairy butter in this recipe. While some sources suggest regular Oreos are “accidentally vegan,” it’s worth noting that Nabisco (the manufacturer) states that Oreos are not certified vegan due to cross-contamination risks in production. Therefore, for strict vegan eaters, using a certified vegan cookie brand or a specific vegan Oreo alternative would be the safest choice.
Gluten-Free: For individuals following a gluten-free diet, simply use Oreo’s readily available gluten-free variety. These cookies are specifically formulated to provide the same delicious taste and texture as original Oreos but without gluten, ensuring everyone can enjoy this delightful crust.
Alcohol-Free Option: This two-ingredient recipe is naturally alcohol-free, making it suitable for all audiences. In traditional pie doughs, alcohol (like vodka) is sometimes used to inhibit gluten development, resulting in a flakier crust. However, for this crumb crust, there’s no need for such additions, and it achieves its perfect texture without any alcohol. If you’re curious about the science behind using alcohol in other types of pie dough, resources like Cook’s Illustrated’s guide offer fascinating insights.
Smaller Serving Size & Larger Group/More Servings: The provided recipe is designed to perfectly fill a standard 9-inch pie pan, yielding approximately 8 servings. To create smaller, individual tart shells for elegant single-serving desserts, simply spread the mixture across multiple tart pans and adjust chilling or baking times accordingly. For larger gatherings or if you wish to make multiple pies, this recipe is easily scalable. Simply double the ingredients for each additional 9-inch pie crust you intend to make.
Sugar-Free: The standard recipe contains approximately 15 grams of sugar per serving, primarily from the Oreos. To create a sugar-free version of this crust, opt for readily available sugar-free Oreo cookies. This simple swap allows you to enjoy a delicious crust without added sugars, catering to dietary restrictions or preferences.
Expert Tips for the Ultimate Oreo Pie Crust
Achieving the perfect Oreo pie crust is straightforward, but a few expert tips can ensure your crust is consistently excellent and serves as the ideal foundation for any dessert:
- Adjust Sweetness if Desired: Depending on the sweetness level of your pie filling, you might consider adding 1-2 tablespoons of granulated sugar to your no-bake pie crust mixture. This is particularly useful if your filling is tart or less sweet, helping to balance the overall flavor profile.
- Mastering the Consistency: The “wet sand” consistency is paramount. If your crumb mixture appears too dry and doesn’t hold together when squeezed, incorporate additional melted butter, one tablespoon at a time, until the crumbs are evenly moistened and bind well. Conversely, if the mixture feels overly wet or greasy, add a few more finely crushed Oreo crumbs to absorb the excess moisture until the texture is just right – cohesive but not sticky.
- Fine Crumbs are Key: Ensure your Oreos are crushed into very fine, uniform crumbs. Larger pieces can prevent the crust from binding properly, leading to a crumbly texture. A food processor or blender is best for this, but a rolling pin can work effectively with patience.
- Press Firmly and Evenly: When pressing the mixture into your pie pan, use a consistent, firm pressure to create a compact and even layer across the bottom and up the sides. This prevents the crust from falling apart when sliced and creates a neat edge. The bottom of a measuring cup or a flat glass works wonders for this.
- Chill Thoroughly for No-Bake: For no-bake applications, adequate chilling time is crucial. Refrigerate your crust for at least 30 minutes, or longer, to allow the butter to firm up and fully set the crust. A well-chilled crust is easier to fill and less prone to crumbling.
- Cool Completely if Baked: If you opt to bake your crust for a crispier texture, make sure it cools entirely before adding any filling. Adding a filling to a warm crust can cause it to become soggy.
- Nutritional Considerations: Be aware that nutrition information, including calories, protein, carbohydrates, fats, and vitamins, will vary depending on the specific Oreo flavor, butter type, and any additional ingredients used. Always check the labels of your chosen products for precise details.
Delicious Ways to Utilize Your Homemade Oreo Crust
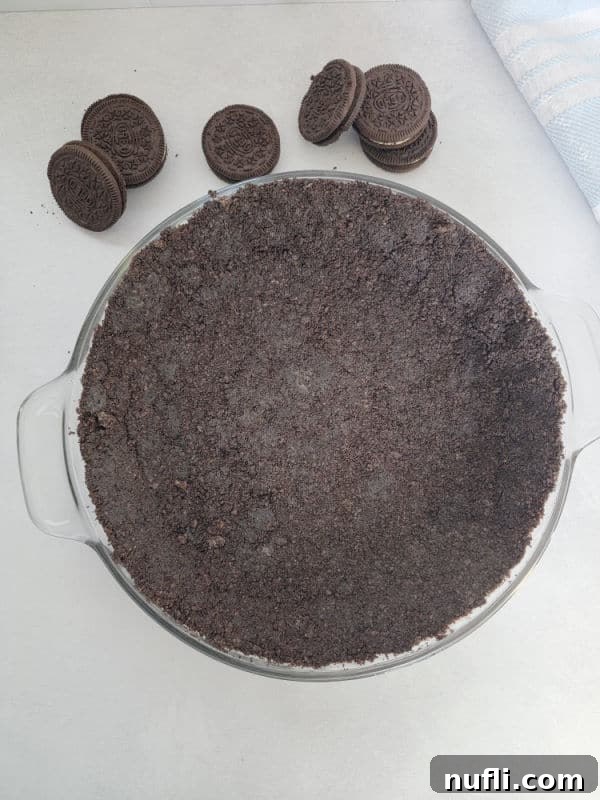
The versatility of this easy Oreo pie crust makes it the perfect foundation for a wide array of delectable desserts. Its rich chocolate flavor complements almost any filling, making it a go-to choice for countless recipes. Here are some of our absolute favorite ways to use this epic crust, along with other inspiring ideas:
- No Bake Oreo Cheesecake: A classic pairing! The creamy cheesecake filling is perfectly balanced by the crumbly, chocolatey base.
- Grasshopper Pie: The minty freshness of a grasshopper pie filling finds its ideal match with the deep chocolate notes of an Oreo crust, especially if you use Mint Oreos!
- Classic No Bake Cheesecake: For a simple yet elegant dessert, a traditional vanilla or cream cheese filling shines beautifully on this chocolate crust.
- Chocolate Pie: Double down on chocolate for an ultimate indulgence. A silky smooth chocolate filling becomes even more irresistible with an Oreo base.
- Ice Cream Pie: Perfect for summer! Fill the crust with your favorite ice cream flavor, freeze, and enjoy a cool, refreshing treat.
- Banana Cream Pie: The sweet creaminess of banana slices and pudding are wonderfully contrasted by the rich, crumbly crust.
- Strawberry Pie: Fresh, vibrant strawberries in a glistening glaze sitting atop a chocolate crust create a delightful flavor explosion.
- Oreo Pie: An Oreo-lover’s dream! Layers of creamy filling, often with more crushed Oreos, all housed within an Oreo crust.
- Peanut Butter Pie: The iconic duo of chocolate and peanut butter comes to life in this irresistible pie.
- Lemon Icebox Pie: A tangy, refreshing lemon filling provides a superb counterpoint to the sweet chocolate crust.
- No-Bake Pumpkin Pie: A surprisingly delightful combination, especially for fall. The spice of pumpkin pairs well with chocolate.
- Hershey Chocolate Pie: Simple, rich, and utterly satisfying, this chocolate pie is elevated by the Oreo base.
- No Bake Raspberry Pie: The tartness of raspberries beautifully cuts through the richness of the chocolate.
- No-Bake Pumpkin Butterscotch Pie: A unique blend of flavors that creates a comforting and indulgent dessert.
When to Serve Your Oreo Pie Crust Desserts
Desserts made with this fantastic Oreo pie crust are incredibly versatile and perfect for almost any occasion. Their crowd-pleasing appeal makes them an excellent choice whether you’re hosting an intimate gathering or a large celebration.
- Family Dinners: A simple yet special way to end a weeknight meal or celebrate a family occasion.
- Potlucks: Easy to transport and universally loved, an Oreo crust dessert is always a hit at potlucks.
- Holiday Parties: From festive winter holidays to spring celebrations, these desserts add a touch of joy.
- Summer Barbecues: Especially when filled with ice cream or a light fruit cream, they offer a refreshing cool-down.
- Chocolate Festivals: A must-have for any event celebrating chocolate, highlighting the rich flavor of Oreos.
- Birthdays and Anniversaries: A customized pie or cheesecake with an Oreo base can make any celebration sweeter.
More Irresistible Oreo Dessert Recipes
If you’re a true Oreo aficionado, your love for these iconic cookies doesn’t have to stop at pie crusts! Oreos are incredibly versatile and can be incorporated into a myriad of other delightful desserts. Here are some more fantastic Oreo-inspired recipes to satisfy your cravings:
- Oreo Milkshake: A thick, creamy, and undeniably decadent treat, perfect for cooling down on a warm day.
- Oreo White Chocolate Bark: Incredibly easy to make with just two ingredients, this bark is a perfect gift or quick snack.
- Oreo Fluff (Oreo Salad): A light and airy dessert salad that’s deceptively simple but packed with flavor.
- Oreo Poke Cake: A moist cake infused with a creamy Oreo mixture, offering layers of deliciousness.
- Oreo Fudge: Rich, smooth, and incredibly simple to make, this fudge is a chocoholic’s dream.
- Oreo Rice Krispie Treats: A fun twist on a classic, these treats are chewy, crunchy, and full of Oreo goodness.
Explore more delicious recipes on Tammilee Tips, including our popular copycat recipes, a wide variety of dessert recipes, and our comforting CrockPot recipes. Don’t forget to follow Tammilee Tips on Facebook, Instagram, Pinterest, and Twitter for all our latest recipe posts and culinary inspiration!

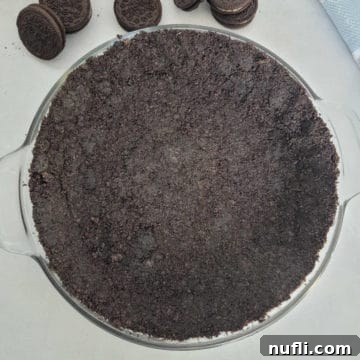
Oreo Pie Crust Recipe
Easy no bake or baked Oreo Pie Crust recipe that is perfect for no bake desserts.
Prep Time: 10 minutes
Total Time: 10 minutes
Servings: 8
Calories: 224 kcal
Author: Tammilee Tips
Ingredients
- 25 Oreo cookies
- 4 Tablespoon Butter, melted
Instructions
- Food process or blend the Oreo Cookies until they are fine crumbs.
- Add Oreo crumbs to a bowl and pour in melted butter. Stir together until evenly mixed. It will feel like wet sand.
- Pour the Oreo mixture into your pan and press evenly on the bottom and sides.
- No Bake Pie Crust – Refrigerate for a minimum of 30 minutes before adding pie filling.
- Baked Oreo Pie Crust – Bake at 350 degrees for 8-10 minutes.
Kitchen Tools
- Pie Dish
- Food processor
- Blender
Nutrition Facts
Nutrition Facts
Oreo Pie Crust Recipe
Amount Per Serving
Calories 224 Calories from Fat 117
% Daily Value*
Fat 13g 20%
Saturated Fat 6g 38%
Trans Fat 0.3g
Polyunsaturated Fat 2g
Monounsaturated Fat 5g
Cholesterol 15mg 5%
Sodium 191mg 8%
Potassium 89mg 3%
Carbohydrates 27g 9%
Fiber 1g 4%
Sugar 15g 17%
Protein 2g 4%
Vitamin A 176IU 4%
Calcium 10mg 1%
Iron 5mg 28%
* Percent Daily Values are based on a 2000 calorie diet.
