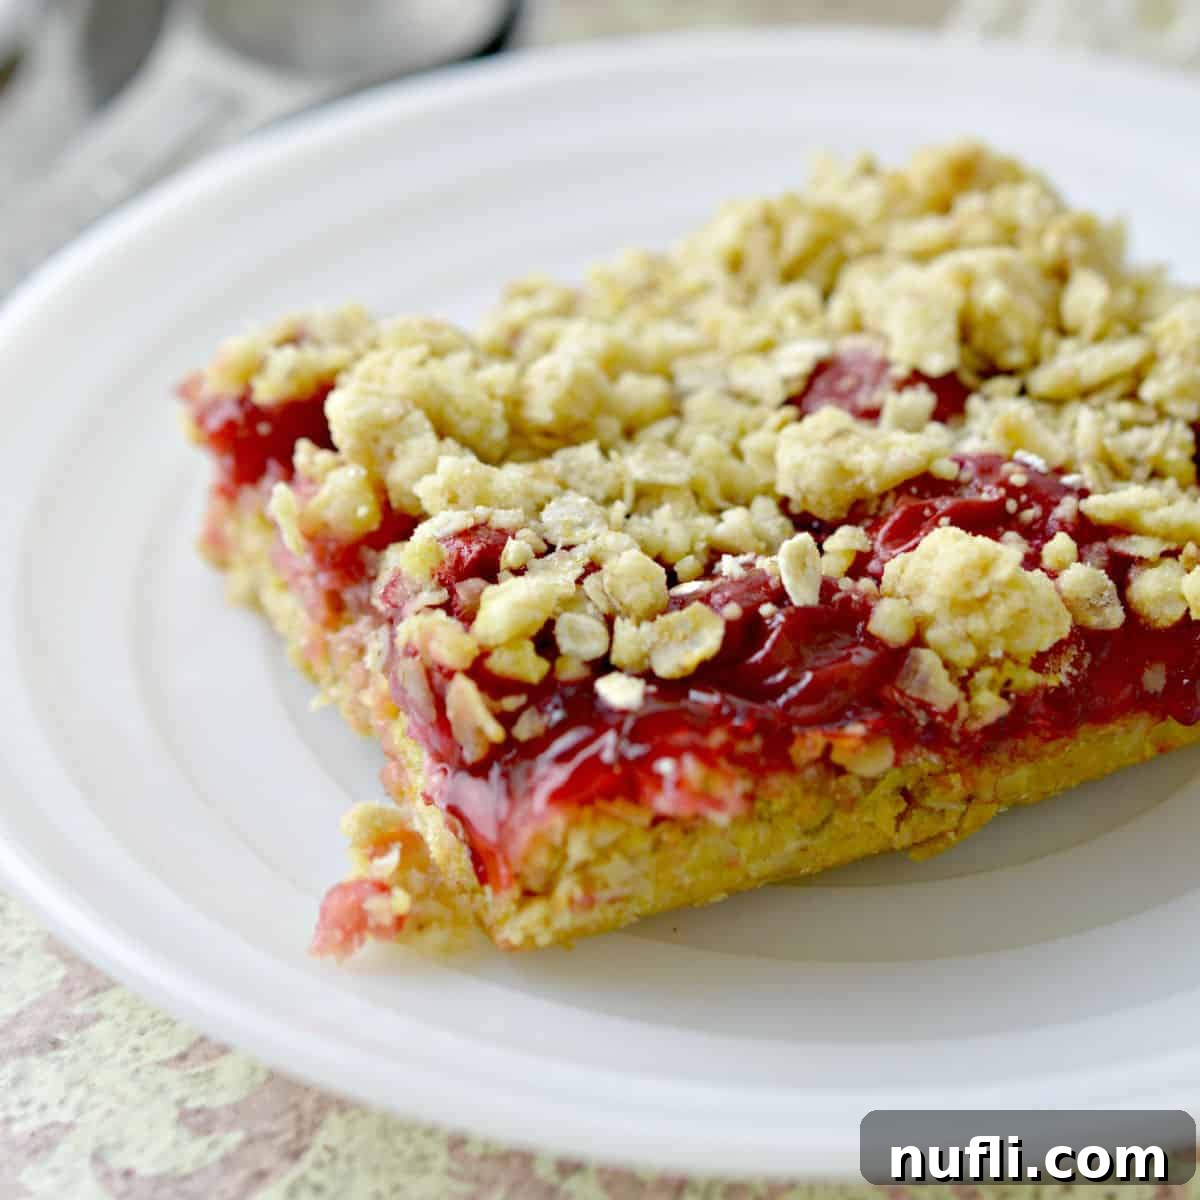
Easy 4-Ingredient Cherry Cake Bars: Your New Go-To Dessert
Discover the ultimate sweet treat that promises minimal effort and maximum deliciousness! These Easy 4-Ingredient Cherry Cake Bars are a fantastic dessert for any occasion, especially when you need something quick, satisfying, and made with simple pantry staples. Forget complicated recipes; with just a box of cake mix, quick-cooking oats, butter, and cherry pie filling, you can whip up a batch of these irresistible bars in no time.
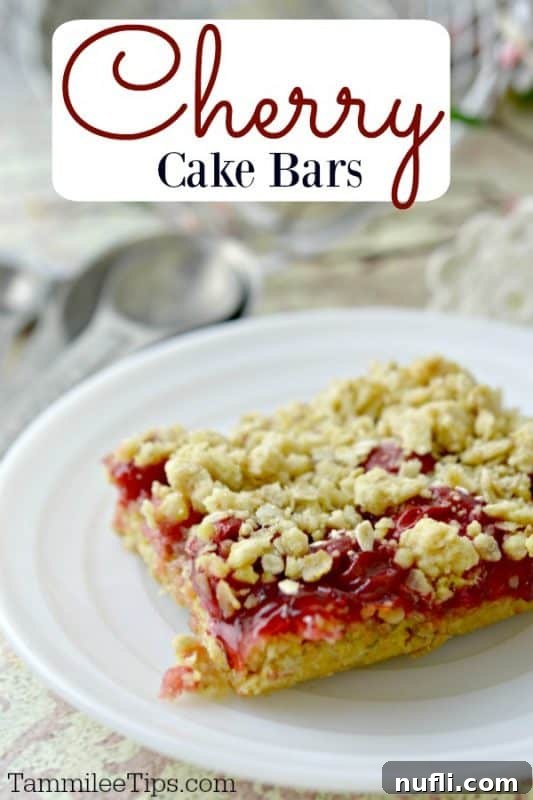
Why You’ll Adore These Easy Cherry Cake Bars
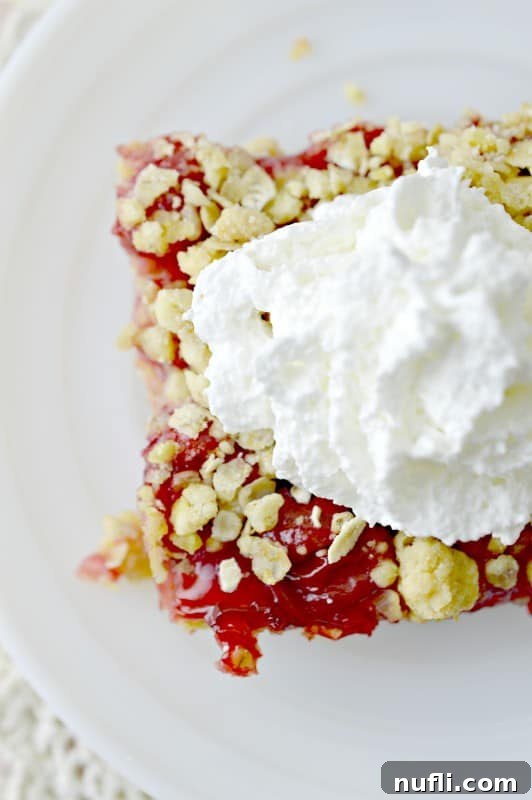
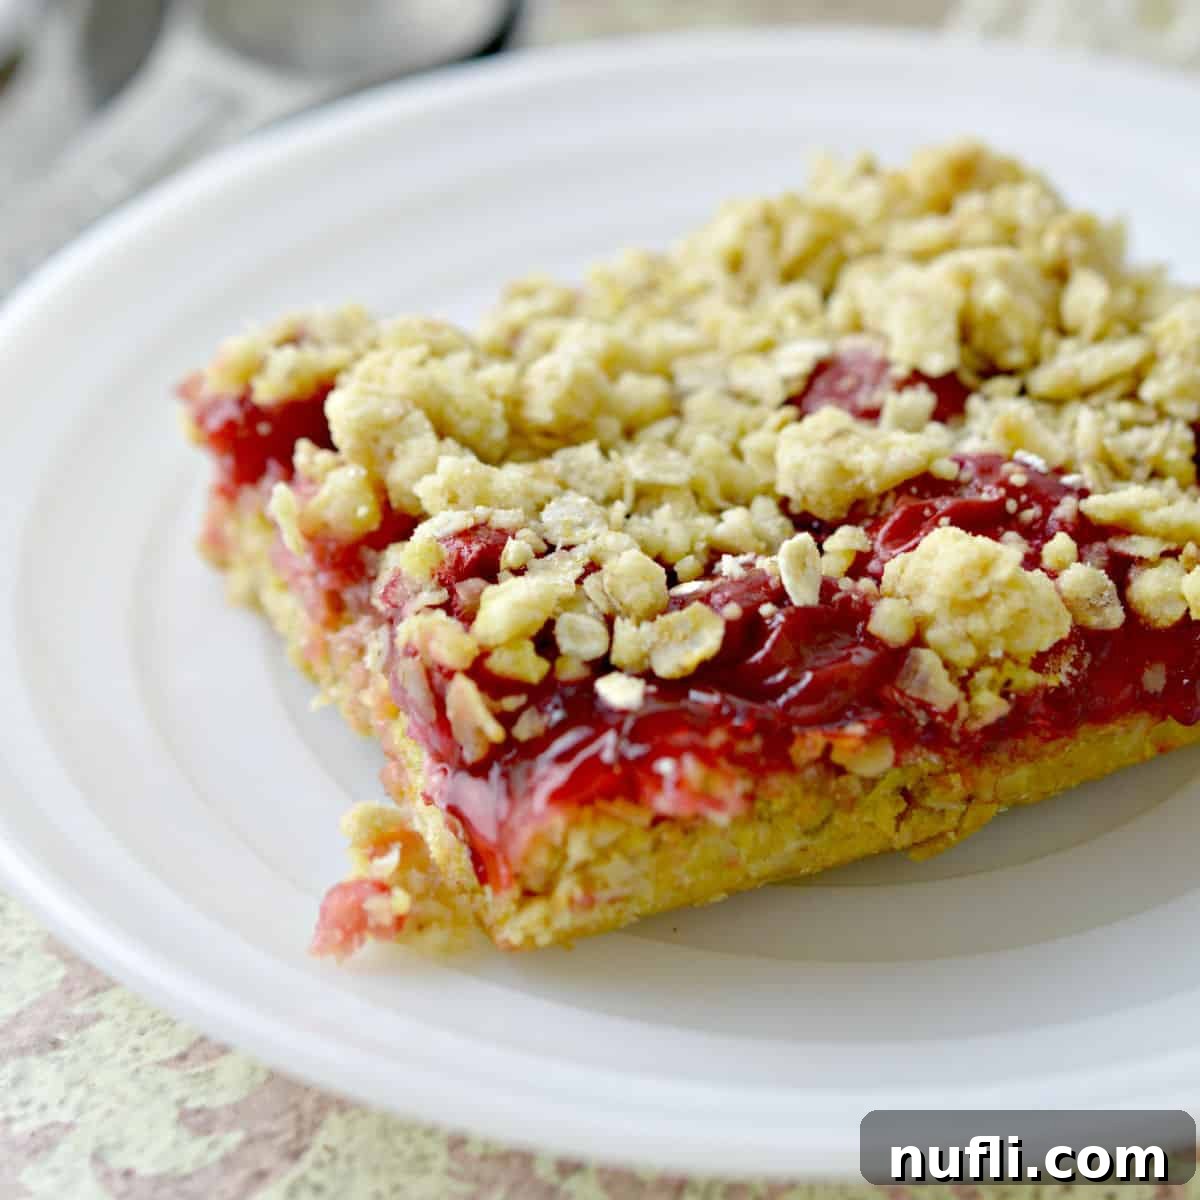
There’s something incredibly satisfying about baking, and these cherry cake bars truly embody that joy, especially during the warmer months. Imagine biting into a soft, crumbly bar bursting with sweet cherry flavor, perfectly complemented by a buttery oat crust. It’s the kind of dessert that makes your home smell divine and your taste buds sing, all without spending hours in the kitchen.
This recipe is a lifesaver for busy individuals, families, and anyone who appreciates a straightforward approach to baking. We believe that delicious food doesn’t have to be difficult. That’s why we’re dedicated to sharing recipes that save you precious time, allowing you more moments to enjoy life – whether that’s soaking up the sunshine, diving into a good book, cherishing family time, or simply unwinding. In today’s fast-paced world, finding moments of calm and creativity, like baking a delightful dessert, can be a wonderful way to de-stress and bring comfort.
These bars are not only incredibly easy to assemble, requiring just a few minutes of active prep time, but they also use ingredients you likely already have on hand. They are perfect for last-minute gatherings, a comforting weeknight treat, or a delightful addition to any potluck spread. Get ready to impress with this effortlessly charming dessert!
The Simple Magic Behind Cherry Cake Bars: Ingredients
The beauty of these cherry cake bars lies in their simplicity. You only need four core ingredients, and the results are truly epic! Here’s a closer look at what makes these bars so special:
- Yellow Cake Mix: This is our secret weapon for speed and convenience. A classic yellow cake mix provides a sweet, tender base that blends beautifully with the other ingredients to form a rich, crumbly dough. While yellow is a traditional choice, feel free to experiment with other complementary flavors like French vanilla, white cake, or even a spice cake mix for a unique twist.
- Quick-Cooking Oats: Oats are crucial for achieving that delightful crumbly texture and adding a subtle nutty flavor. Quick-cooking oats are preferred here because they integrate seamlessly into the mixture without needing extra soaking or processing. They provide a wonderful chewiness that elevates the bar from a simple cake to a more substantial, satisfying treat.
- Butter: The foundation of any good bar recipe, butter provides richness and helps bind the crumbly mixture together. We recommend using unsalted butter so you can control the salt content, though salted butter works fine if that’s what you have. Ensure your butter is softened for easier mixing, or melted if specified in the detailed recipe instructions.
- Cherry Pie Filling: The star of the show! Canned cherry pie filling offers convenience and consistent flavor. Its vibrant color and sweet-tart taste are the perfect complement to the buttery oat crust. Look for a quality brand for the best results, or even consider a “no sugar added” variety if you’re mindful of sugar intake.
Essential Equipment for Baking Success
While this recipe is incredibly simple, having the right tools can make the process even smoother. Here’s a list of equipment that will help you achieve perfect cherry cake bars every time:
- Large Mixing Bowl: A spacious mixing bowl is essential for combining the cake mix, oats, and butter without making a mess. We are big fans of glass batter bowls with a handle, as they provide stability on the counter and make pouring or transferring ingredients much easier.
- Kitchen Spoon or Whisk: A sturdy spoon or whisk is all you need to thoroughly combine your dry ingredients and then incorporate the butter until the mixture achieves that perfect crumbly texture.
- 9×13 Inch Baking Dish: This standard baking dish size is ideal for creating a batch of 16 perfectly sized bars. Its dimensions ensure even baking and a consistent thickness for your crust and filling layers.
- Microwave Silicone Cover (Optional but Recommended): If you melt your butter in the microwave, a silicone cover is a game-changer. It effectively prevents butter splatters and explosions, keeping your microwave clean and saving you from extra scrubbing. Trust us, it’s a small investment that makes a big difference in kitchen tidiness!
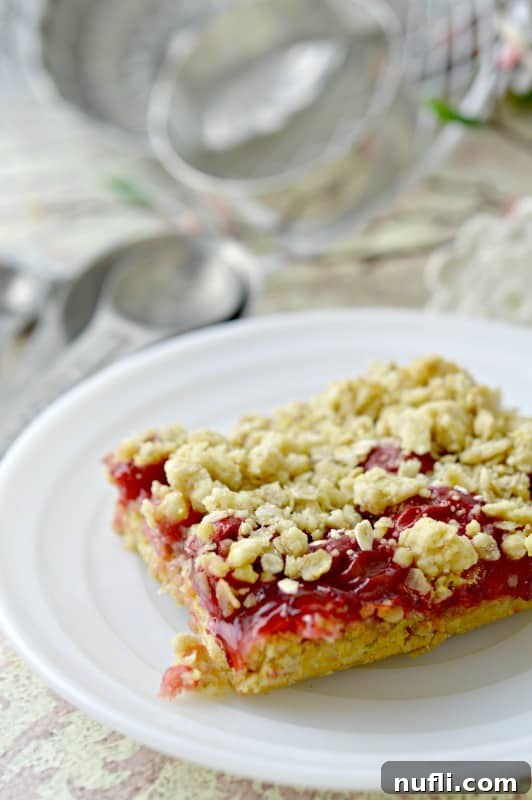
How to Make Irresistible Cherry Cake Bars: Step-by-Step
Creating these delightful cherry cake bars is surprisingly straightforward. Follow these simple steps for a dessert that tastes homemade with minimal effort:
- Preheat Your Oven: Start by preheating your oven to 350°F (175°C). This ensures your bars begin baking immediately at the correct temperature for even cooking.
- Prepare the Crumb Mixture: In your large mixing bowl, combine the yellow cake mix and quick-cooking oats. Mix them thoroughly to ensure they are well integrated. Next, add the softened (or melted) butter. Using a spoon or your hands, mix until the ingredients are well combined and the mixture forms a crumbly texture. It should resemble wet sand with small clumps.
- Form the Bottom Crust: Lightly grease your 9×13 inch baking pan. This prevents sticking and ensures easy removal of the bars. Pour approximately half of the crumb mixture into the prepared pan. Using your fingers or the back of a spoon, gently but firmly press the mixture evenly into the bottom of the pan to form a compact crust. This creates a sturdy base for your filling.
- Add the Cherry Filling: Open your can of cherry pie filling and carefully pour it over the prepared crust. Use a spatula or the back of a spoon to spread the filling evenly across the entire surface of the crust, making sure to reach the edges.
- Top with Remaining Crumbles: Take the remaining half of the crumb mixture and sprinkle it evenly over the cherry pie filling. Don’t press this layer down; leave it loose and crumbly to create a beautiful, textured topping.
- Bake to Perfection: Place the baking dish in your preheated oven and bake for about 20-25 minutes, or until the top crumb layer is lightly golden brown and the filling is bubbly. The exact baking time may vary slightly depending on your oven.
- Cool and Serve: Once baked, remove the pan from the oven and allow the cherry cake bars to cool completely on a wire rack before cutting them into squares. Cooling is crucial for the bars to set properly, making them easier to cut and ensuring they hold their shape.
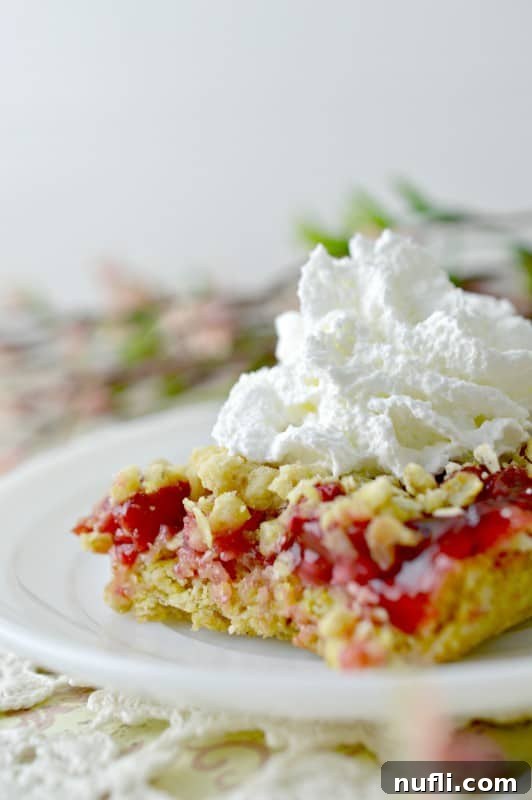
Tips for Success and Flawless Cherry Cake Bars
Achieving the perfect cherry cake bars is simple, but a few expert tips can make all the difference:
- Don’t Overmix: When combining the cake mix, oats, and butter, mix just until a crumbly mixture forms. Overmixing can develop the gluten in the cake mix, potentially leading to a tougher crust.
- Even Crust is Key: Ensure the bottom crust is pressed firmly and evenly into the pan. This provides a consistent base and prevents the cherry filling from seeping through.
- Room Temperature Butter: If using softened butter, make sure it’s truly at room temperature. This allows it to incorporate smoothly and create a uniform crumb. If your recipe calls for melted butter, ensure it’s slightly cooled before adding to avoid cooking the dry ingredients.
- Check for Doneness: The bars are done when the top crust is golden brown and the cherry filling is visibly bubbling around the edges. A toothpick inserted into the crust may not come out completely clean due to the filling, but the cake-like part should be set.
- Cool Completely: Patience is a virtue here! Letting the bars cool completely before cutting is essential. This allows the filling to set and the bars to firm up, making for clean, neat slices.
- Adjust for Pan Size: While a 9×13 inch pan is recommended, if using a different size, adjust baking time accordingly. A smaller pan will result in thicker bars that may need more time, while a larger pan will yield thinner bars that cook faster.
Preparation and Storage Guide
These cherry cake bars are not just easy to make, they’re also a breeze to store, making them perfect for planning ahead or enjoying over several days.
Make Ahead
You can prepare the dry cake batter mixture (cake mix, oats, butter) ahead of time and store it in an airtight container in the refrigerator for up to 24 hours before you plan to bake. This helps streamline your baking process on the day you want to serve them.
Storage
Store any leftover cherry cake bars in an airtight container at room temperature for up to three days. For extended freshness, transfer them to the refrigerator, where they will remain delicious for up to five days. Be sure they are completely cooled before storing to prevent condensation.
Freezing and Reheating
For a convenient grab-and-go treat, these cherry cake bars freeze exceptionally well. To freeze, wrap individual bars tightly in plastic wrap, then an additional layer of aluminum foil. Place the wrapped bars into a large, freezer-safe Ziploc bag or container. You can also freeze the entire block of bars in the baking dish by covering it securely with plastic wrap and foil. Enjoy your frozen leftovers within three months for the best quality.
To reheat, you can enjoy these versatile dessert bars at room temperature after thawing, directly from the fridge for a chilled treat, or gently warmed. For a warm, comforting experience, microwave individual bars for 10-15 seconds, or until just heated through. Be careful not to overheat, as this can make them tough.
Exciting Recipe Variations & Dietary Adaptations
One of the best things about these easy cherry cake bars is how adaptable they are. Feel free to get creative and tailor them to your preferences or dietary needs!
Flavor Substitutions
- Cake Mix Flavors: While yellow cake mix provides a classic base, don’t hesitate to experiment! Chocolate, French vanilla, or even a spice cake mix would beautifully complement the cherry filling, offering a new dimension of flavor.
- Other Fruit Fillings: Not a fan of cherries, or just want to try something new? Swap the cherry pie filling for blueberry, peach, apple, or even mixed berry pie filling for a fresh take on these delightful bars. Each fruit offers its unique charm.
- Decadent Drizzle: For an extra touch of indulgence, consider drizzling a simple cream cheese glaze or a vanilla icing over the cooled cherry bars. A sprinkle of powdered sugar is also a quick and elegant finish.
- Warm Spice: Add a cozy touch by incorporating a few dashes of ground cinnamon or a pinch of nutmeg into the cake mix and oat mixture. These warm spices pair wonderfully with cherry.
Dietary Adaptations
- Vegetarian Option: This recipe is naturally vegetarian, making it a great choice for those following a plant-based diet that includes dairy.
- Vegan Option: To make these bars suitable for a vegan diet, simply replace the yellow cake mix with a vegan-friendly cake mix (many brands are accidentally vegan, but always check labels). Substitute the butter with your favorite plant-based butter alternative.
- Gluten-Free Option: Enjoy gluten-free cherry cake bars by ensuring you select a certified gluten-free boxed cake mix and quick-cooking oats. Always double-check labels to ensure all ingredients are safe for a gluten-free diet.
- Sugar-Free Option: If you’re monitoring sugar intake, this recipe can be adapted. The original recipe contains approximately 14 grams of sugar per serving. To create a sugar-free version, use a sugar-free yellow cake mix and a no-sugar-added cherry pie filling. Please remember that nutritional information is an estimate and can vary significantly based on specific products used.
Adjusting Serving Sizes
The standard recipe, using one box of yellow cake mix and one 21-ounce can of cherry pie filling, yields approximately 16 servings. This recipe is incredibly flexible, allowing you to easily halve it for a smaller batch or double/triple it to feed a larger crowd.
What to Serve with Your Cherry Cake Bars
These Cherry Cake Bars, with their delightful sweet and tart notes, are a fantastic dessert on their own, but they also pair wonderfully with a variety of meals and drinks. They’re a perfect way to celebrate late summer fruits or bring a burst of flavor to any gathering. Here are some suggestions for creating a memorable meal:
Complementary Sides
- Grilled Avocados
- Air Fryer Corn on the Cob
- Pulled Pork Parfait
- Kool-Aid Pickles
- Easy Macaroni Salad
- Broccoli Slaw
- Bacon Wrapped Asparagus
- Creamy Spinach Artichoke Dip
Delicious Main Dishes
- Grilled Balsamic Chicken Skewers
- Easy Crab Rolls and Sliders
- Jalapeño Beer Brats
- Sweet and Spicy Chicken Skewers
- BLT Burger with Avocado Aioli
More Sweet Desserts to Love
- Slow Cooker Strawberry Crisp
- Homemade Blueberry Lemonade Cupcake
- Copycat Carl’s Jr. Pop Tart Ice Cream Sandwich
- Watermelon Cupcake
- Nutella Popsicles
Refreshing Drinks
- Bahama Mama Popsicle
- Strawberry Basil Lemonade Cocktail
- Watermelon Agua Fresca
- Make-Ahead Freezer Strawberry Margaritas
- Blueberry Mojito Popsicle
When to Serve These Delightful Bars
These cherry cake bars are incredibly versatile and fit seamlessly into a multitude of occasions. Their vibrant flavor and easy preparation make them a crowd-pleaser for:
- Summer Gatherings: A quintessential summer dessert, perfect for picnics, barbecues, and poolside parties.
- Potlucks: Always a hit at shared meals, these bars travel well and are easy to serve.
- Fourth of July & Labor Day: Their festive red color makes them ideal for patriotic celebrations.
- After-School Snack: A comforting and satisfying treat for kids and adults alike.
- Anytime You Crave a Delicious Dessert: Truly, you don’t need a special occasion to enjoy these simple, pantry-staple delights!
More Delicious & Easy Recipe Collections to Explore
If you love the ease and deliciousness of these cherry cake bars, you’ll definitely want to check out these other fantastic recipe collections:
- Cherry Pie Filling Recipes: Discover a treasure trove of recipes, from slow cooker delights to boxed cake mix treats, all made effortlessly with ruby red cherry pie filling.
- Cake Mix Recipes: Unleash the potential of boxed cake mix as a versatile canvas for scrumptious cookies, brownies, cakes, and other creative desserts.
- 5 Ingredient or Less Dessert Recipes: Explore an epic array of desserts that require only five ingredients or fewer, proving that simplicity can be incredibly satisfying.
- Cool Whip Recipes: Find countless creative ways to incorporate Cool Whip into your desserts for light, airy, and delicious results.
- 3 Ingredient Recipes: From appetizers to entrees and desserts, these easy 3-ingredient recipes promise amazing taste with minimal fuss.
Don’t forget to explore our other categories for more culinary inspiration: copycat recipes, dessert recipes, and our Crock Pot Recipes.
For all our latest recipe posts and updates, be sure to follow Tammilee Tips on Facebook, Instagram, and Pinterest.
Cherry Cake Bars Recipe Card
How to make delicious Cherry Cake Bars with pantry essentials
Average Rating: 3.63 from 24 votes
Print Recipe
Prep Time: 5 minutes
Cook Time: 20 minutes
Total Time: 25 minutes
Servings: 16
Calories: 286 kcal
Author: Tammilee Tips
Ingredients
- 1 box Yellow Cake Mix
- 2 ½ cups Oats (quick cooking)
- ¾ cup Butter (softened)
- 21 Ounce cherry pie filling
Instructions
- In a large bowl, mix together the cake mix and the oats. Add in the butter and continue to mix until crumbly.
- Grease a 9×13 pan and pour ½ of the mixture into the pan. Pat into the bottom of the pan to form a crust.
- Pour the cherry pie filling evenly over the top of the crust, sprinkle the remaining mixture over the top of the cherry pie filling.
- Bake at 350 degrees for about 20 minutes or until slightly brown, cool, cut, and serve.
Kitchen Tools
- Large Mixing Bowl
- 9X13 Pan
Nutrition Facts
Nutrition Facts
Cherry Cake Bars Recipe
Amount Per Serving:
Calories 286 (Calories from Fat 90)
% Daily Value*
Fat 10g (15%)
Saturated Fat 6g (38%)
Cholesterol 23mg (8%)
Sodium 319mg (14%)
Potassium 103mg (3%)
Carbohydrates 46g (15%)
Fiber 2g (8%)
Sugar 14g (16%)
Protein 3g (6%)
Vitamin A 342IU (7%)
Vitamin C 1mg (1%)
Calcium 81mg (8%)
Iron 1mg (6%)
* Percent Daily Values are based on a 2000 calorie diet.
Recipe originally shared April 26, 2015. Updated March 23, 2020
