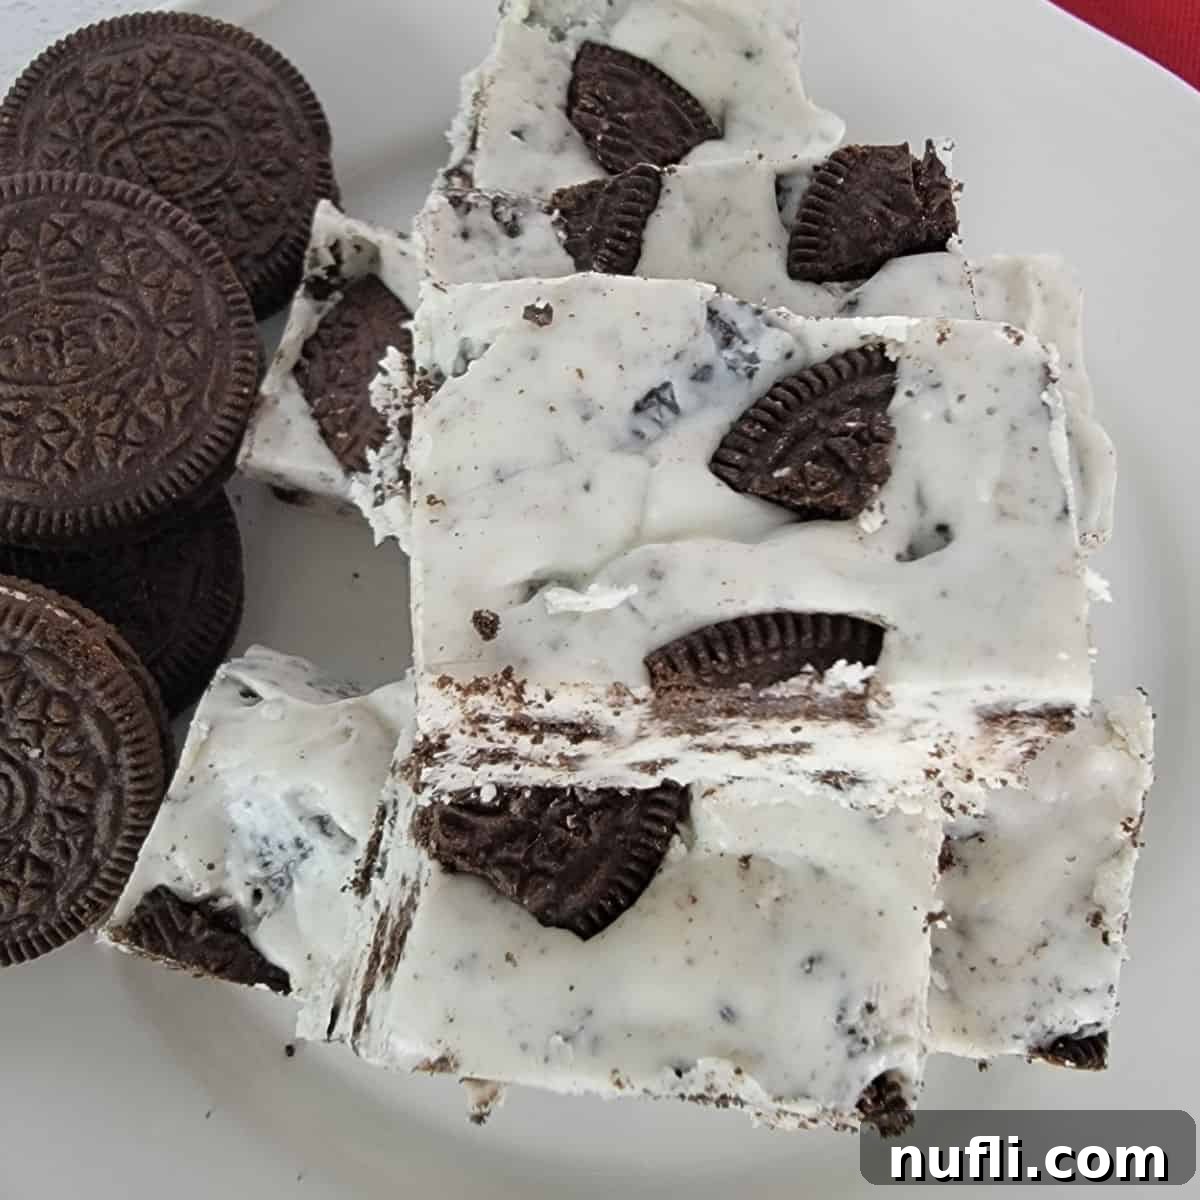
Easy 3-Ingredient Oreo Fudge: The Ultimate No-Bake Dessert
Prepare to amaze your taste buds with the simplest, most delicious fudge recipe you’ll ever encounter! Our Easy 3-Ingredient Oreo Fudge is a culinary marvel, requiring minimal effort and time, yet delivering a rich, creamy, and wonderfully textured dessert that’s impossible to resist. This Cookies and Cream fudge comes together in minutes, making it the perfect last-minute treat for any occasion or simply when a serious chocolate craving strikes.
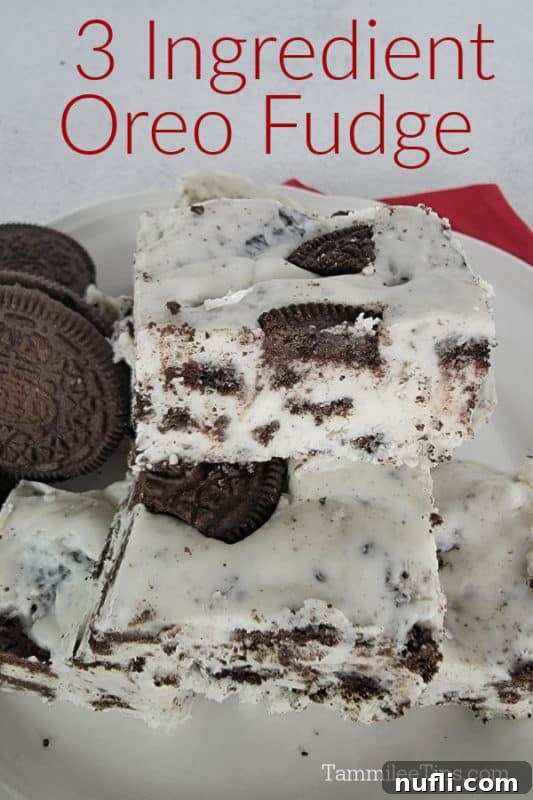
Unveiling the Magic: Why This Oreo Fudge Recipe is a Game-Changer
It’s been a while since we’ve celebrated the art of fudge-making, and what better way to return than with a recipe that redefines simplicity and indulgence? This Cookies and Cream Fudge is truly extraordinary, demanding only three staple ingredients and a mere handful of minutes of active preparation. Forget complex techniques, candy thermometers, or lengthy cooking processes – this recipe is designed for pure, unadulterated enjoyment.
The most challenging aspect of this easy dessert isn’t the mixing or melting, but rather the patience required during refrigeration. Waiting for this delightful confection to set can be a test of willpower, especially when the irresistible aroma of chocolate and Oreos fills your kitchen. My husband, John, often finds himself hovering, eagerly asking if it’s “time yet?” I always playfully roll my eyes, promising him the first glorious piece as soon as the Oreo Fudge has achieved its perfect, firm consistency, ready to be savored.
This decadent 3-ingredient fudge has become a beloved staple in our household, often shared with loved ones. We recently included it in the weekly meal kit we bring to my mother-in-law and husband’s grandmother. While I strive to balance their deliveries with hearty casseroles and main dishes, a sweet treat like this fudge always brings a smile. They recently informed me that they’ve been having more guests over, making extra desserts all the more welcome. Consider this a joyful warning: more easy dessert recipes are definitely on their way to the site!
This easy Oreo Fudge isn’t just a family favorite; it’s the ideal dessert for potlucks, parties, or any gathering where you need to impress with minimal effort. A few minutes of prep earlier in the day, and you’ll have a show-stopping treat ready precisely when you need it. The beauty of this recipe lies in its no-bake nature – no need to heat up your stovetop or oven. Plus, how can you possibly go wrong with the divine combination of crunchy crushed Oreos, smooth melted white chocolate chips, and luscious white icing? It’s a symphony of flavors that truly screams “YUM!”
If you’re an Oreo enthusiast, prepare to fall head over heels for this incredibly simple yet profoundly satisfying 3-ingredient fudge. It’s an instant classic that will have everyone asking for the recipe.
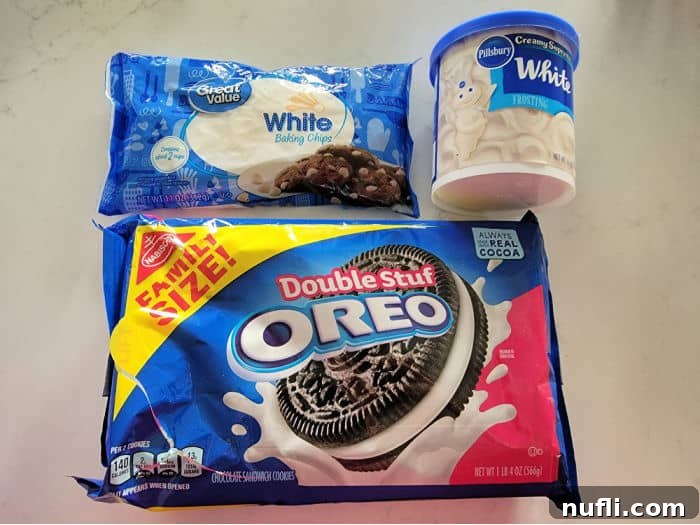
The Essential Three Ingredients for Irresistible Oreo Fudge
Creating this heavenly fudge requires only a trio of readily available ingredients:
- Oreo Cookies: The star of our show, providing that iconic chocolatey crunch and creamy filling. We recommend using classic Oreos, but feel free to experiment with different flavors for unique twists.
- White Chocolate Chips: These chips melt down to create the rich, sweet, and firm base of our fudge. Choose a good quality brand for the best flavor and texture.
- White Icing: Often found in tubs in the baking aisle, this adds an extra layer of sweetness and helps achieve that perfectly smooth, melt-in-your-mouth fudge consistency.
Simple Equipment for Effortless Fudge Making
You won’t need any specialized tools for this recipe. Just a few basic kitchen items will do:
- Microwave-Safe Bowl: For easily melting your white chocolate and icing.
- 8×8 Baking Dish: The ideal size for creating a perfectly thick batch of fudge.
- Parchment Paper: An absolute must-have! Lining your baking dish with parchment paper ensures the fudge can be lifted out effortlessly and cut into neat squares without sticking. It makes cleanup a breeze!
- Spatula: For mixing your ingredients until perfectly combined and spreading the fudge evenly.
Expert Tips for Perfect Oreo Fudge Every Time
While this recipe is incredibly forgiving, a few pointers can elevate your fudge from delicious to absolutely divine:
- Icing Alternatives: We typically use white icing, but if you prefer a different flavor profile or can’t find white icing, a 14-ounce can of sweetened condensed milk makes an excellent substitute. Simply swap out the icing for the condensed milk, and follow the same melting and mixing steps. The result will be equally delightful!
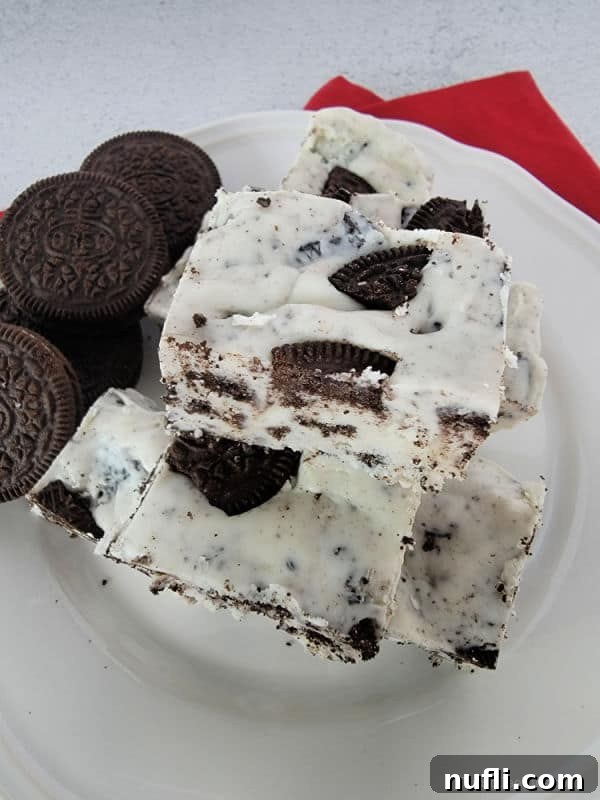
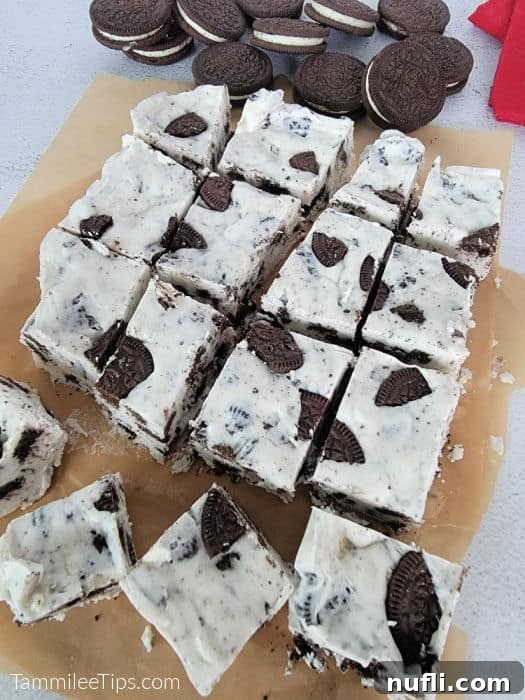
- Garnish with Gusto: For an extra touch of visual appeal and flavor, set aside a couple of Oreos. Once your fudge is poured into the dish, coarsely break these reserved cookies and sprinkle them over the top. This adds a lovely texture contrast and makes for a beautiful presentation.
- Crushing Your Oreos: The texture of your crushed Oreos can significantly impact the final fudge. For finer crumbs, place Oreos in a freezer bag and crush them with a rolling pin. If you prefer larger, more substantial chunks of cookie in your fudge, a knife will give you more control for chopping. Experiment to find your perfect crunch!
- Effortless Cutting: To achieve clean, neat squares, allow the Oreo Fudge to sit at room temperature for 5-10 minutes after it has fully set in the refrigerator. This slight softening makes it much easier to slice through without cracking or crumbling. A butter knife or a thin, sharp chef’s knife works wonderfully for cutting through both the fudge and the embedded cookie pieces.
- Microwave Melting Wisdom: When melting the white chocolate chips and icing, use short bursts in the microwave (30 seconds at a time), stirring thoroughly after each interval. This prevents scorching the chocolate and ensures a smooth, uniform mixture. Patience here is key!
- Storage Solutions: Once the fudge is cut, store it in an airtight container at room temperature for up to a week, or in the refrigerator for even longer freshness (up to 2 weeks). For extended storage, you can freeze individual pieces for up to 2-3 months. Thaw in the refrigerator before serving.
Creative Oreo Fudge Variations to Explore
One of the best things about this 3-ingredient fudge is its incredible versatility. Feel free to get creative and customize it to your heart’s content!
- Chocolate Lover’s Dream: For a richer, darker fudge, simply swap the white chocolate chips for your favorite milk or semi-sweet chocolate chips. This creates a deep, satisfying chocolate base that pairs beautifully with the Oreos.
- Endless Oreo Flavors: The world of Oreos is vast and exciting! Experiment with any of the amazing varieties currently available. Imagine Mint Oreo Fudge, Birthday Cake Oreo Fudge, Chocolate Oreo Fudge, or even Peanut Butter Oreo Fudge. Each variation brings a unique twist to this classic treat.
- Icing Innovations: Don’t limit yourself to white icing! Chocolate icing will intensify the chocolate flavor, while a flavored icing (like strawberry or cream cheese) could introduce an entirely new dimension. Match your icing flavor to your chosen Oreo variety for a truly harmonious creation.
- Add-Ins Galore: Once you’ve mixed in your crushed Oreos, consider stirring in other treats like sprinkles for a festive look, mini marshmallows for extra chewiness, or chopped nuts for a savory crunch.
Frequently Asked Questions About 3-Ingredient Oreo Fudge
We’ve gathered some common questions to help ensure your fudge-making experience is a success!
- Can I use a different type of chocolate? Yes, absolutely! While white chocolate chips provide a classic “cookies and cream” look, you can easily substitute them with milk chocolate, semi-sweet chocolate, or even dark chocolate chips for different flavor profiles.
- Do I have to refrigerate the fudge? Refrigeration is crucial for this no-bake fudge recipe. It helps the chocolate and icing mixture set properly, creating that firm, sliceable texture we all love. Without refrigeration, the fudge might remain too soft.
- How long does this Oreo fudge last? Stored in an airtight container, this fudge will stay fresh at room temperature for about a week, or in the refrigerator for up to two weeks. For longer storage, it can be frozen for up to 2-3 months.
- My fudge didn’t set, what went wrong? This usually happens if the chocolate and icing weren’t fully combined or if there wasn’t enough chilling time. Ensure you stir thoroughly until completely smooth, and always allow the full recommended refrigeration time.
- Can I make this dairy-free or gluten-free? Yes! Look for dairy-free white chocolate chips, dairy-free icing, and gluten-free Oreo-style cookies. The method remains the same.
More Irresistible Dessert Recipes to Explore
If you love easy and delicious desserts, you’re in the right place! Here are more fantastic recipes you might enjoy:
- Chocolate Chip Cheese Ball
- Cherry Fudge
- Peanut Butter Fudge
- Key Lime Fudge
- Air Fryer S’mores
- Green Jello Salad
- Strawberry Lemonade Cookies
- Ruffles Marshmallow Treats
Do you crave even more culinary inspiration? Dive into our extensive collection of copycat recipes, browse our delightful dessert recipes, and discover the convenience of our amazing Crock Pot Recipes.
3-Ingredient Oreo Fudge Recipe
An incredibly easy 3-ingredient Oreo Fudge Recipe that tastes absolutely amazing and requires no baking.
Prep Time: 3 minutes
Cook Time: 2 minutes
Refrigeration: 2 hours
Total Time: 2 hours 5 minutes
Servings: 20
Author: Tammilee Tips
Ingredients
- 11 Ounce White Chocolate Chips
- 16 Ounce White Icing
- 15 Oreo cookies
Instructions
- Break 13 Oreos into pieces and set aside. (Reserve 2 Oreos for optional topping).
- Combine White Chocolate Chips and White Icing in a microwave-safe bowl.
- Microwave for 30 seconds, then stir together thoroughly until partially melted and combined.
- Microwave for an additional 30 seconds and stir again until the mixture is fully smooth and uniform.
- Add in the broken Oreo pieces and gently fold them into the chocolate mixture until evenly distributed.
- Pour the fudge mixture into a parchment-lined 8×8 baking dish, spreading it evenly. If desired, sprinkle the reserved broken Oreo pieces on top. Refrigerate for at least 2 hours until completely firm.
- Once firm, lift the fudge out using the parchment paper, and cut into squares. Enjoy!
Kitchen Tools
- 8×8 Pan
- Parchment Paper
- Microwave-Safe Bowl
- Spatula
Nutrition
Calories from Fat 90
Love this recipe?
Follow @TammileeTIps on Pinterest for more delicious inspiration!
Tried this recipe?
Mention @TammileeTipsLife when you share a photo on Instagram!
