Welcome to the ultimate guide for creating irresistible Peanut Butter Rice Krispie Treats! This delightful recipe offers a nostalgic twist on the beloved classic Rice Krispie Treat, infusing it with the rich, creamy flavor of peanut butter. If you’re searching for an easy-to-make, no-bake dessert that promises to be a crowd-pleaser, you’ve found your new favorite. Perfect for busy weeknights, last-minute gatherings, or simply satisfying a sweet craving, these treats require only four simple ingredients and minimal effort, making them accessible to even the most novice bakers. Get ready to embark on a sweet adventure that combines crispy texture with luscious peanut butter goodness, delivering a treat that’s both familiar and excitingly new.
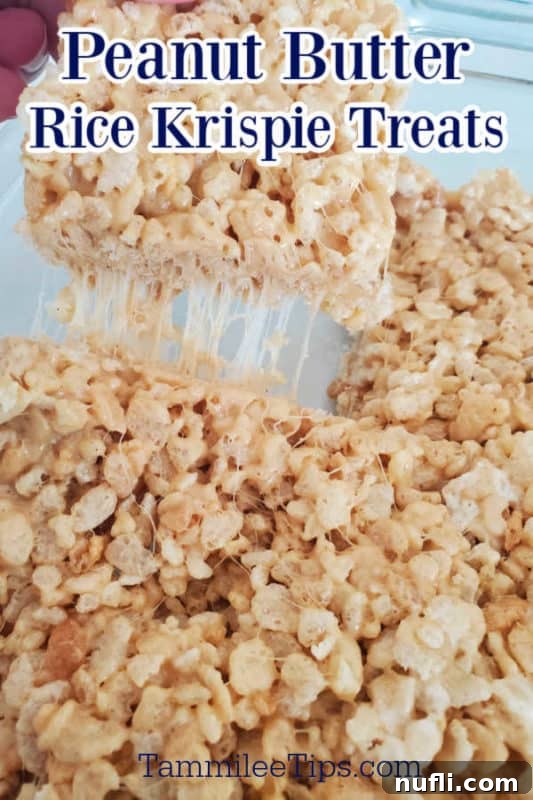
Indulge in Homemade Peanut Butter Rice Krispie Treats
There’s something truly magical about the combination of peanut butter and a sweet treat. For many, it’s a flavor pairing that evokes comfort and joy. This recipe celebrates that universal love for peanut butter by transforming a simple cereal bar into an extraordinary indulgence. My household, for instance, holds a special affection for all things peanut butter. It’s the ultimate go-to for desserts, snacks, or even just a quick spoonful right from the jar. This unwavering enthusiasm for peanut butter often inspires me to experiment in the kitchen, leading to exciting new creations like these fantastic Peanut Butter Rice Krispie Treats.
Spending more time at home has presented wonderful opportunities to surprise my loved ones with homemade goodies. Baking, for me, is more than just following a recipe; it’s a therapeutic and creative outlet. The process of blending flavors, watching ingredients transform, and ultimately presenting a delicious treat brings immense satisfaction and acts as a fantastic stress reliever. There’s a unique joy in crafting something delightful from scratch, and these Rice Krispie Treats are no exception. They bring smiles and satisfy cravings with remarkable ease.
This past year, dedicating time to culinary exploration, whether it’s developing entirely new recipes or reimagining classic ones, has been incredibly rewarding. It’s a journey of discovery that nourishes the soul as much as it does the appetite. Many people have found solace and enjoyment in their kitchens, cooking and baking more often than before. If you’ve also discovered a newfound passion for culinary creativity, these Peanut Butter Rice Krispie Bars are an excellent addition to your repertoire. They are incredibly straightforward, requiring only four essential ingredients, yet they offer a fantastic foundation for endless customization.
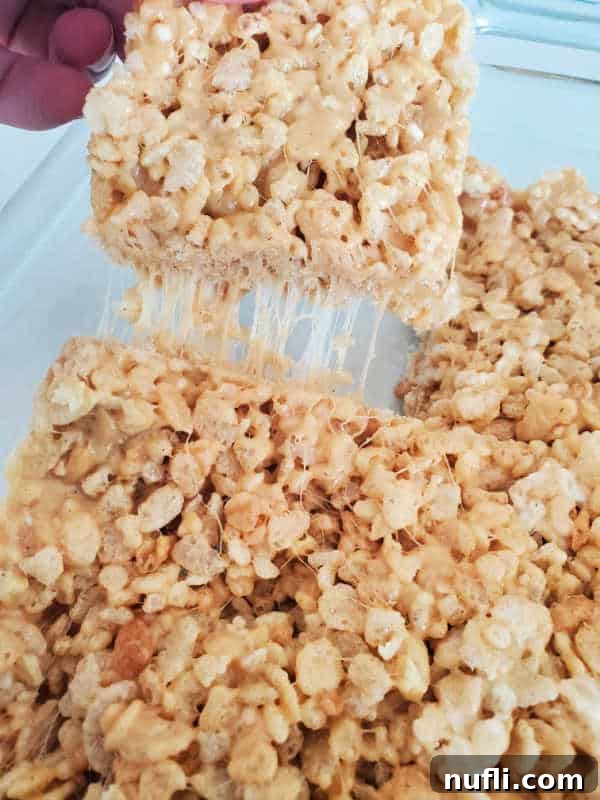
Effortless Creation: The Magic of 4 Ingredients
The beauty of this recipe lies in its elegant simplicity. With just four core ingredients, you can whip up a batch of these delectable treats in under 30 minutes, with minimal fuss and no oven required. This makes them an ideal choice for a quick dessert, a party snack, or a delightful after-school treat for kids. The combination of sticky, sweet marshmallows, creamy peanut butter, rich butter, and crunchy Rice Krispies cereal creates a symphony of textures and flavors that is truly addictive. It’s a testament to how humble ingredients can come together to form something truly special, proving that deliciousness doesn’t always have to be complicated.
While the basic recipe is fantastic on its own, it also serves as a perfect canvas for your culinary imagination. Are you someone who believes that peanut butter and chocolate are a match made in heaven? You’re in luck! Enhancing these epic peanut butter bars with a layer of melted chocolate chips is a simple yet incredibly effective way to elevate them. Just melt your favorite chocolate chips and spread them evenly over the top once the bars have set slightly. This creates a delightful chocolate shell that cracks with every bite, adding another layer of indulgence.
Beyond a simple chocolate drizzle, the possibilities for jazzing up these treats are endless. Imagine breaking up miniature Reese’s Peanut Butter Cups and folding them into the warm mixture alongside the Rice Krispies. The little pockets of chocolate and peanut butter would be an incredible surprise in every bite. Or, for an even more decadent experience, consider sandwiching whole Reese’s Peanut Butter Cups between two layers of the peanut butter Rice Krispie mixture next time you make them. This would create a truly show-stopping dessert that’s bursting with flavor.
For those who prefer their chocolate integrated directly into the bars, simply stir in some chocolate chips along with the Rice Krispies cereal. The residual heat from the marshmallow and peanut butter mixture will soften the chocolate, creating pockets of melty goodness throughout. You could use milk chocolate, dark chocolate, or even white chocolate chips, depending on your preference. These small additions can transform a simple treat into a gourmet experience without adding significant time or complexity. The versatility of this base recipe means you can continually experiment and discover new favorite variations, ensuring these treats never get boring.
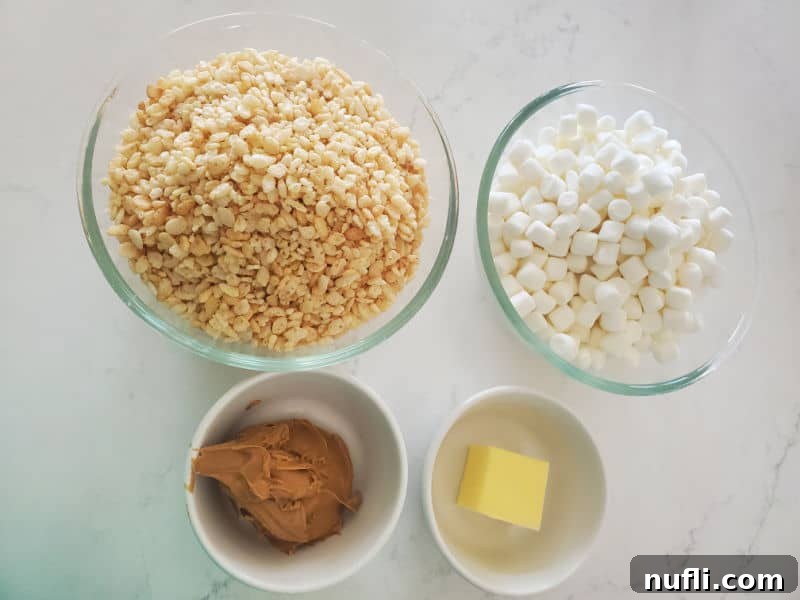
Gather Your Essentials: Ingredients and Equipment
To create these delightful no-bake bars, you’ll need just a handful of common pantry staples. The quality of your ingredients can make a difference in the final taste, so choose your favorites!
Ingredients Needed
- Butter: Essential for richness and helping the marshmallows melt smoothly. Unsalted butter is generally preferred in baking to control the salt content, but salted butter can also work if that’s what you have on hand, just be aware it might slightly alter the flavor profile.
- Mini Marshmallows: The star binder! Mini marshmallows melt more quickly and evenly than large ones, ensuring a smooth, cohesive mixture. This recipe typically uses one standard-sized bag, which is usually around 5 cups.
- Peanut Butter: Creamy peanut butter is recommended for a smooth texture that blends seamlessly with the marshmallow mixture. However, if you enjoy a bit of extra crunch, feel free to experiment with crunchy peanut butter. The roasted peanut pieces will add another layer of texture and flavor to your treats.
- Rice Krispies Cereal: The iconic crispy base. While classic Rice Krispies are the standard, don’t hesitate to try cocoa krispies for a chocolatey twist, or even a mixed grain crispy cereal for a slightly different flavor profile. Ensure your cereal is fresh for maximum crunch!
Having the right tools makes the process even smoother. Here’s what you’ll need:
Equipment Needed
- Saucepan or Large Pot: Choose a saucepan that is large enough to comfortably hold the melted butter, marshmallows, peanut butter, and all the Rice Krispies cereal once combined. A pan that’s too small will make mixing difficult and messy. A non-stick pot can make cleanup easier.
- Wooden Spoon or Sturdy Spatula: A sturdy mixing utensil is crucial for stirring the sticky marshmallow mixture and folding in the cereal without bending or breaking. A wooden spoon is a classic choice, but a robust silicone spatula also works wonderfully.
- 9×13 Baking Dish: This standard size is perfect for achieving a good thickness for your Peanut Butter Rice Krispie Treats. It yields a generous batch, ideal for sharing (or not!). If you prefer thicker, chewier bars, you can opt for an 8×8 inch baking pan instead, which will result in fewer but more substantial pieces.
- Parchment Paper: A true game-changer for no-bake treats! Lining your baking dish with parchment paper makes removing the treats incredibly easy and cleanup virtually effortless. It prevents sticking and allows you to lift the entire slab out of the pan for neat cutting.
Achieving Perfection: Recipe Tips and Tricks
Crafting the perfect batch of Peanut Butter Rice Krispie Treats is simple, but a few expert tips can ensure they turn out absolutely amazing every time:
- Peanut Butter Choice: For a consistently smooth and easy-to-mix texture, creamy peanut butter is highly recommended. It blends seamlessly with the melted marshmallows, creating a cohesive and delightful base. While crunchy peanut butter could technically work, it will introduce a different texture and may make the mixture slightly harder to press evenly into the pan. If you experiment with it, be prepared for a slightly less uniform spread.
- Marshmallow Measurement: The recipe calls for 5 cups of mini marshmallows, which typically equates to one standard-sized 10-ounce bag. It’s always a good idea to measure them out, especially if you’re using a bag that might vary slightly in size, to ensure the perfect ratio of sweetness and binding power. Using mini marshmallows is key, as they melt faster and more evenly than larger ones, contributing to a smoother final mixture.
- Preventing Stickiness (Pan): Before placing your parchment paper, spray a light coating of cooking spray into the bottom of your baking dish. This helps the parchment paper adhere to the pan, preventing it from shifting around while you’re pressing the mixture. It’s a small step that makes a big difference in keeping things neat and tidy.
- Preventing Stickiness (Hands): The mixture can be quite sticky, especially when you’re pressing it into the pan. To avoid a mess, lightly spray your hands or the back of a spatula with cooking spray. This creates a non-stick barrier, allowing you to easily press the warm mixture down firmly and evenly into the baking dish without it clinging to your skin.
- Optimal Storage: These Peanut Butter Rice Krispie Treats are best stored at room temperature in an airtight container. This helps them retain their soft, chewy texture. Refrigeration can sometimes make them too hard and less enjoyable. They typically stay fresh and delicious for 3-4 days, though it’s rare for them to last that long!
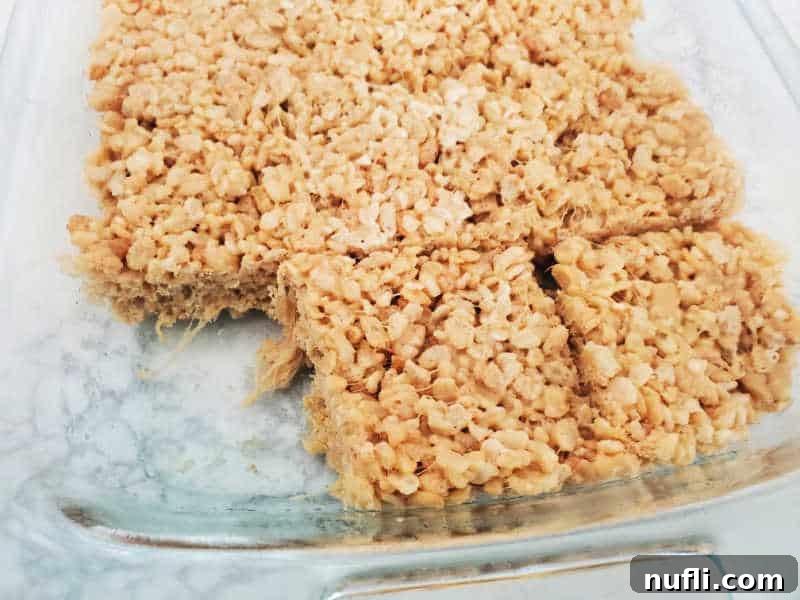
- Cooling Time: While it’s tempting to dive in immediately, allowing the treats to cool completely (at least 30-60 minutes) before cutting and serving will result in cleaner cuts and a more satisfying, set texture. For quicker cooling, you can place them in the refrigerator for about 15-20 minutes, but avoid leaving them in there for too long.
More Delicious Peanut Butter Recipes
If you’re a true peanut butter enthusiast, you’ll be thrilled to discover a treasure trove of other recipes featuring this incredible ingredient. From pies to smoothies, there’s a peanut butter creation for every craving:
- No Bake Peanut Butter Pie
- Peanut Butter Banana Smoothie
- Chocolate Peanut Butter Muddy Buddies
- No-bake Peanut Butter Banana Pie
- Peanut Butter and Jelly Cake
- Nutter Butter Banana Pudding
Do you love discovering new recipes? Be sure to explore our extensive collection, including delightful copycat recipes, indulgent dessert recipes, and our incredibly convenient Crock Pot Recipes. There’s always something new to inspire your next culinary adventure!
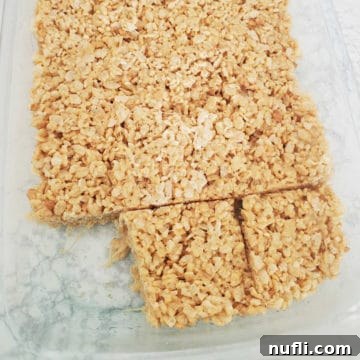
Peanut Butter Rice Krispie Treats Recipe
Learn how to make easy 4-ingredient Peanut Butter Rice Krispie Treats – a delightful twist on a classic no-bake dessert.
10 minutes
15 minutes
25 minutes
16
159 kcal
Tammilee Tips
Ingredients
- 4 Tablespoons Butter
- 5 cups Mini Marshmallows
- ½ cup Peanut Butter
- 5 ½ cups Rice Krispies Cereal
Instructions
- In a large saucepan, melt the butter over low heat. It’s important to keep the heat low to prevent the butter from browning or burning, which can affect the flavor.
- Once the butter is fully melted, add the mini marshmallows to the saucepan. Continue stirring constantly over low heat until the marshmallows begin to melt down and become gooey.
- As the marshmallows melt, stir in the peanut butter. Keep stirring until the peanut butter and marshmallow mixture is completely smooth and well combined. Ensure everything is thoroughly incorporated and remove the pan from the heat immediately to prevent burning.
- Pour the Rice Krispies cereal into the peanut butter-marshmallow mixture. Stir gently but quickly until all the cereal is evenly coated. Work efficiently, as the mixture will begin to set as it cools.
- Carefully transfer the mixture into a parchment-lined 9×13 inch baking pan. Using a piece of parchment paper or a lightly buttered spatula, gently press the mixture down firmly and evenly into the pan. This compaction is key for well-formed treats.
- Allow the treats to cool completely at room temperature for at least 30-60 minutes before cutting them into squares. Once cooled and set, lift the parchment paper to remove the entire slab and cut into 16 individual treats. Enjoy!
Kitchen Tools
- Saucepan or Large Pot
- Wooden Spoon or Sturdy Spatula
- 9×13 Inch Baking Dish (or 8×8 for thicker treats)
- Parchment Paper
Nutrition Facts
Nutrition Facts
Peanut Butter Rice Krispie Treats Recipe
Amount Per Serving
Calories 159 Calories from Fat 63
% Daily Value*
Fat 7g 11%
Saturated Fat 3g 19%
Trans Fat 1g
Cholesterol 8mg 3%
Sodium 125mg 5%
Potassium 66mg 2%
Carbohydrates 22g 7%
Fiber 1g 4%
Sugar 11g 12%
Protein 3g 6%
Vitamin A 728IU 15%
Vitamin C 6mg 7%
Calcium 5mg 1%
Iron 3mg 17%
* Percent Daily Values are based on a 2000 calorie diet.
