Minion Rice Krispies Treats: Your Ultimate Guide to Fun & Easy Party Snacks
Get ready for a burst of sunshine and mischief! We’re absolutely bubbling with excitement for the upcoming Minion movie release. These lovable, yellow, pill-shaped characters have captured hearts worldwide with their hilarious antics and unforgettable “banana!” exclamations. It’s hard not to smile when they’re around, and for good reason!
There’s an undeniable charm to the Minions that makes them eternally funny. We know friends like Patti and John who simply can’t get enough of them, often rewatching their movies multiple times a month. We can only imagine the contagious giggles that will fill the theater when the new film hits the big screen. It’s more than just a movie; it’s an event that brings joy and laughter to fans of all ages.
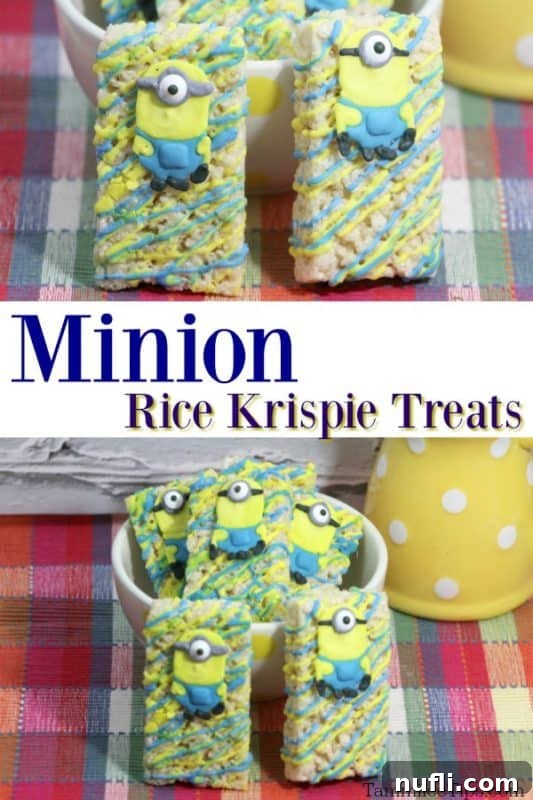
To celebrate the return of our favorite yellow henchmen, we’re diving into the world of Minion-inspired treats. For a previous movie event, we had an absolute blast making Minion Cupcakes, which were a huge hit. This time, we’re bringing you an equally delightful and even simpler creation: Minion Rice Krispies Treats. These iconic no-bake goodies are transformed into adorable Minions, perfect for movie nights, birthday parties, or just a fun afternoon snack.

Minion Rice Krispies Treats: A Step-by-Step Guide
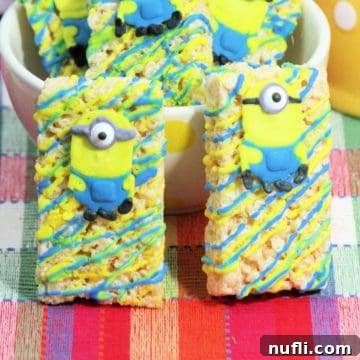
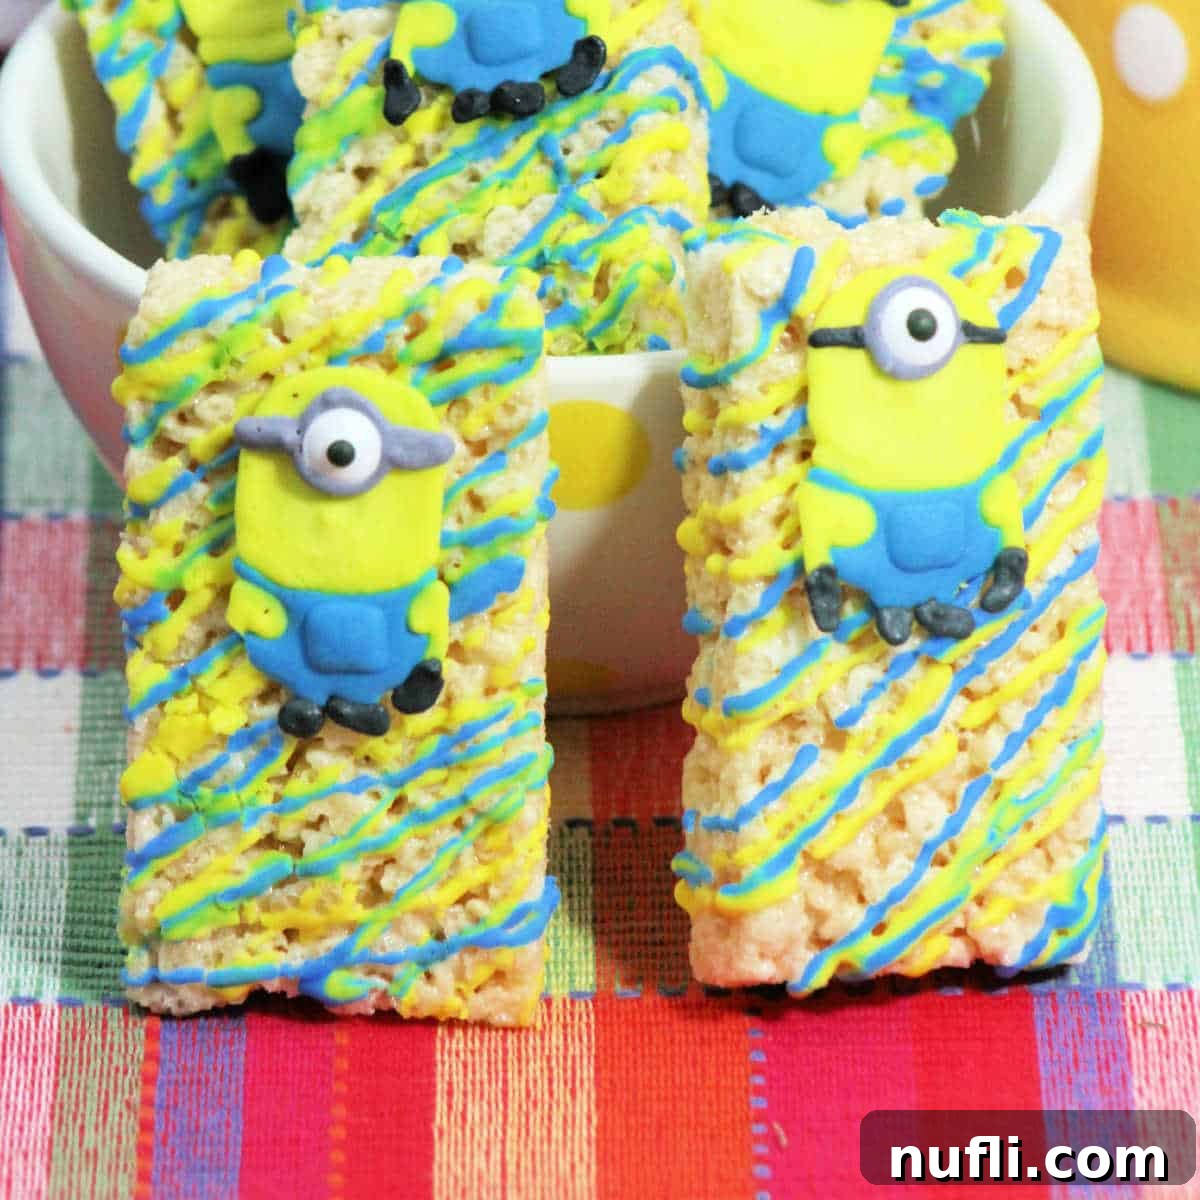
Seriously, how can you resist these incredibly fun and festive Minion Rice Krispies Treats? They’re not just delicious; they’re a centerpiece for any Minion-themed gathering, guaranteed to put a smile on everyone’s face. This guide will walk you through creating both the classic crispy treats and the vibrant royal icing decorations to bring your Minions to life. Prepare for a delightful baking adventure!
Ingredients for Classic Rice Krispies Treats
Making the perfect batch of Rice Krispies Treats is the foundation of our Minion masterpiece. This simple recipe yields a chewy, sweet base that’s ready for decoration.
- 3 Tablespoons Unsalted Butter: Using unsalted butter allows you to control the salt content in your treats. It also adds a rich, creamy flavor that complements the marshmallows beautifully.
- 1 Package (approx. 10 oz or 40 pieces) Marshmallows: Fresh, soft marshmallows are key for a smooth, melty consistency. Mini marshmallows melt faster, but large ones work just as well.
- 6 Cups Kellogg’s Rice Krispies Cereal: The original crispy rice cereal gives these treats their signature texture and sound!
Time-Saving Tip: If you’re short on time or prefer a shortcut, you can easily use pre-packaged Rice Krispie Treats as your base. Just unwrap them and get straight to the decorating!
Ingredients for Vibrant Royal Icing
Royal icing is the secret to creating crisp, detailed Minion faces that hold their shape. It dries hard, making these treats easy to handle and stack once decorated.
- 2 Egg Whites: Ensure your egg whites are at room temperature for the best whipping results. Pasteurised liquid egg whites can also be used for convenience and safety.
- 1 Cup Confectioners’ Powdered Sugar: Also known as icing sugar, this finely ground sugar is essential for a smooth, lump-free icing. You may need to add a bit more later to achieve stiff peaks.
- ½ Teaspoon Cream of Tartar: This ingredient stabilizes the egg whites, helping the icing achieve and maintain stiff peaks, which is crucial for detailed piping.
- Gel Food Coloring: You’ll need blue, yellow, white, black, red, and grey gel food coloring to capture the iconic Minion look. Gel colors are highly concentrated and won’t thin your icing like liquid food coloring.
Alternative Decoration Method: While hand-making royal icing Minions is a rewarding process, we understand it can be time-consuming. If you’re looking to cut down on prep work, we highly recommend ordering Edible Minion Figures. These pre-made decorations are a quick and easy way to get those adorable Minion faces onto your treats, saving you a significant amount of time and energy without compromising on cuteness.
Kitchen Tools You’ll Need
Having the right tools on hand will make this recipe a breeze. Ensure your kitchen is stocked with these essentials:
- Large microwave-safe bowl or large saucepan
- Spatula or wooden spoon
- 9x13x2 inch baking pan
- Wax paper or parchment paper
- Cookie Sheets
- Electric mixer (stand mixer or hand mixer)
- Piping bags and small round tips (e.g., #2 tip) or zip-top bags
Instructions for Minion Rice Krispies Treats
Rice Krispie Treat Directions:
Follow these steps to create your delicious and perfectly chewy Rice Krispies Treat base:
- In a large microwave-safe bowl, combine the unsalted butter and marshmallows. Heat on high in the microwave for 3 minutes, stirring thoroughly after 2 minutes, then again after 3 minutes, until the mixture is completely smooth and melted. Alternatively, melt butter in a large saucepan over low heat, then add marshmallows and stir until completely melted.
- Once the butter and marshmallow mixture is smooth, add the 6 cups of Rice Krispies cereal. Stir quickly and thoroughly with a spoon, or use your hands (coated well with butter or shortening to prevent burning and sticking) to mix until the cereal is evenly coated.
- Prepare a 9x13x2 inch baking pan by coating it lightly with cooking spray (like Pam). Using wax paper or parchment paper, press the Rice Krispie mixture down evenly into the prepared pan. This helps achieve a uniform thickness. Allow the treats to cool completely at room temperature.
- Once cooled, cut the large slab of Rice Krispies Treats into approximately 2-inch squares. For extra fun, you can use a rectangular cookie cutter to ensure perfectly uniform shapes.
- Place the cut Rice Krispie treats on a parchment-lined cookie sheet. If desired, insert a lollipop stick into one end of each treat, turning them into fun Minion lollipops.
Royal Icing Directions:
Creating the royal icing is a straightforward process, but proper consistency is key for piping:
- In a clean, grease-free bowl (preferably a stand mixer bowl), combine the egg whites, 1 cup of confectioners’ powdered sugar, and cream of tartar. Beat on medium speed with an electric mixer for 4 minutes.
- After 4 minutes, check the consistency. The icing should be thick and glossy. If it’s too thin, gradually add more powdered sugar, about ¼ cup at a time, beating until stiff peaks form. Stiff peaks mean that when you lift the beaters, the icing forms a peak that stands upright without flopping over.
Decorating Your Minions:
Now for the most exciting part – bringing your Minions to life with vibrant colors and charming details!
- Begin by finding a high-quality picture of several Minions on Google. Print this picture in color. Tape the printed picture, face-up, onto a cookie sheet. Then, carefully tape a piece of wax paper over the Minion images, ensuring it’s smooth and flat. This will serve as your guide for piping.
- Prepare your piping bags. You can use separate pastry bags with small round tips (like a #2 tip) for each color, or use zip-top bags with a tiny corner snipped off for a more disposable option. If reusing bags/tips, remember to clean them thoroughly after each color to prevent mixing.
- Divide your royal icing into several bowls for coloring. For the main body, place about ⅓ of the icing in one bowl and mix in yellow gel food coloring until a bright, uniform Minion yellow is achieved.
- In a second bowl, add several drops of blue gel food coloring to another ⅓ of the icing for the Minion overalls.
- Divide the remaining icing into smaller bowls (about 2 tablespoons each). In these, create your accent colors:
- For the goggle frames: Mix grey or silver gel food coloring.
- For boots, gloves, and goggle straps: Mix black gel food coloring.
- For eyes and teeth: Keep some icing white.
- For mouths (if your Minions have red lips): Mix red gel food coloring.
Stir each color well until completely blended.
- Using a piping bag filled with yellow royal icing and a #2 tip, carefully outline the Minion bodies on the wax paper, tracing your printed guide. Then, fill in the outlined body section with more yellow icing, using a zigzag motion and smoothing with a small spatula or toothpick if needed.
- Switch to blue royal icing. Outline and then fill in the Minion overalls on your wax paper guides.
- Next, use the black icing to outline and fill in the boots, gloves, and the back straps of the goggles.
- If your Minion designs include red lips, use the red icing to outline and fill in the mouth area, carefully leaving the teeth untouched.
- Place edible eyes (available at most craft or baking stores) onto the white eye circles of your piped Minions. Then, use the grey or silver icing to outline around the edible eyes, creating the iconic goggle frames.
- Allow your piped royal icing Minion figures to dry completely for 5-10 hours, or even overnight, at room temperature. They should be hard to the touch. Gently test one by touching it to ensure it’s dry before proceeding.
- Once dry, carefully cut the wax paper around each completed Minion image, creating individual squares.
- Gently peel the dry Minion figures off the wax paper. They should come off easily if fully dry.
- Before placing your Minion figures, you can add a yellow stripe (or any color) on each Rice Krispie Treat using royal icing. Then, carefully place one Minion figure in the center of each treat. Let set briefly.
Tips for Success & Variations
- Perfectly Shaped Treats: For crisp edges, line your pan with parchment paper, leaving an overhang on the sides. This makes lifting the cooled treats out much easier before cutting.
- Non-Stick Hands: When pressing the Rice Krispies mixture into the pan, lightly butter your hands or use a piece of buttered wax paper to prevent sticking.
- Icing Consistency: Royal icing consistency is crucial. If it’s too thick, add a tiny drop of water at a time; if too thin, add more powdered sugar. It should be thick enough to hold its shape but fluid enough to pipe smoothly.
- Patience is Key: Allow ample drying time for the piped Minion figures. Rushing this step can lead to smudged designs. Humidity can affect drying time, so choose a dry day if possible.
- Creative Minions: Don’t feel limited to a single Minion design. Experiment with different eye numbers (one or two!), expressions, and even accessories like tiny bananas or Gru’s scarf.
These Minion Rice Krispies Treats are more than just a dessert; they’re an experience! They bring the fun and charm of the Minion universe right to your table, making any occasion brighter and more delicious. Whether it’s a birthday, a movie premiere, or just a family gathering, these treats are sure to be a showstopper.
Do you love discovering new recipes? Be sure to explore our wide array of culinary creations! Check out our copycat recipes to recreate your restaurant favorites, dive into our delightful dessert recipes for every sweet craving, and simplify meal prep with our convenient CrockPot Recipes.
More Great Rice Krispie Treat Recipes to Try
If you enjoyed making these Minion treats, you’ll love our other creative Rice Krispie Treat variations:
- Pumpkin Spice Rice Krispies
- Pumpkin Rice Krispie Treats
- Frankenstein Rice Krispie Treats
- Salted Caramel Rice Krispie Treats
- Gnome Rice Krispie Treats
Stay connected for all our latest recipe posts and culinary inspiration! Follow Tammilee Tips on Facebook, Instagram, and Pinterest.

Minion Rice Krispies Treats
No ratings yet
Print Recipe
Rate this Recipe
Author: Tammilee Tips
Ingredients
Rice Krispie Treat Ingredients:
- 3 Tablespoon Unsalted Butter
- 1 package (approx. 40 pieces) Marshmallows
- 6 C Kellogg’s Rice Krispies cereal
Royal Icing Ingredients:
- 2 Egg Whites
- 1 C Confectioners Powdered Sugar
- ½ teaspoon Cream of Tartar
- Add ¼ C powder sugar until stiff peaks form (as needed). Blue, yellow, white, black, red, and grey gel food coloring.
Instructions
Rice Krispie Treat Directions:
- In your microwave heat butter and marshmallows on high for 3 minutes. Stir after 2 minutes, then stir again after 3 minutes until smooth.
- Add rice krispies. Stir with a spoon or use your hands to mix well (if using your hands, coat them well with butter or shortening to prevent sticking and burning).
- Using wax or parchment paper to press the rice krispie mixture down evenly in a 13 x 9 x 2 inch pan. Coat the pan first with cooking spray. Cool, then cut into 2-inch squares.
- Place cut rice krispie treats on a parchment-lined cookie sheet.
- Put a stick in one end of the prepared treats if desired.
Royal Icing Directions:
- Mix egg whites, cream of tartar, and powdered sugar on medium speed for 4 minutes until stiff peaks form.
Minion Decoration Steps:
- Locate a picture of “Minions” on Google and print it in color. Tape this picture to a cookie sheet. Tape wax paper over the copies of the images on the cookie sheet.
- If you are using the same pastry bag and tip, they will need to be cleaned after each use. (Alternatively, use zip-lock bags by cutting a small corner of the bag.)
- Divide the icing into thirds. Place ⅓ in one bowl with yellow gel food coloring. Start by outlining the Minion bodies. In the second bowl, add several drops of blue gel food coloring for the overalls. Now, divide the remaining icing into 3 small bowls (2 TBSP each). In these bowls, add 2 drops of gel food coloring for accent colors: First bowl (divide again in half) add red to one, add grey or silver to the other half; second bowl add black; third bowl add white.
- Stir well to mix the colors within their bowls. Using a small pastry bag filled with the yellow royal icing and a #2 tip, start by outlining the body first, then fill in only the body with the yellow gel food coloring.
- Using the blue gel food coloring, outline then color in the overalls.
- Using the black icing, color the boots, gloves, and back of the glasses. Outline first, then color in.
- Using the red color (if applicable for your Minion design), outline and color in the mouth, leaving the teeth untouched.
- Place edible eyes, then outline them with grey for the glass frame.
- Allow the piped Minion figures to dry for 5-10 hours.
- Ensure that the faces are dry by gently touching one of the images. If they are dry, then cut the wax paper holding the completed images into squares surrounding that image.
- If the images are dry, gently peel them off of the wax paper.
- Before placing “Minion” figures, use different colors of royal icing (e.g., yellow) to add stripes or other base decorations on each of the treats. Then, carefully place a “Minion” figure on each treat, centered.
Kitchen Tools
- Cookie Sheets
- Parchment Paper
- Piping Bags with Small Round Tips (#2)
- Electric Mixer
- 9×13 inch Baking Pan
Love this recipe? Follow @TammileeTIps on Pinterest
Tried this recipe? Mention @TammileeTipsLife when you share a photo!
