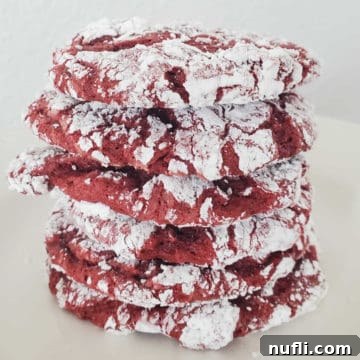
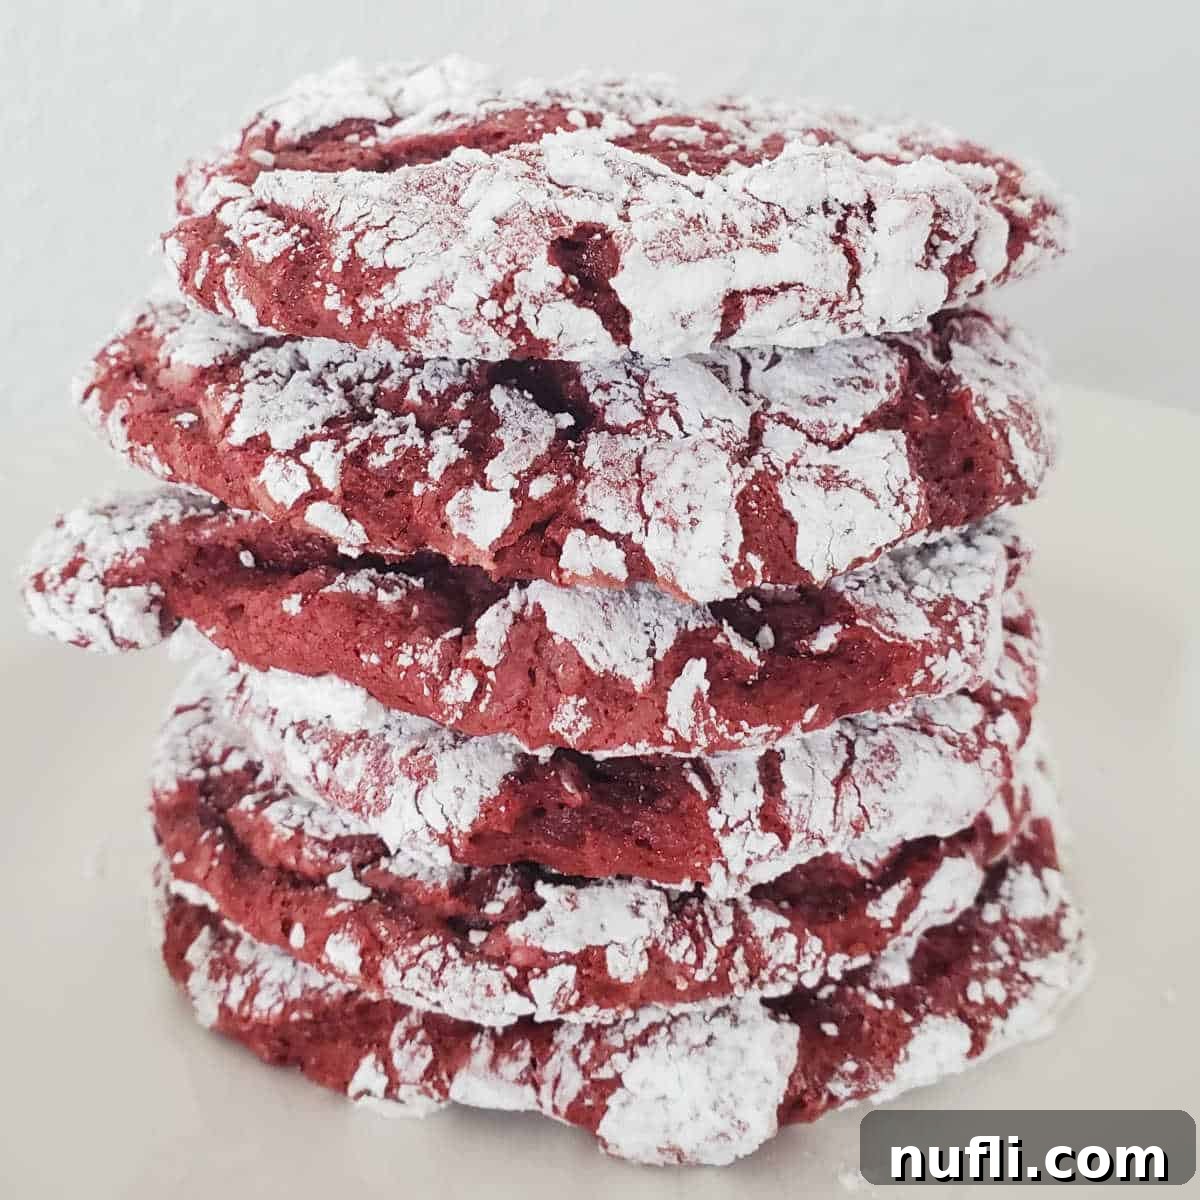
Effortless Indulgence: The Ultimate 3-Ingredient Red Velvet Cake Mix Cookies
Imagine biting into a cookie that’s incredibly moist, wonderfully soft, and bursting with that iconic red velvet flavor, all while knowing you made it with just three simple ingredients. Yes, you read that right – Red Velvet Cake Mix Cookies are not only possible but astonishingly easy to create! Forget complicated baking endeavors; this recipe redefines convenience and deliciousness, making gourmet-tasting cookies accessible to every home baker.
These delightful treats leverage the magic of a red velvet cake mix, combined with a secret ingredient: Cool Whip, and a single egg. The result is a batch of cookies so tender and flavorful, they taste like they came from a fancy bakery. If you’re looking for a quick, impressive dessert, or simply craving something sweet without the fuss, prepare to be amazed by how incredibly simple and satisfying this recipe is.

Unlocking the Secret to Perfectly Moist Red Velvet Cake Mix Cookies
When I first encountered recipes for cake mix cookies, I admit I was a bit skeptical. Having experimented with various shortcuts in the kitchen, I’ve learned that not all “easy” recipes live up to their hype. I had previously made delightful cake batter chocolate chip cookies and vibrant Funfetti Cake Mix Cookies, which were certainly crowd-pleasers. However, the idea of mixing Cool Whip directly into cake mix for cookies was a completely new frontier for me. Could something so unconventional truly yield such remarkable results?
The answer, to my pleasant surprise, is a resounding yes! This recipe stands out because the Cool Whip isn’t just a topping; it’s an integral part of the dough. It acts as a leavening agent and a tenderizer, infusing the cookies with an unmatched lightness and moisture that traditional recipes often struggle to achieve with so few ingredients. The gentle sweetness and creamy texture of Cool Whip perfectly complement the rich, slightly chocolatey notes of the red velvet cake mix, creating a harmonious flavor profile that is simply irresistible.
These cookies offer a fantastic solution for busy individuals, last-minute party planners, or anyone craving a homemade treat without spending hours in the kitchen. The minimal ingredient list also means fewer dishes to wash and a quicker cleanup, transforming baking from a chore into a truly enjoyable experience. The vibrant red hue of these cookies makes them perfect for holidays like Valentine’s Day, Christmas, or any occasion where you want to add a pop of color and a touch of elegance to your dessert spread.
The Magical Trio: Simple Ingredients for Extraordinary Cookies
The beauty of this recipe lies in its elegant simplicity. You only need three core ingredients, which are likely already staples in your pantry or easily found at any grocery store. No obscure ingredients, no complex measurements – just pure baking bliss.
Key Ingredients:
- Red Velvet Cake Mix: This is the star of our show, providing that distinctive red velvet flavor and color. Choose your favorite brand; most standard 15.25-ounce boxes work perfectly. The quality of your cake mix can subtly influence the final taste, so opt for a brand you enjoy.
- Cool Whip: This whipped topping is the unexpected hero, contributing significantly to the cookies’ incredible moisture and soft texture. I used the “Lite” version, and the cookies turned out absolutely fantastic, proving that you don’t need the full-fat option to achieve delicious results. Its airy consistency helps keep the dough light, preventing dense, heavy cookies.
- Egg: A single egg acts as a binder, holding all the ingredients together and adding to the cookie’s structure and richness.
Essential Equipment for Seamless Baking
While the ingredients are minimal, having the right tools can make the baking process even smoother and more enjoyable. These aren’t just suggestions; they are tools that genuinely enhance the experience and outcome.
- Hand Mixer / Stand Mixer: The dough for these cookies is notably thick, which is a good thing as it contributes to their chewy texture. While a sturdy hand mixer can get the job done, a stand mixer is truly a game-changer for this recipe. Its powerful motor makes light work of combining the dense mixture, ensuring all ingredients are thoroughly incorporated without tiring your arms.
- Large Mixing Bowl: A spacious mixing bowl is crucial, especially when working with a thick dough. We’re particularly fond of glass batter bowls equipped with a handle. The handle provides excellent grip and stability, preventing the bowl from sliding around on the counter as you mix, and the glass allows you to easily see when your ingredients are fully combined.
- Cookie Scoop: For beautifully uniform cookies, a cookie scoop is indispensable. It ensures that each cookie is the same size, which is not only aesthetically pleasing but also guarantees even baking. No more guessing or struggling with sticky dough – just perfect, consistently sized cookies every time.
- Baking Sheet: A high-quality baking sheet is fundamental for successful cookies. I always prefer baking sheets with raised sides. This simple feature offers peace of mind, preventing any unfortunate mishaps where cookies might slide off the sheet and onto the oven floor. (Trust me, I’ve learned that lesson the hard way, and once is enough!) Lining your baking sheet with parchment paper or a silicone baking mat is also highly recommended for easy release and quick cleanup.
- Heat Resistant Potholders: Safety in the kitchen should always be a top priority. A few years ago, we had a scary incident where a cloth potholder caught fire because we accidentally left a burner on. Since then, we’ve exclusively used heat-resistant silicone potholders. They provide superior protection against high temperatures and offer better grip, ensuring you can safely handle hot baking sheets.
Expert Tips for Red Velvet Cookie Success
While this recipe is incredibly straightforward, a few insider tips can help you achieve perfect results and make the baking process even smoother.
- Tackling the Thick Dough: Be prepared for a very thick dough. This is completely normal and desirable, as it’s what contributes to the cookies’ amazing chewiness. Due to its density, I highly recommend using a powerful KitchenAid Mixer (or any stand mixer) to ensure all ingredients are thoroughly combined. A hand mixer might struggle, and mixing by hand would be quite a workout! Ensure you scrape down the sides of the bowl frequently to incorporate everything evenly.
- Embrace the Mess (It’s Worth It!): The vibrant red color of this dough, while beautiful, can be a bit messy to work with. You might find yourself with red spots on your hands and fingers, especially when portioning the dough. Don’t worry, it washes off easily! To minimize the mess, you can lightly grease your cookie scoop or use a spoon and spatula to transfer the dough to the baking sheet. A small price to pay for such deliciousness!
- Multitasking Caution: A word to the wise from personal experience: trying to juggle baking and your phone often leads to sticky situations. I once dropped my phone directly into the red velvet dough while attempting to multitask, and spent the entire evening picking cookie dough out of the crevices. Learn from my mistake and keep your devices safely away from the mixing bowl!
- Perfect Portioning for Even Baking: Using a cookie scoop not only makes for pretty cookies but also ensures they bake evenly. Cookies of consistent size will all be perfectly done at the same time, preventing some from being underbaked while others are overdone.
- Cooling is Crucial: Once out of the oven, allow the cookies to cool on the baking sheet for about 5 minutes before transferring them to a wire rack. This allows them to firm up slightly, preventing them from breaking when moved.
- Storage: Store cooled cookies in an airtight container at room temperature for up to 3-4 days to maintain their softness and freshness.
Creative Variations & Serving Suggestions
While these 3-ingredient red velvet cookies are fantastic on their own, don’t hesitate to get creative and personalize them:
- Add-ins: Fold in a handful of white chocolate chips, dark chocolate chunks, or even a sprinkle of chopped pecans or walnuts for added texture and flavor. Sprinkles can also add a festive touch!
- A Touch of Frosting: Elevate these cookies with a simple cream cheese frosting. A quick homemade frosting or even a store-bought version can turn them into miniature frosted cakes.
- Other Cake Mix Adventures: This Cool Whip method isn’t limited to red velvet! Experiment with other cake mix flavors like chocolate, lemon, strawberry, or even funfetti for a whole new range of easy cookies. Each cake mix will bring its own unique flavor profile to the moist and soft texture.
Serve these cookies with a cold glass of milk for a classic treat, alongside a warm cup of coffee or tea, or as a delightful dessert after any meal. They are also perfect for cookie exchanges, potlucks, or simply as a comforting snack to brighten your day.
More Delicious Cookie Recipes to Explore
If you’ve fallen in love with the ease and deliciousness of these Red Velvet Cool Whip Cookies, you’re in for a treat! Our kitchen is always buzzing with new and exciting cookie recipes. Here are some other favorites you might enjoy:
- Earth Cookies
- Lemon Butter Cookies
- Coffee Meringue Cookies
- Nutella Cookies (Just 3 Ingredients!)
- Pineapple Drop Cookies
- Texas Sheet Cake Cookies
Be sure to check out all of our Dessert Recipes for sweet inspiration, and dive deeper into our collection of cake mix cookie recipes for more quick and easy baking ideas.
For even more effortless baking, we also feature a huge list of easy cookie recipes that are perfect for beginners and seasoned bakers alike.
Expand Your Culinary Horizons with Tammilee Tips
Are you a passionate home cook always on the hunt for new and exciting recipes? At Tammilee Tips, we’re dedicated to bringing you a diverse array of culinary delights that are both approachable and incredibly tasty. Beyond our extensive cookie collection, we invite you to explore other popular recipe categories designed to inspire your next meal.
Discover creative solutions for recreating your favorite restaurant dishes with our captivating copycat recipes. Indulge your sweet tooth further with an endless variety of dessert recipes, ranging from classic comforts to innovative creations. And for those busy weeknights, our collection of CrockPot Recipes offers effortless meal solutions that deliver maximum flavor with minimal effort.
Stay connected with Tammilee Tips for all our latest recipe posts, kitchen hacks, and travel adventures! Follow us on Facebook, Instagram, and Pinterest. We love hearing from our community and seeing your delicious creations!

Red Velvet Cool Whip Cookies
Print
Rate
5 minutes
12 minutes
17 minutes
16
141
kcal
Tammilee Tips
Ingredients
-
15.25
Ounce
Red Velvet Cake Mix -
8
Ounce
Cool Whip -
1
egg
Instructions
- Preheat your oven to 350°F (175°C). In a large mixing bowl, combine the red velvet cake mix, 8 ounces of Cool Whip, and one egg. Using a stand mixer with the paddle attachment (or a very sturdy hand mixer), mix on low speed until all ingredients are fully incorporated and a thick, uniform dough forms. You may need to stop and scrape down the sides of the bowl to ensure everything is well mixed.
- Using a cookie scoop or two spoons, drop rounded spoonfuls of the thick dough onto a baking sheet lined with parchment paper, spacing them about 2 inches apart. Bake in the preheated oven for 12-13 minutes, or until the edges are lightly set but the centers still look soft. Avoid overbaking to keep them moist.
- Remove the cookies from the oven and let them cool on the baking sheet for 5 minutes before transferring them to a wire rack to cool completely. This step helps the cookies set and prevents them from breaking. Once cooled, store them in an airtight container at room temperature.
Kitchen Tools
- Stand Mixer (or Hand Mixer)
- Large Mixing Bowl
- Cookie Scoop
- Baking Sheets
- Parchment Paper or Silicone Mat
- Wire Cooling Rack
Nutrition
Calories from Fat 45
Love this recipe?
Follow @TammileeTIps on Pinterest
Tried this recipe?
Mention @TammileeTipsLife when you share a photo!
