Homemade Snow Ice Cream: The Ultimate Winter Treat Recipe
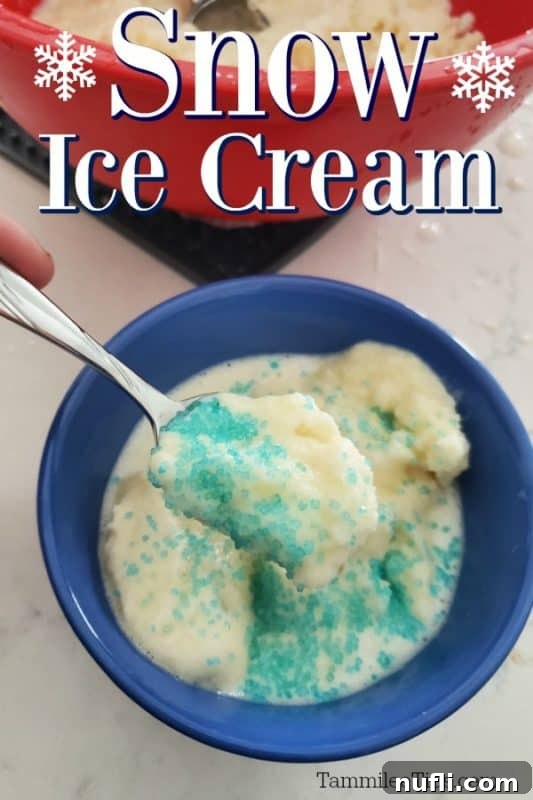
Winter brings with it a unique kind of magic – crisp air, cozy evenings, and of course, the enchanting beauty of freshly fallen snow. What better way to celebrate a snowy day than by transforming that pristine white blanket into a delightful, homemade dessert? Forget complicated recipes and long ingredient lists; we’re excited to share an incredibly easy Snow Ice Cream recipe that promises to be the perfect fun winter activity for all ages. It’s simple, delicious, and brings a touch of whimsy to even the chilliest days. Get ready to scoop up some joy!

Discover the Magic of Snow Ice Cream: A Winter Delight
There’s something incredibly special about creating a treat directly from nature’s bounty. Snow ice cream taps into that childlike wonder, offering a unique culinary experience that’s both nostalgic and exciting. Imagine stepping outside after a fresh snowfall, gathering pure, fluffy flakes, and moments later, transforming them into a sweet, creamy dessert right in your kitchen. It’s a fantastic way to engage kids in the kitchen, teaching them about simple ingredients and the joy of DIY treats, all while creating lasting winter memories.
This past year has certainly been one for the history books, filled with unexpected challenges and a need for simple pleasures. What better way to cap it off, or kick off a new one, than with a generous snowfall? After more than nine inches blanketed our area in a single day, we decided to embrace the winter wonderland. Making Snow Ice Cream became our delightful distraction from the endless task of shoveling snow from our driveway and sidewalks. Laughter and sweet spoonfuls replaced the chore, turning a snowy day into an unforgettable moment of family fun.
Ending the year with a big snowstorm provided the perfect excuse for a cozy movie night and some much-needed relaxation. Since we weren’t planning to go anywhere, we snuggled up with a batch of Crockpot Hot Chocolate and truly unwound. It’s hard to believe how quickly the days have blurred into months, bringing us to the end of December and the doorstep of a new year. I genuinely hope that this coming year brings immense joy and happiness to everyone. After a truly challenging period, we all deserve a little more positivity and excitement in our lives, and perhaps, a bowl of snow ice cream is just the start.

The Simple Ingredients for Your Snow Cream Adventure
One of the best aspects of this snow ice cream recipe is its incredible simplicity. You don’t need fancy equipment or exotic ingredients. Chances are, you already have everything you need right in your pantry, waiting for the next snowfall. This makes it an ideal spontaneous activity when snow unexpectedly graces your doorstep.
Core Snow Cream Ingredients:
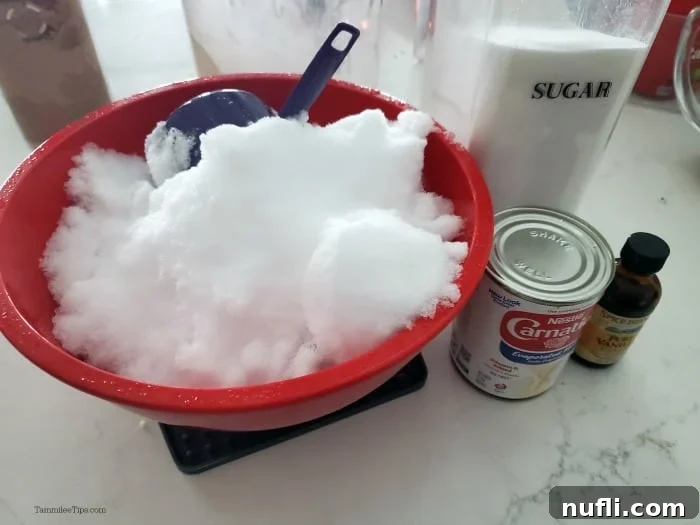
- Fresh, Clean Snow: This is, of course, the star of our show! We’ll cover how to gather the best snow safely in the next section.
- Evaporated Milk: Provides the creamy base and rich texture. It’s thicker than regular milk, contributing to a more ice-cream-like consistency.
- Granulated Sugar: Sweetens the mixture to your desired level, transforming plain snow into a delightful dessert.
- Vanilla Extract: Adds a classic, comforting flavor that makes the snow cream taste wonderfully nostalgic.
Kids and adults alike will adore the hands-on fun of making this recipe and the incredibly satisfying taste of this unique sweet treat. It’s a fantastic way to engage with the winter environment and create something delicious together.
Sourcing and Selecting the Perfect Snow for Your Ice Cream
While the concept is simple, the quality of your snow is paramount for the best and safest snow ice cream. Not all snow is created equal, especially when it comes to eating it. Here are some essential tips for gathering the best snow:
- Freshness is Key: Always use freshly fallen snow. Snow that has been sitting for a while can absorb pollutants from the air or ground.
- Choose Untouched Snow: Collect snow from an area that is visibly clean and has not been walked on, plowed, or disturbed by animals. Avoid snow near roads, driveways (especially if salted), or under trees where debris might fall.
- Look for Fluffy Snow: Fluffy, light snow works best as it incorporates easily and creates the desired soft, airy texture. Heavy, icy, or slushy snow won’t yield the same delightful result.
- Use a Clean Container: Gather your snow in a large, clean mixing bowl or container.
- Consider Alternatives: If you’re concerned about pollution or don’t have access to fresh, clean snow, you can still enjoy this treat! Use store-bought snow cone ice or shaved ice. Many ice machines can produce suitable shaved ice, offering a safe and convenient alternative.
- Plan Ahead: If a snowstorm is predicted, you can place a few large, clean bowls outside before the snow starts falling. This allows them to fill up with pristine snow, minimizing your time outside in the cold while ensuring a clean supply.
Unleash Your Creativity: Snow Ice Cream Flavor Variations and Toppings
While classic vanilla snow ice cream is wonderfully delicious on its own, this recipe is a blank canvas for culinary creativity. Don’t be afraid to experiment with different flavors and an array of fun toppings to make each bowl uniquely yours!
Delicious Flavor Variations:
- Chocolate Snow Ice Cream: For chocolate lovers, simply whisk in 5 teaspoons of unsweetened cocoa powder along with your other ingredients. For an extra decadent treat, fold in mini chocolate chips.
- Maple Snow Ice Cream: Embrace the flavors of winter by substituting the granulated sugar with ¼ cup of pure maple syrup. The rich, earthy sweetness of maple syrup pairs beautifully with the snow.
- Strawberry Snow Ice Cream: Add a fruity twist by stirring in a few tablespoons of strawberry jam or a touch of strawberry extract. You could even blend in some fresh or frozen (and thawed) strawberries for a more natural fruit flavor.
- Coffee Snow Ice Cream: Mix in a teaspoon of instant coffee granules or a tablespoon of strong, cooled coffee for a sophisticated, coffee-infused dessert.
- Peppermint Snow Ice Cream: Perfect for the holidays or any winter day, add ¼ to ½ teaspoon of peppermint extract. A few drops of red or green food coloring can make it visually festive!
- Almond Snow Ice Cream: Swap vanilla extract for almond extract for a subtle, nutty flavor.
- Citrus Zest Snow Cream: Add a bright, refreshing zing by grating in the zest of a lemon, lime, or orange.
The Ultimate Topping Extravaganza:
No ice cream, even snow ice cream, is complete without an exciting array of toppings. Set up a “Snow Cream Sundae Bar” for your family or guests, allowing everyone to customize their creation:
- Classic Syrups: Chocolate syrup, caramel sauce, strawberry topping.
- Whipped Cream: A fluffy cloud of whipped cream is always a crowd-pleaser.
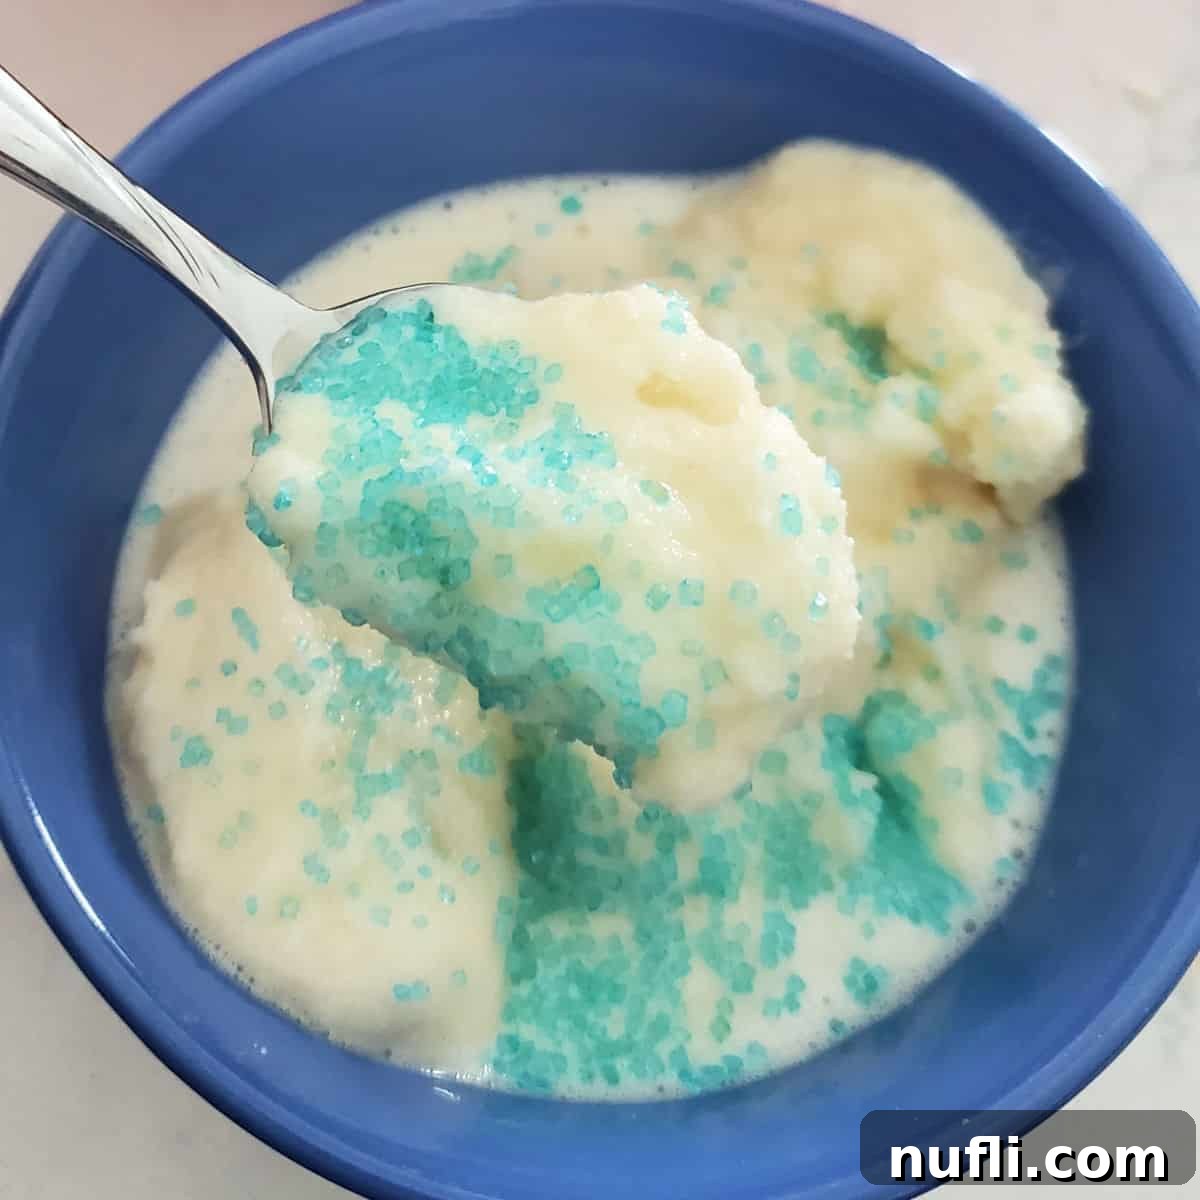
- Sprinkles: Rainbow sprinkles, chocolate sprinkles, or for a thematic touch, check out these adorable Snowflake Sprinkles on Amazon.
- Crushed Candies: Peppermint pieces, M&Ms, or crushed Oreos.
- Fresh Fruit: Sliced bananas, berries, or cherries.
- Nuts: Chopped walnuts, pecans, or almonds for added crunch.
- Mini Marshmallows: A perfect accompaniment, especially with chocolate variations.
Essential Equipment for Your Snow Ice Cream Creation
The beauty of this recipe extends to its minimal equipment requirements. You likely have most of these items readily available in your kitchen, making it a truly fuss-free activity.
- Large Mixing Bowl: This is crucial for combining your ingredients without making a mess. We are big fans of a glass batter bowl with a handle, as it provides stability and makes mixing easier. A large bowl also allows you to add more snow if you decide to scale up your recipe.
- Whisk or Spatula: A simple spatula is perfect for gently folding and stirring the ingredients into the snow. A whisk will also work well to ensure everything is thoroughly combined. Use whatever stirring tool you have on hand – a wooden spoon works just as effectively!
- Ice Cream Scoop: While not strictly necessary, an ice cream scoop makes serving your snow cream neat and enjoyable. A large spoon will also suffice to dish out this delightful dessert.
Pro Tips for the Perfect Snow Ice Cream
Achieving that ideal, creamy snow ice cream consistency is easy with a few simple tricks. These tips will help you make the most of your ingredients and ensure a delightful experience every time:
- Chill Your Bowl: For the best results, place your large mixing bowl in the refrigerator or freezer for at least 30 minutes before you start making the ice cream. A cold bowl will help the snow melt slower, maintaining a firmer texture and better consistency for longer.
- Act Fast, Eat Faster: Snow ice cream, as you might expect, melts quite quickly at room temperature. Be prepared to serve and enjoy it as soon as it’s made. It’s part of the fun – a truly fresh, ephemeral treat!
- Fluffy Snow is Best: When collecting snow, aim for light, airy, fluffy flakes. Gently scoop it into your bowl without packing it down. Packed snow is denser and can result in a more icy texture.
- Milk Substitutions: If you don’t have evaporated milk, regular milk can be used, though the mixture might be slightly less sweet and creamy. For an extra rich and sweet ice cream, try using sweetened condensed milk. If you opt for sweetened condensed milk, you might need little to no added sugar, depending on your preferred sweetness level. Adjust and taste as you go!
- Flavor Exploration: Don’t limit yourself to vanilla! Feel free to swap vanilla extract for other flavor extracts like almond, coconut, lemon, or even rum extract for a more adult twist.
- Serving Suggestions: Serve your snow ice cream in fun bowls. Amazon offers some really cute Family Ice Cream Bowls that would be perfect for photos and themed parties. If you’re on the go or making this for a gathering, an Ice Cream Party Kit can add to the festive atmosphere.
Frequently Asked Questions about Snow Ice Cream
Is it safe to eat snow?
Generally, fresh, clean snow collected from an undisturbed area (away from roads, driveways, and pollutants) is considered safe to eat. However, it’s always best to use common sense. If the snow looks discolored, has debris, or if you live in an area with high air pollution, it’s safer to use shaved ice or snow cone ice instead.
How much snow do I need?
The amount of snow can vary depending on its fluffiness. For a recipe yielding about 6 servings, roughly 8-10 cups of fluffy snow is a good starting point. You can always add more if the mixture seems too liquid, or less if it’s too thick.
Can I make snow ice cream ahead of time?
Snow ice cream is best enjoyed immediately after preparation. It melts quite rapidly due to its primary ingredient. While you could technically freeze it, the texture would change significantly, becoming more like a solid block of ice rather than creamy ice cream.
What kind of milk can I use?
Evaporated milk is recommended for its creaminess and richness. However, you can substitute it with regular whole milk for a lighter version, or sweetened condensed milk for a much sweeter and denser result (adjusting sugar accordingly). Dairy-free milk alternatives like coconut milk (full-fat) or almond milk can also work, though the consistency and flavor will be different.
Homemade Snow Ice Cream Recipe Card

Snow Ice Cream
A delightfully easy recipe to make creamy snow ice cream with fresh snow and a few simple pantry ingredients.
- Prep Time: 15 minutes
- Total Time: 15 minutes
- Servings: 6
- Calories: 208 kcal
- Author: Tammilee Tips
Ingredients:
- 10 cups Fresh Snow
- 12 oz Evaporated Milk
- 1 Teaspoon Vanilla Extract
- 1 cup White Sugar
Instructions:
- Collect fresh, clean snow in a large mixing bowl.
- Gently stir in the evaporated milk, vanilla extract, and granulated sugar until all ingredients are well combined and the mixture reaches a creamy ice cream consistency.
- Serve immediately with your favorite toppings and enjoy your magical winter treat!
Kitchen Tools:
- Large Mixing Bowl
- Whisk or Spatula
- Ice Cream Scoop (optional)
Nutrition Facts (per serving):
Calories: 208 kcal | Fat: 4g (Saturated Fat: 3g) | Cholesterol: 16mg | Sodium: 80mg | Potassium: 172mg | Carbohydrates: 39g (Sugar: 39g) | Protein: 4g | Vitamin A: 136IU | Vitamin C: 1mg | Calcium: 160mg | Iron: 1mg
* Percent Daily Values are based on a 2000 calorie diet.
More Delicious Dessert Recipes to Try
If you loved making and eating this snow ice cream, you’re in for a treat with these other fantastic dessert ideas:
- Hot Chocolate Muddy Buddies
- Winter Oreo Treats
- Easy Cookie Recipes
- Mississippi Mud Cake
- Famous Carnation Fudge Recipe
- Lego Cupcakes
Do you love discovering new recipes? Be sure to check out our copycat recipes, a wide array of dessert recipes, and our convenient Crock Pot Recipes for effortless meal solutions.
