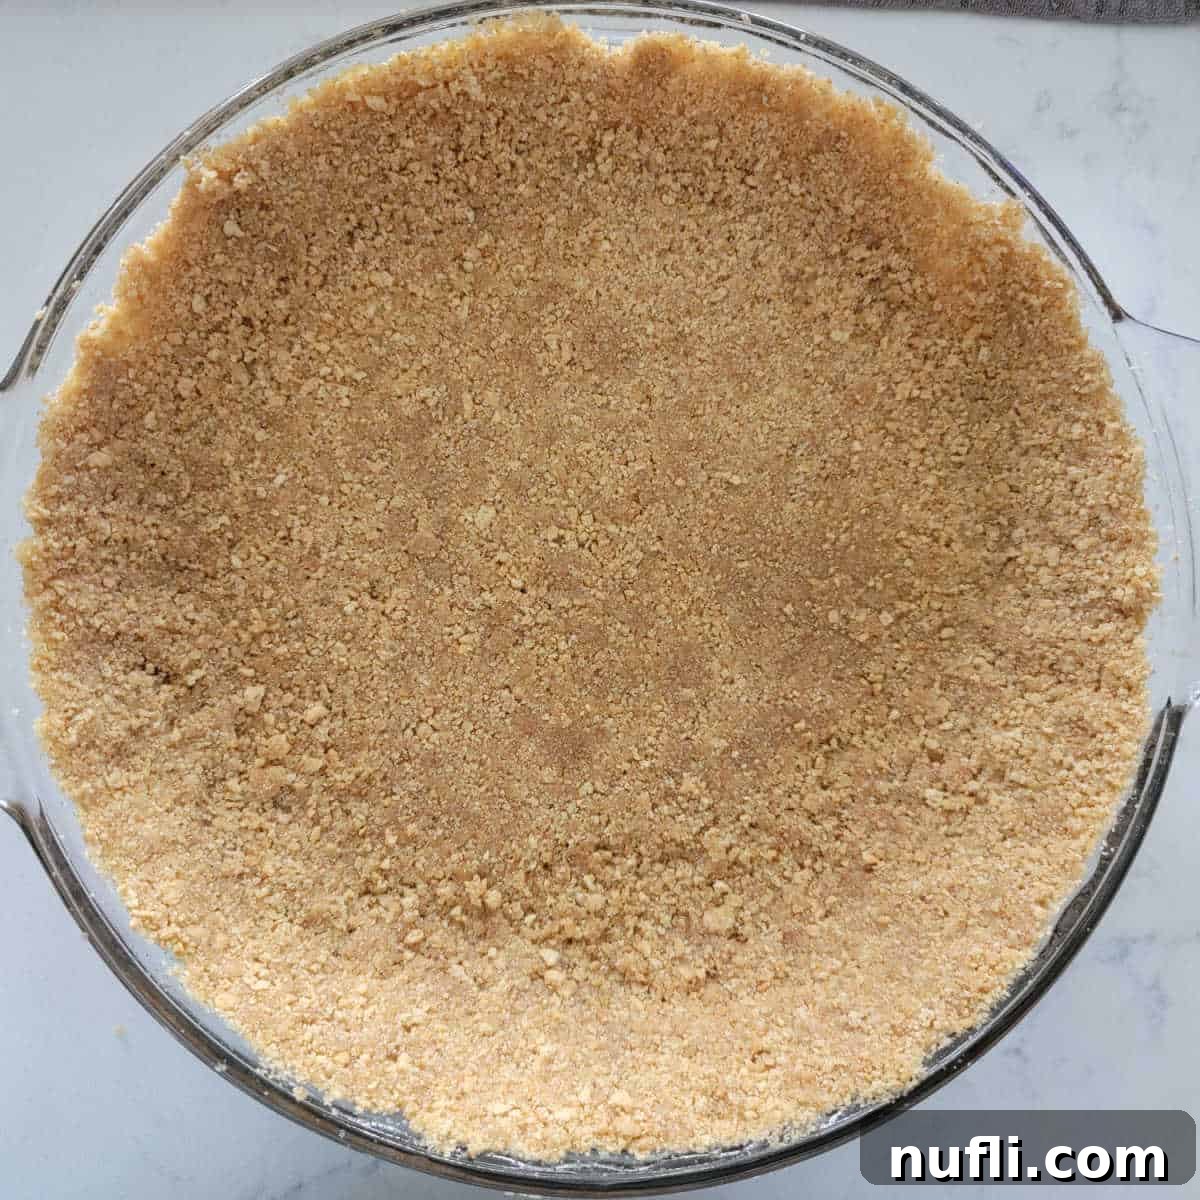
Elevate your dessert game by mastering the simple yet essential art of making a **homemade graham cracker crust**. Forget about those often-stale, pre-made versions from the grocery store. This incredibly easy recipe uses just three common ingredients and comes together in minutes, promising a fresh, buttery, and perfectly sturdy foundation for all your favorite sweet treats. Whether you’re whipping up a light no-bake pie or a rich baked cheesecake, this DIY crust will quickly become your go-to recipe, guaranteeing superior flavor and texture every time.
Why Homemade Graham Cracker Crust is Always Best
The foundation of any spectacular pie or cheesecake is its crust, and for many beloved desserts, a rich graham cracker crust is the ideal choice. While store-bought crusts offer convenience, they often compromise on taste and freshness. I’ve certainly fallen for the allure of a ready-made crust when pressed for time, only to be met with a disappointing, bland flavor that detracts from the entire dessert experience. You deserve better, and thankfully, achieving a truly delicious crust from scratch is astonishingly simple.
Crafting your own **easy graham cracker crust** from scratch ensures a level of freshness and flavor that pre-made options simply cannot match. You gain complete control over the ingredients, guaranteeing a vibrant, buttery taste that perfectly complements creamy fillings. This versatility allows you to easily adapt the recipe to create a **gluten-free graham cracker pie crust** using specialized crackers, a decadent chocolate crust with crushed chocolate cookies, or even a **vegan pie crust** by opting for plant-based butter and vegan-friendly crackers. Once you’ve experienced the rich aroma and satisfying crunch of a homemade crust, you’ll wonder why you ever settled for anything less.
Simple Ingredients for an Extraordinary Crust
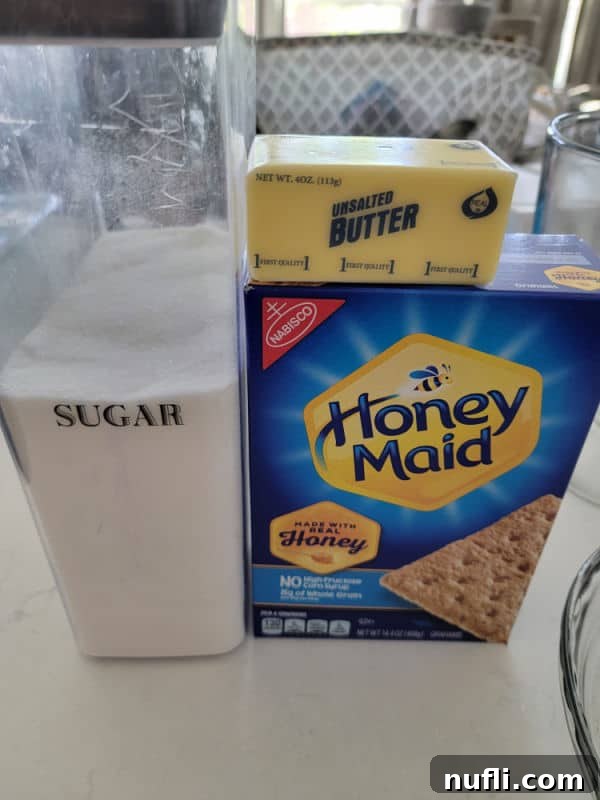
Creating an epic homemade graham cracker crust requires minimal effort and just three primary ingredients that are likely already in your pantry. We’ll dive into each component to ensure you select the best options for a truly remarkable dessert base. Specific measurements and detailed instructions can be found in the recipe card towards the end of this article.
The Three Core Ingredients:
- Graham Cracker Crumbs: The undeniable star of this recipe. You’ll need approximately 1.5 cups of finely crushed graham cracker crumbs. This usually translates to about 12 full graham cracker sheets or roughly one standard sleeve, though this can vary slightly by brand.
- Granulated Sugar: Essential for adding a touch of sweetness that balances the crackers and contributes to the crust’s appealing texture.
- Unsalted Butter: This acts as the crucial binder, bringing all the ingredients together into a cohesive crust while infusing it with a rich, inviting flavor. Using unsalted butter allows you to manage the overall salt content to your preference.
Ingredient Deep Dive & Expert Tips:
Graham Cracker Crumbs: The Soul of Your Crust
For unparalleled freshness and flavor, we strongly advocate for making your own graham cracker crumbs from whole crackers. While pre-crushed crumbs are available, they often come at a higher cost than a full box of crackers and can sometimes taste stale, which can unfortunately compromise the entire dessert. Devoting just 30 seconds to pulverize your own crackers ensures maximum freshness and the best possible taste.
There are several efficient methods for transforming whole graham crackers into fine crumbs:
- Food Processor: This is by far the quickest and most consistent method. Simply break your graham crackers into smaller pieces, add them to the food processor, and pulse until uniform, fine crumbs are achieved.
- Blender: A sturdy blender can also effectively turn whole crackers into crumbs. Add crackers in batches and blend until finely ground.
- Rolling Pin Method: If you don’t have a food processor or blender, a rolling pin works perfectly well. Place the graham crackers in a strong, sealable plastic bag (like a Ziploc), remove any excess air, and then use a rolling pin or the bottom of a heavy skillet to crush them. Aim for fine crumbs, but don’t worry if a few slightly larger pieces remain; they can add a pleasant textural dimension.
Don’t hesitate to experiment with different graham cracker flavors to customize your crust. Honey-flavored, cinnamon-sugar, or even chocolate graham crackers can introduce wonderful nuances. This recipe is also incredibly flexible and works beautifully with other cookie varieties such as gingersnaps, digestive biscuits, or vanilla wafers, offering endless creative possibilities for your pie and cheesecake bases.
Sugar: The Sweet Touch and Structural Aid
While standard granulated sugar is typically used, you can easily substitute it with light brown sugar for a richer, slightly more complex, and subtly caramelized flavor. Brown sugar also imparts a bit more moisture to the crust, which can be a delightful addition depending on your chosen pie filling. Feel free to adjust the quantity of sugar slightly to match your personal preference for sweetness, keeping in mind the sweetness of your filling.
Unsalted Butter: The Indispensable Binder
Melted unsalted butter is critical for binding the graham cracker crumbs and sugar together, forming a compact and structurally sound crust. Opting for unsalted butter gives you precise control over the overall saltiness of your crust. If salted butter is your only option, simply omit any additional salt you might consider adding to the mixture. The precise amount of butter can vary slightly based on the brand of graham crackers (some are drier than others) or even environmental humidity. If your crumb mixture feels too dry and crumbly, failing to hold together when pressed, gradually add an extra tablespoon or two of melted butter until it achieves the consistency of wet sand.
Optional Flavor Enhancements:
For those looking to add an extra layer of complexity and aroma, consider these optional additions:
- Spices: A hint of ground cinnamon, nutmeg, or a festive pumpkin pie spice blend can introduce warmth and depth. Start with about ¼ teaspoon and adjust to taste, ensuring it complements your pie filling.
- Vanilla Extract: A few drops of pure vanilla extract can beautifully enhance the crust’s sweetness and contribute a comforting aroma.
- Salt: Although our core recipe does not include it, many bakers add a small amount of kosher salt to graham cracker crusts to intensify the overall flavor profile and create a delightful salty-sweet contrast. If you enjoy this balance, consider adding ¼ teaspoon of fine salt, especially if you’re using unsalted butter.
Essential Equipment for Your Crust Creation
Having the right tools ready before you begin will make the process of creating your homemade graham cracker crust efficient and enjoyable. Here’s a list of the equipment you’ll need:
- Blender or Food Processor: These kitchen appliances are invaluable for quickly and efficiently transforming whole graham crackers into fine, consistent crumbs. We find blenders like the Ninja system to be particularly effective for this task.
- Medium Mixing Bowl: A bowl of appropriate size is needed to thoroughly combine the graham cracker crumbs, sugar, and melted butter.
- 9-inch Pie Pan or Springform Pan: A standard 9-inch pie plate is perfect for most pies. If you’re preparing a cheesecake, a springform pan is highly recommended for easy dessert removal and presentation.
- Measuring Cups and Spoons: Crucial for ensuring accurate measurements of all your ingredients, leading to a perfectly balanced crust.
- Spatula or Sturdy Spoon: For mixing the ingredients until they are uniformly combined.
- Flat-Bottomed Glass or Measuring Cup: This is an excellent, simple tool for pressing the crumb mixture firmly and evenly into the pie pan, which is key to a robust crust that won’t crumble.
How to Craft the Perfect Graham Cracker Crust: A Step-by-Step Guide
Whether your dessert calls for a crisp, pre-baked crust or a perfectly chilled no-bake base, this comprehensive guide will walk you through each step. You’ll soon have a delicious, homemade foundation ready for your favorite fillings.
Step 1: Create Your Graham Cracker Crumbs
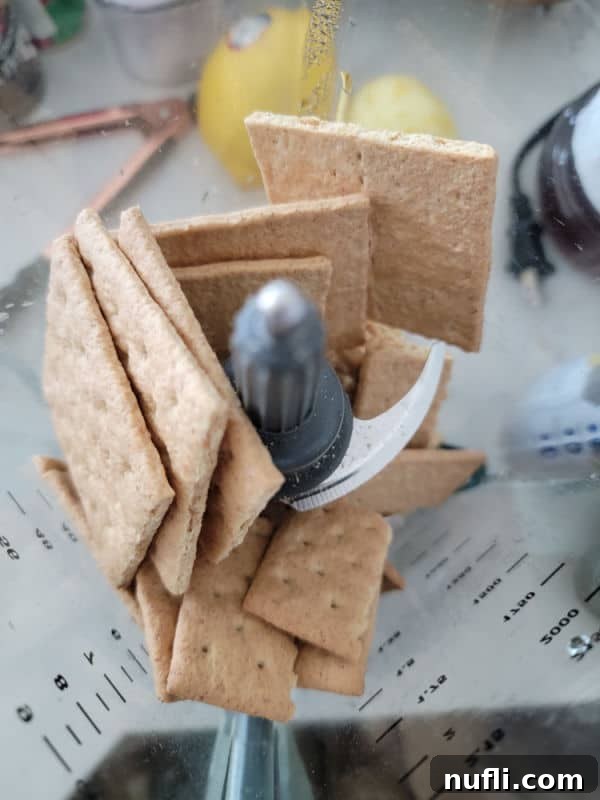
Begin by preparing your graham cracker crumbs. Place approximately 12 full graham cracker sheets into your chosen appliance – a blender, food processor, or a sturdy plastic bag. If using a blender or food processor, pulse until the crackers are finely ground into consistent crumbs. For the plastic bag method, seal it securely, remove any excess air, and then use a rolling pin or a heavy pan to crush the crackers until they reach a fine, sandy texture. The goal is to yield about 1.5 cups of these fresh crumbs.
Step 2: Combine Wet and Dry Ingredients
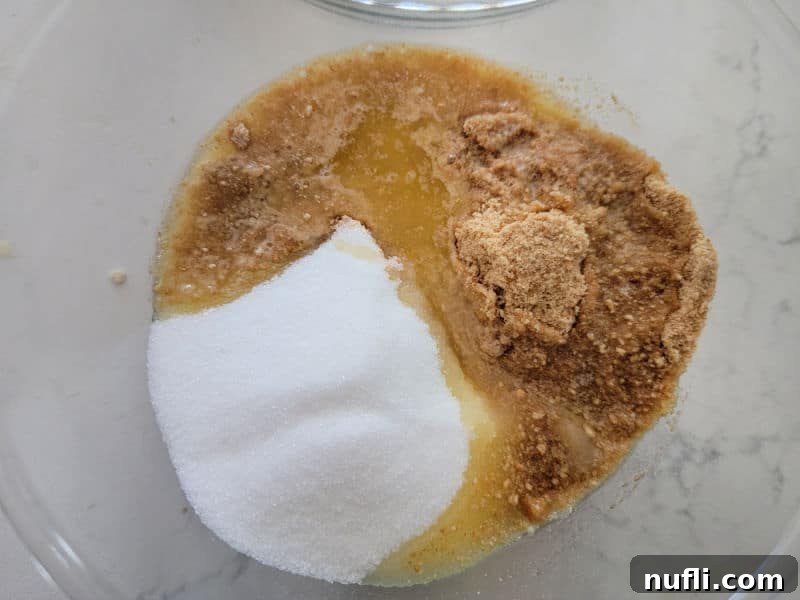
In a medium-sized mixing bowl, combine your freshly made graham cracker crumbs, granulated sugar, and the melted unsalted butter. Use a spoon or spatula to stir all the ingredients together thoroughly. Continue mixing until every crumb is moistened by the butter and the entire mixture resembles damp sand. If you’ve chosen to include any optional spices like cinnamon or vanilla extract, incorporate them into the mixture at this stage, ensuring they are evenly distributed.
Step 3: Press the Mixture into the Pan
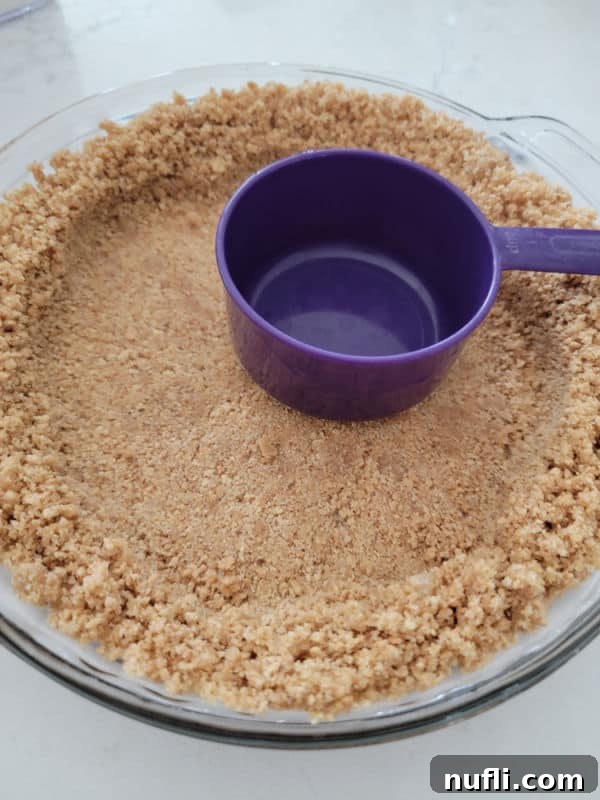
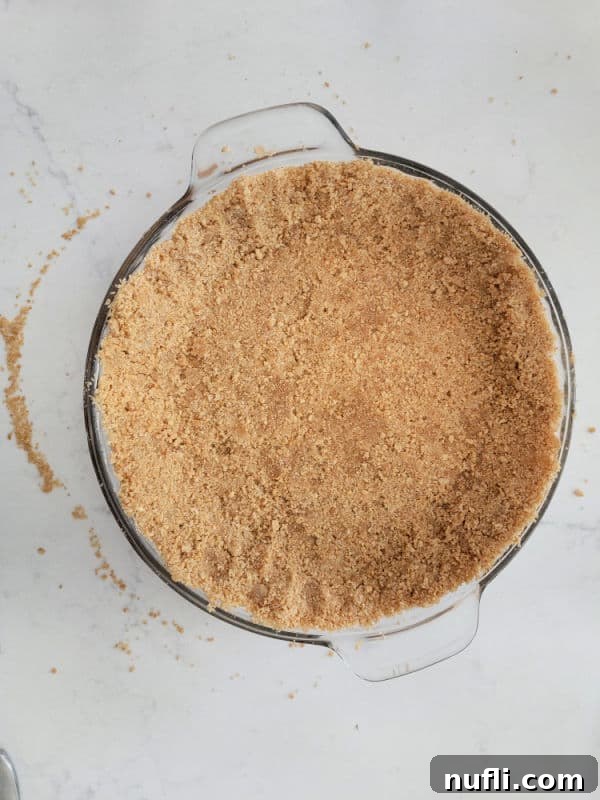
Carefully pour the combined graham cracker mixture into your chosen 9-inch pie pan or springform pan. Spread the mixture out evenly across the bottom of the pan. Now, using the bottom of a flat-surfaced glass, a measuring cup, or even your clean fingers, firmly and evenly press the mixture into the bottom and up the sides of the pan. This pressing action is crucial; it compacts the crumbs tightly, creating a robust and stable crust that will hold its shape beautifully when sliced. Pay particular attention to pressing firmly along the edges and into the corners.
Step 4: Bake for Crispiness or Chill for No-Bake Perfection
Once your crust is pressed into the pan, you have two distinct paths, depending on the type of dessert you’re making:
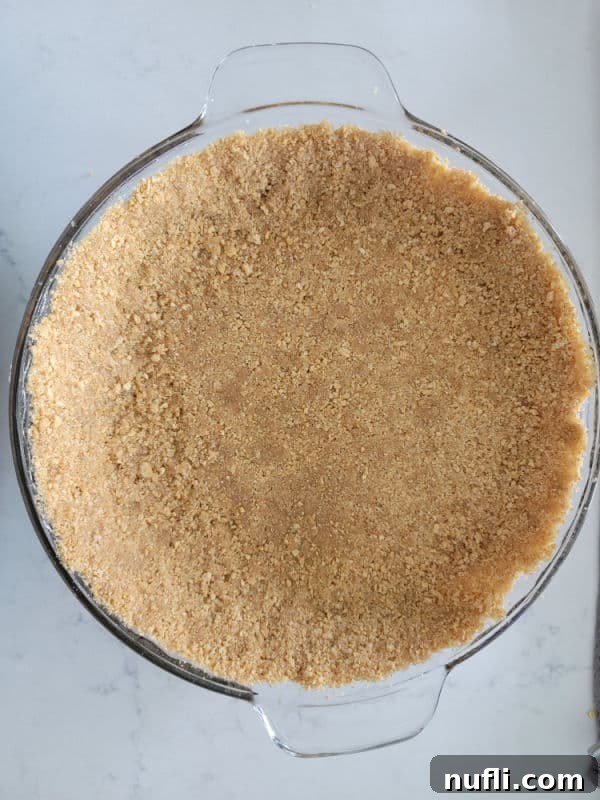
- For a Baked Crust: If your recipe (such as a custard pie or a pie that will be baked with its filling) requires a pre-baked crust, preheat your oven to 350°F (175°C). Bake the pressed crust for 9-10 minutes, or until it turns a light golden brown. This pre-baking step is vital for achieving a crispier texture and helps prevent the crust from becoming soggy once filled. After baking, allow the crust to cool completely on a wire rack before adding any filling.
- For a No-Bake Crust: For cheesecakes or other no-bake pies, chilling is the key to a perfectly set crust. Place the pan with the pressed crust into the refrigerator for a minimum of 30 minutes, or into the freezer for at least 15 minutes. This chilling period allows the melted butter to solidify, setting the crust firmly so it can withstand the weight of your filling without cracking or crumbling.
Preparation and Storage Essentials
Preparing your graham cracker crust in advance is a smart strategy for efficient dessert assembly. Here’s how to store it effectively to maintain its freshness:
- Make Ahead Advantage: This crust can be prepared a day or two ahead of time. Once the crust is pressed into the pan (and baked and fully cooled, if applicable), cover it securely with plastic wrap or aluminum foil. Then, simply refrigerate it until you are ready to fill and serve your dessert. This simple step can significantly reduce your dessert-making stress on the day of an event.
- Freezing for Long-Term Storage: Homemade pie crusts freeze exceptionally well for up to three months. If you’ve baked your crust, ensure it is completely cool before freezing. Wrap the entire pie pan tightly in at least two layers of plastic wrap, followed by a final layer of heavy-duty aluminum foil. This comprehensive wrapping protects against freezer burn and prevents the crust from absorbing any freezer odors. Don’t forget to label it with the date.
- Thawing a Frozen Crust: To prepare a frozen crust for use, transfer it from the freezer to the refrigerator and allow it to thaw slowly overnight. This gradual thawing process helps to minimize condensation, preserving the crust’s texture and ensuring it’s firm and ready for your chosen filling.
Recipe Variations and Creative Adaptations
One of the most appealing aspects of this basic graham cracker crust recipe is its incredible versatility. It serves as a fantastic starting point for numerous customizations, allowing you to tailor it to specific dietary requirements or experiment with exciting new flavor profiles.
Dietary Adaptations:
- Vegetarian Option: This recipe is inherently vegetarian, as most commercially available graham crackers and cookies are free from animal products (excluding butter, which is a dairy product and suitable for vegetarians).
- Vegan Option: To create a completely **vegan graham cracker crust**, simply substitute traditional dairy butter with a high-quality plant-based butter alternative. It’s also crucial to ensure that your chosen graham crackers or alternative cookie base are certified vegan, as some brands may contain honey or other animal-derived ingredients.
- Gluten-Free Graham Cracker Crust: Achieving a **gluten-free crust** is straightforward. Replace conventional graham crackers with readily available gluten-free graham crackers. The preparation method remains identical, ensuring a delicious and safe option for individuals with gluten sensitivities.
- Sugar-Free Graham Cracker Crust: For a sugar-free alternative, replace the granulated sugar with your preferred sugar substitute (such as erythritol, xylitol, or a stevia blend). Additionally, verify that your chosen graham crackers or cookie base are also sugar-free to maintain the sugar-free integrity of the crust.
Flavor and Base Variations: Unleash Your Creativity
Why stop at classic graham crackers? This versatile method lends itself beautifully to a diverse array of cookie and cracker bases, opening up a world of creative dessert possibilities:
- Chocolate Crumb Crust: For a decadent twist, use crushed chocolate graham crackers or, for an extra rich option, crushed Oreo cookies (creme filling and all!). This variation is heavenly for chocolate cream pies, mint cheesecakes, or any dessert requiring a deep chocolate base.
- Gingersnap Cookie Crust: Crushed gingersnap cookies create a wonderfully spicy and warm crust, making it an excellent choice for autumn-inspired desserts like pumpkin pies, apple tarts, or holiday cheesecakes.
- Vanilla Wafer Crust: For a lighter, sweeter, and distinctly vanilla-flavored base, opt for crushed vanilla wafers. This crust pairs exquisitely with banana cream pie, fruit tarts, or lemon desserts.
- Shortbread Cookie Crust: Crushed shortbread cookies yield a rich, intensely buttery, and slightly denser crust. It’s a superb choice for elegant fruit fillings, dense chocolate ganache tarts, or creamy lemon bars.
- Digestive Biscuit Crust: A beloved choice in many regions, digestive biscuits produce a subtly sweet and satisfyingly crunchy crust, frequently used as the base for various cheesecakes and tarts.
- Citrus Zest Infusion: To brighten your crust and perfectly complement a citrusy filling, consider adding a teaspoon of finely grated lemon, lime, or orange zest directly into your graham cracker mixture. It imparts a delightful aromatic punch.
Expert Tips for the Best Homemade Graham Cracker Crust
Achieving a consistently firm, incredibly flavorful, and easy-to-slice crust is simpler than you think with these professional tips and tricks:
- Consistency of Crumbs Matters: While a few slightly larger pieces can add texture, aim for mostly fine, uniform crumbs. Overly chunky pieces can make the crust less cohesive and more prone to crumbling when cut. A sandy consistency is ideal for binding.
- The Right Amount of Butter is Key: The melted butter is your binder. The mixture should feel like wet sand and hold its shape when squeezed in your hand. If it’s too dry, the crust will be brittle; add melted butter gradually, one tablespoon at a time. If it’s excessively greasy, it might become too hard; try mixing in a few more crumbs to absorb the excess.
- Press Firmly and Evenly: This cannot be overstated – it’s the most critical step for a sturdy crust. A well-packed crust will slice cleanly and won’t fall apart. Use the flat bottom of a measuring cup, a glass, or a clean hand to apply consistent pressure across the bottom and firmly up the sides of the pan.
- Respect the Chill Time for No-Bake: Do not rush the chilling process for no-bake crusts. Adequate time in the refrigerator (or freezer) allows the butter to solidify completely, setting the crust and making it firm enough to hold any filling without becoming soft or cracking.
- Pre-Baking Enhances Crispiness and Prevents Soggy Bottoms: If you’re aiming for an extra-crisp crust or preparing a pie with a particularly moist filling (like a custard or a very juicy fruit filling), pre-baking your crust is highly recommended. This step creates a barrier against moisture and significantly prevents a soggy bottom.
- Preventing Moisture Migration: For extremely moist fillings, consider brushing a thin layer of melted white chocolate or dark chocolate onto the cooled, baked crust before adding the filling. This creates an impermeable layer that acts as a barrier, keeping your crust wonderfully crisp.
- Flavor Customization: Remember that your crust is an integral part of the overall dessert experience. Don’t hesitate to add a pinch of ground cinnamon, a touch of nutmeg, or a dash of vanilla extract to the crumb mixture. These additions can beautifully complement and enhance the flavors of your chosen pie filling.
Popular Desserts Perfect for a Graham Cracker Crust
This versatile homemade graham cracker crust is the ideal foundation for an extensive array of delectable desserts. Its sweet, buttery flavor and satisfying crunch harmonize beautifully with a wide variety of creamy, fruity, or chocolatey fillings. Here are some inspiring ideas for utilizing your freshly prepared crust:
- Peanut Butter Pie: A rich, airy, and incredibly creamy peanut butter filling finds its perfect home in a crisp graham cracker crust for a truly indulgent classic.
- Lemon Icebox Pie: The bright, tart, and refreshing lemon filling offers a delightful contrast to the sweet, buttery notes of the graham cracker base, creating a perfectly balanced dessert.
- Kool-Aid Pie: A vibrant, incredibly fun, and surprisingly simple no-bake pie that’s a hit with both children and adults, utilizing the crust as its cheerful base.
- Hershey Chocolate Pie: A smooth, decadently rich chocolate cream filling is simply irresistible when paired with the subtle sweetness of a homemade graham cracker crust.
- No-Bake Raspberry Pie: Light, fruity, and incredibly fresh, this pie allows the vibrant flavors of summer berries to shine against a sturdy, flavorful crust.
- Classic Cheesecakes: From dense New York-style to lighter, fluffier variations, a graham cracker crust is the quintessential and most beloved base for virtually any cheesecake recipe.
- Ice Cream Pies: An excellent and easy foundation for creating layered ice cream desserts, often topped with hot fudge, caramel sauce, or a cloud of whipped cream.
- Custard Pies: Baked custard fillings benefit immensely from a pre-baked graham cracker crust, which prevents sogginess and adds a delightful textural element.
- Chocolate Silk Pie: A velvety, airy chocolate filling demands a robust and flavorful base, making the graham cracker crust an ideal companion.
Continue your culinary journey by exploring more fantastic recipes, including our popular copycat recipes, irresistible dessert recipes, and convenient CrockPot Recipes. For the latest culinary inspiration and delightful dishes, be sure to follow Tammilee Tips on Facebook, Instagram, and Pinterest!
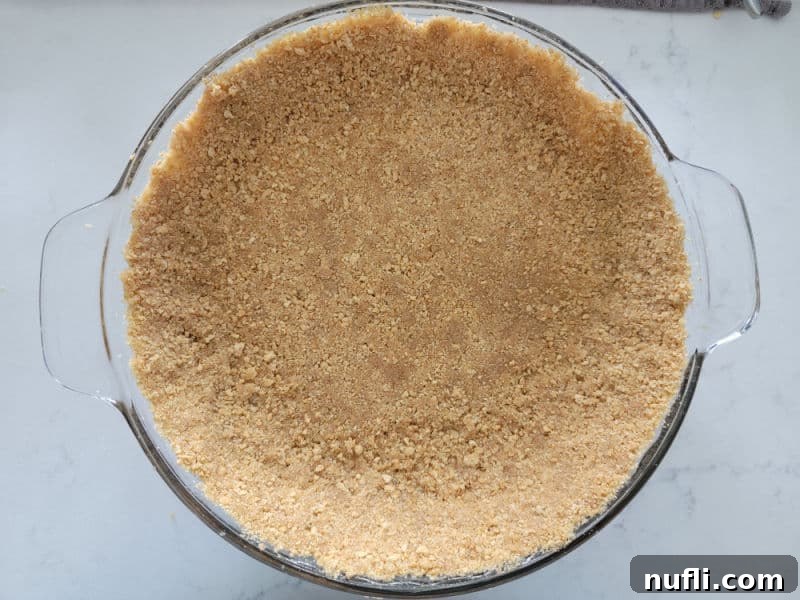
Graham Cracker Crust
An incredibly easy and versatile Graham Cracker Crust Recipe, perfect as a base for creamy cheesecakes, refreshing key lime pies, and a wide variety of no-bake desserts.
Prep Time: 10 minutes
Cook Time: 10 minutes (if baking)
Total Time: 20 minutes
Yields: 1 pie crust (suitable for a standard 9-inch pie pan)
Calories: Approximately 1230 kcal (per entire crust)
Author: Tammilee Tips
Ingredients
- 1.5 cups (about 12 sheets) graham cracker crumbs
- 0.25 cup Granulated Sugar
- 5 Tablespoons Unsalted Butter, melted
- Optional: ¼ teaspoon ground cinnamon or vanilla extract for added flavor
Instructions
- Prepare for Baking (Optional): If your recipe calls for a baked crust, preheat your oven to 350°F (175°C).
- Combine Ingredients: In a medium mixing bowl, combine the graham cracker crumbs, granulated sugar, and melted unsalted butter. Stir thoroughly with a spoon or spatula until all the crumbs are evenly moistened and the mixture resembles wet sand. If using optional spices, mix them in now.
- Press into Pan: Pour the crumb mixture into an empty 9-inch pie pan (or springform pan). Using the back of a spoon, the bottom of a flat-surfaced glass, or your fingers, press the mixture firmly and evenly into the bottom and up the sides of the pie pan to form a compact crust.
- Bake or Chill:
- For a Baked Crust: Place in the preheated oven and bake for 9-10 minutes, or until lightly golden. Remove from oven and let cool completely on a wire rack before filling.
- For a No-Bake Crust: Place the pan with the pressed crust into the refrigerator to chill for a minimum of 30 minutes, or in the freezer for at least 15 minutes, until firm. Then, it’s ready for your no-bake filling.
Kitchen Tools
- 9-inch Pie Pan or Springform Pan
- Blender or Food Processor (for making crumbs)
- Medium Mixing Bowl
- Measuring Cups & Spoons
- Flat-bottomed glass or measuring cup (for pressing the crust)
Nutrition Facts (Estimated per entire crust)
Amount Per Serving (Calculated for 1 pie crust):
- Calories: 1230 kcal
- Calories from Fat: 621
- Total Fat: 69g (106% Daily Value*)
- Saturated Fat: 38g (238% Daily Value*)
- Trans Fat: 2g
- Cholesterol: 151mg (50% Daily Value*)
- Sodium: 1331mg (58% Daily Value*)
- Potassium: 241mg (7% Daily Value*)
- Total Carbohydrates: 146g (49% Daily Value*)
- Dietary Fiber: 4g (17% Daily Value*)
- Total Sugar: 79g (88% Daily Value*)
- Protein: 9g (18% Daily Value*)
- Vitamin A: 1749IU (35% Daily Value*)
- Calcium: 117mg (12% Daily Value*)
- Iron: 5mg (28% Daily Value*)
* Percent Daily Values are based on a 2000 calorie diet. Nutritional information is an estimate and may vary based on specific ingredients and preparation methods.
Love this recipe? For more delicious and easy-to-make recipes, be sure to follow @TammileeTIps on Pinterest!
Tried this recipe? We’d love to see your creations! Share a photo on Instagram and remember to mention @TammileeTipsLife so we can see your amazing homemade graham cracker crusts!
