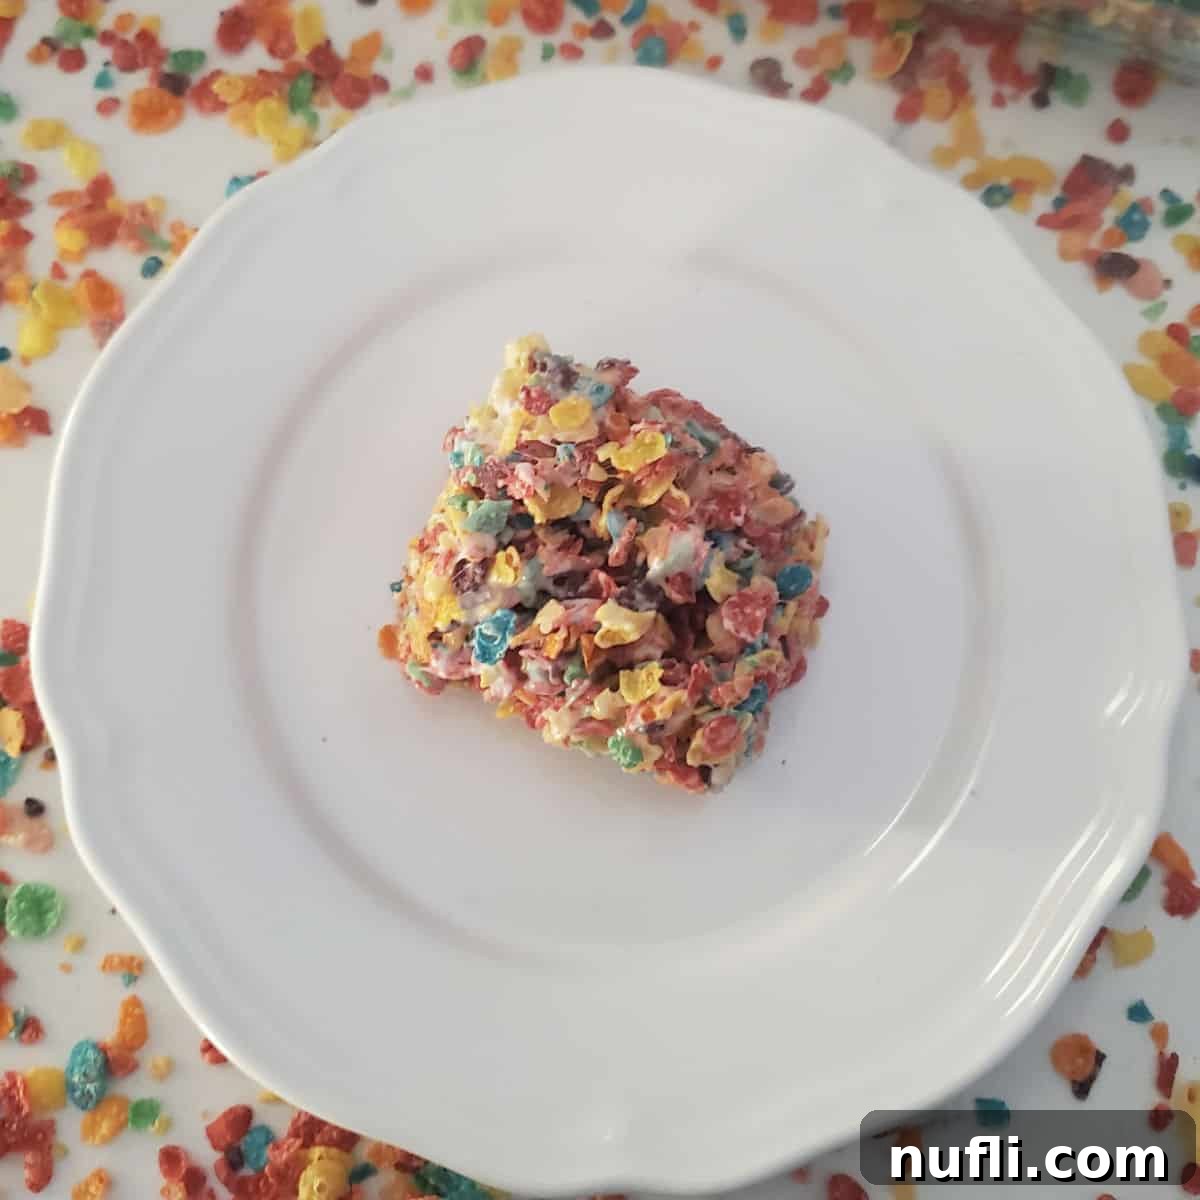
Welcome to the world of effortless and delightful desserts! If you’re searching for a treat that brings a burst of color and flavor without the need for an oven, look no further than these incredible **Easy Fruity Pebbles Treats**. This beloved no-bake recipe transforms three simple ingredients into a chewy, gooey, and vibrant snack that’s perfect for any occasion. Imagine the classic comfort of marshmallow cereal bars, but with an exciting, fruity twist that makes every bite an adventure. They’re a fantastic alternative to traditional Rice Krispie Treats, offering a unique texture and an undeniably fun aesthetic that appeals to all ages.

Unleash the Rainbow: Easy Fruity Pebbles Treats
Inspired by the success of other beloved cereal treats, we realized it was high time to embrace the vibrant charm of Fruity Pebbles. These delightful marshmallow bars are not just a dessert; they’re a celebration in every square! Imagine the joy of soft, melted marshmallows enveloping crisp, colorful Fruity Pebbles cereal, creating a concoction that’s both wonderfully chewy and delightfully crunchy. They’re a playful and visually stunning adaptation of the traditional Rice Krispie Cereal Treats, promising a taste experience that’s truly unique.
Whether you’re gearing up for holidays like St. Patrick’s Day or Easter, or simply want to brighten an ordinary day, these Fruity Pebbles cereal bars are the answer. They require minimal effort and come together in minutes, making them a go-to option for last-minute party contributions, after-school snacks, or a sweet pick-me-up. The irresistible combination of sweet, fruity cereal and warm, gooey marshmallows creates an enchanting flavor profile that’s hard to resist. Prepare to be amazed by how quickly these bright, rainbow-colored treats disappear from the plate!
Essential Ingredients for Your Colorful Creations
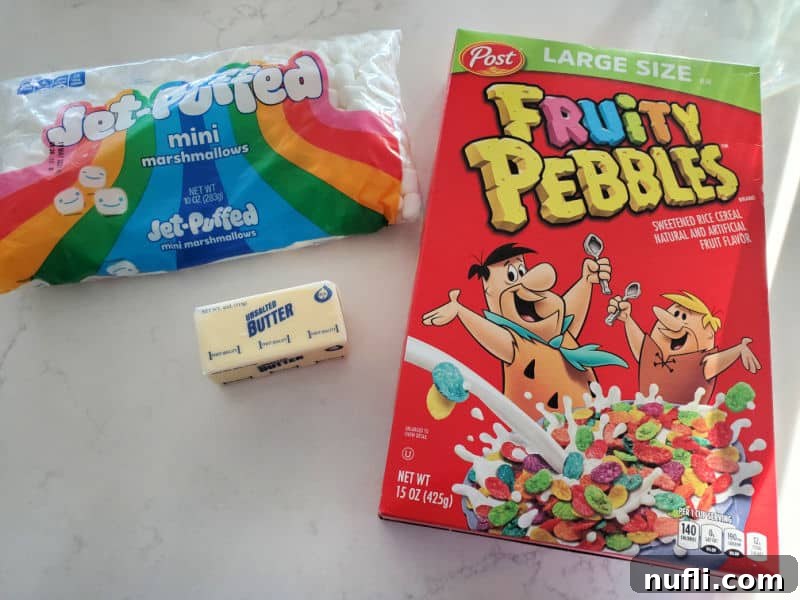
Crafting these amazing Fruity Pebbles treats requires just a few simple, readily available ingredients. The magic happens when these components come together to form a perfectly balanced, sweet, and chewy dessert. Here’s a closer look at what you’ll need to create these vibrant cereal bars:
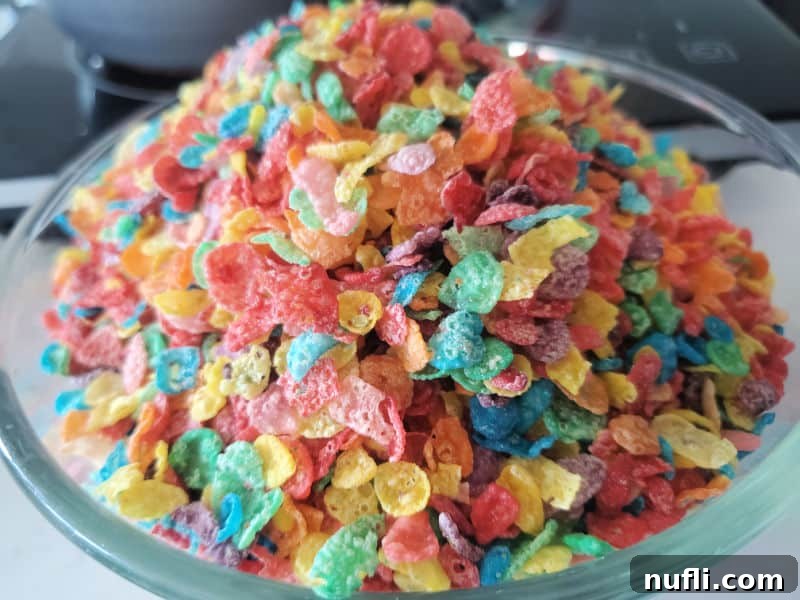
Fruity Pebbles Cereal: This is the star of our show! The iconic, colorful flakes not only provide the signature fruity flavor but also give the treats their vibrant, rainbow appearance. The crisp texture of fresh Fruity Pebbles is crucial for the delightful crunch in every bite. While name-brand Fruity Pebbles deliver that classic taste, many store brands offer excellent alternatives that work just as well. For a different flavor profile, consider using Cocoa Pebbles to create rich, chocolatey cereal treats that are equally delicious.
Mini Marshmallows: These are the binder that holds everything together, creating that irresistibly gooey and chewy texture. Mini marshmallows are preferred because they melt more quickly and evenly than larger marshmallows, resulting in a smoother, more consistent coating for the cereal. We often use Kraft Jet-Puffed mini marshmallows for their reliable melting performance. If you only have regular-sized marshmallows on hand, simply cut them into smaller pieces to help them melt faster. The key is to melt them gently to maintain their soft, pliable consistency.
Butter: Butter serves multiple vital roles in this recipe. Firstly, it facilitates the melting of the marshmallows, preventing them from sticking to the pot and ensuring a smooth, fluid mixture. Secondly, it adds a rich, decadent flavor that complements the sweetness of the marshmallows and cereal. Finally, butter helps prevent the finished treats from sticking to your hands and the pan, making them easier to press and serve. You can use either salted or unsalted butter; a touch of salted butter can actually enhance the overall flavor by providing a subtle contrast to the sweetness, elevating these no-bake bars to a new level.
Specific measurements and step-by-step instructions for these ingredients are provided in the comprehensive recipe card at the bottom of this post.
Tools for Success: Equipment You’ll Need
Making Fruity Pebbles Treats is straightforward, and you likely already have most of the necessary equipment in your kitchen. Having the right tools ensures a smooth and enjoyable preparation process. Here’s a list of the essential equipment:
Large Pot or Saucepan: A spacious pot is crucial for melting the butter and marshmallows, and more importantly, for mixing in the Fruity Pebbles cereal. You need ample room to stir all the ingredients thoroughly without spillage, ensuring every flake is perfectly coated in that gooey marshmallow goodness. A non-stick pot can make cleanup even easier.
13×9 Inch Baking Pan: This is the standard size for making a batch of these treats, yielding bars of a medium thickness. If you prefer thicker, more substantial treats, an 8×8 inch pan will compress the mixture further, resulting in taller, chewier squares. Choose a glass or metal pan for even cooling.
Non-stick Cooking Spray: This is your secret weapon against stickiness! Generously spray your baking pan, as well as any utensils (like a wooden spoon or spatula) and even your hands, before pressing the marshmallow mixture into the pan. This prevents the sticky cereal mixture from adhering to surfaces, making cleanup a breeze and ensuring easy removal of the finished treats.
Wooden Spoon or Sturdy Spatula: A strong mixing tool is essential for stirring the thick, melted marshmallow mixture. A wooden spoon or a heat-resistant silicone spatula with a sturdy handle works best to scrape the bottom and sides of the pot and effectively combine the cereal without breaking the spoon or leaving large chunks of unmixed ingredients. Ensure your chosen tool can withstand the sticky, warm consistency.
Parchment Paper: Lining your prepared baking pan with parchment paper is an optional but highly recommended step. It creates a sling that allows you to easily lift the entire slab of treats out of the pan once cooled, making cutting into neat squares incredibly simple and mess-free. It also simplifies pan cleanup.
Microwave Safe Bowl: If you opt for the microwave method to melt your butter and marshmallows, a large, microwave-safe bowl is indispensable. Choose one that is deep enough to prevent marshmallows from overflowing as they puff up during heating.
Microwave Method: Quick & Easy Fruity Pebbles Treats
For those times when you need these colorful treats in a flash, or prefer to avoid the stovetop, the microwave method is a game-changer. It’s incredibly fast and yields equally delicious results. Full, detailed instructions are available in the printable recipe card below, but here’s a quick overview of how to master it:
- Melt the Butter: Begin by placing your butter in a large, microwave-safe bowl. Microwave it for about 30 seconds, or until fully melted. To prevent any butter splatters, we highly recommend covering the bowl with a silicone lid or a microwave-safe plate.
- Add and Melt Marshmallows: Add the mini marshmallows directly into the bowl with the melted butter. Microwave the mixture for 2 to 3 minutes, stirring halfway through. Keep a close eye on the marshmallows as they heat; they will puff up significantly, so ensure your bowl is large enough to prevent them from overflowing. The goal is for them to be completely melted and smooth.
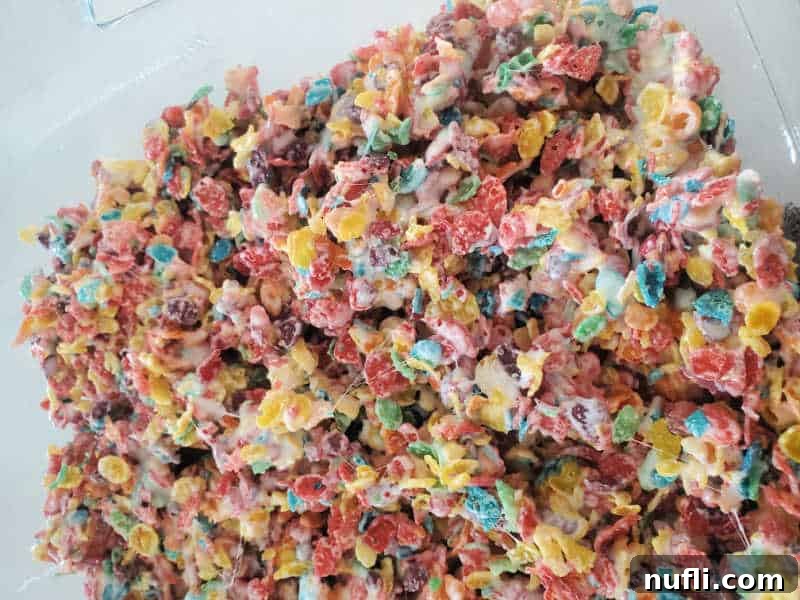
- Combine with Cereal and Press: Once the marshmallows are perfectly melted and gooey, remove the bowl from the microwave. Stir the melted marshmallow mixture thoroughly to ensure it’s uniform. Then, quickly pour in the Fruity Pebbles Cereal. Using a buttered spoon or spatula, mix everything together until the cereal is evenly coated. Gently press the mixture into a greased 9×13 inch casserole dish. Avoid pressing too hard, as this can make your treats dense and hard instead of delightfully chewy. Allow the treats to cool completely at room temperature before slicing and serving. This cooling time is essential for them to set properly.
Preparation and Storage Tips for Optimal Freshness
To ensure your Fruity Pebbles Treats remain as delicious as possible, proper preparation and storage are key. These tips will help you enjoy fresh, chewy treats for longer.
Make Ahead: These fantastic no-bake treats are perfect for preparing in advance. You can easily make a batch a day or two before an event, which makes them ideal for parties, picnics, or school functions. When stored correctly, they will maintain their freshness and delightful texture for up to 3 days at room temperature. This convenience allows you to focus on other preparations without worrying about last-minute dessert making.
Storage: The best way to store your Fruity Pebbles Treats is at room temperature in an airtight container. A large container with a tight-fitting lid or even a heavy-duty Ziploc bag will prevent them from drying out and becoming hard. If you prefer to keep them in the baking pan, simply ensure the pan is tightly covered with plastic wrap or aluminum foil. For convenient grab-and-go snacks, individual portions can be wrapped in plastic wrap, perfect for lunchboxes or quick dessert servings. Remember, keeping them airtight is the secret to preserving their signature chewiness.
Freezing/How to Freeze: We generally do not recommend freezing these Fruity Pebbles Rice Krispie Treats. The delicate balance of the marshmallows and cereal can be compromised by freezing and thawing, often leading to a hard, unappetizing texture rather than the soft, chewy consistency we all love. It’s best to enjoy them fresh within a few days of preparation.
How to Reheat: Should your marshmallow treats become a little firm over time, a quick reheat can bring back their soft, gooey texture. Simply place a single treat in the microwave for approximately 6-8 seconds. Be careful not to overheat, as this can cause the marshmallows to become tough or completely melt the treats. The goal is just to soften them enough to restore their delightful chewiness.
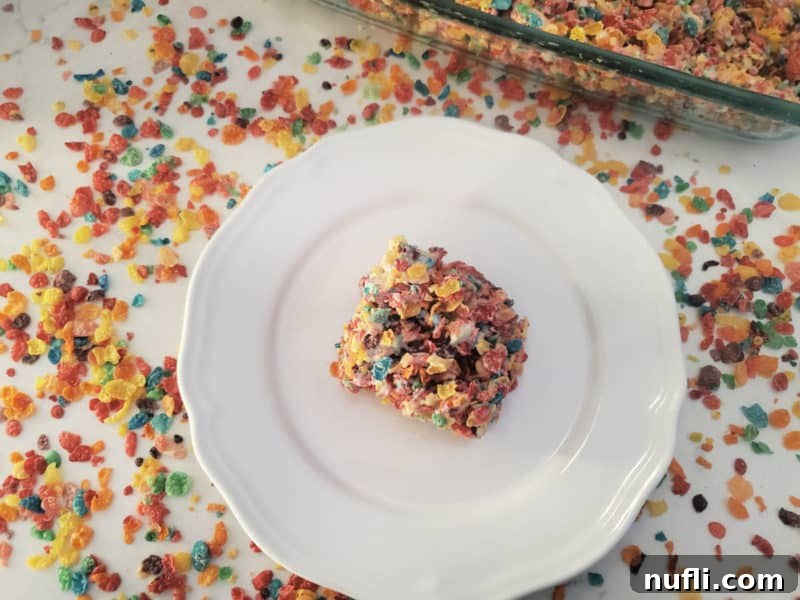
Get Creative: Delicious Recipe Variations
While the classic Fruity Pebbles Treat recipe is perfect on its own, there are many ways to customize it and add your personal touch. These variations allow you to experiment with flavors and textures, making each batch uniquely yours.
Substitutions:
- Cereal Choices: We typically use name-brand Fruity Pebbles for their distinctive flavor and vibrant colors, but any store brand of fruity cereal will work just as well. For a chocolatey twist, swap out Fruity Pebbles for Cocoa Pebbles to create rich, cocoa-infused Krispie treats. You can even mix in other types of cereal, such as a combination of Rice Krispies and Fruity Pebbles, for a subtler fruity note while maintaining that classic crispy texture.
- Marshmallow Options: Mini marshmallows are preferred for their quick and even melting, ensuring a smooth coating. However, if you only have regular-sized marshmallows, they can certainly be used! Simply cut them into smaller pieces to aid in melting. For an extra gooey treat, consider adding a tablespoon or two of marshmallow cream (fluff) to the melted marshmallow mixture.
- Butter Type: Both salted and unsalted butter can be used. If you opt for unsalted butter, a small pinch of kosher salt added to the melted marshmallow mixture can help balance the sweetness, enhancing the overall flavor without making it salty. This slight saltiness can really make the fruity flavors pop!
Additions for Extra Flair:
- Vanilla Extract: A teaspoon of vanilla extract added with the marshmallows can deepen the flavor profile, giving the treats a wonderful aromatic richness.
- White Chocolate Drizzle: For an extra layer of sweetness and visual appeal, melt some white chocolate chips or candy melts and drizzle them over the cooled treats. This adds a beautiful contrast and an additional creamy texture.
- Sprinkles: Before the treats fully set, scatter some rainbow sprinkles on top for an extra festive touch, perfect for birthdays or celebrations.
Dietary Adaptations:
- Vegetarian Option: To make these treats suitable for vegetarians, ensure you use gelatin-free vegetarian marshmallows. Many brands offer plant-based marshmallows that melt just as beautifully.
- Vegan Option: For a completely vegan version, combine plant-based butter (like Miyoko’s Kitchen or Earth Balance) with vegan marshmallows. Popular vegan marshmallow brands include Yummallo, Dandies, Trader Joe’s, Funky Mello, and Freedom Confectionary. It’s important to note that information on whether Fruity Pebbles cereal itself is vegan can be contradictory due to certain ingredients like Vitamin D3. Always check the ingredients list on the cereal box to confirm it meets your dietary requirements.
- Gluten-Free: Good news! Fruity Pebbles cereal is certified gluten-free, making these treats a safe and delicious option for those avoiding gluten, provided all other ingredients are also certified gluten-free.
Adjusting Serving Sizes:
- Smaller Servings: If you need a smaller batch, simply adjust the serving size in the recipe card. The microwave method is particularly convenient for preparing smaller portions quickly.
- Larger Groups/More Servings: For bigger gatherings or events, this recipe can easily be doubled. When doubling, consider dividing the mixture into two separate baking dishes to ensure even setting. You’ll also need a significantly larger pot to accommodate all the ingredients comfortably during the mixing process.
Expert Tips for the Best Fruity Pebbles Rice Krispie Treats
Achieving that perfect balance of chewy, gooey, and crisp is an art, but with these expert tips, you’ll be making flawless Fruity Pebbles Treats every time. Follow these guidelines to ensure your treats are nothing short of spectacular:
- Enhance the Flavor: Elevate the taste by adding a splash of vanilla extract (about 1 teaspoon) to the melted marshmallow mixture. This deepens the overall flavor profile. If you’re using unsalted butter, a tiny pinch of kosher salt (about ¼ teaspoon) can wonderfully balance the sweetness, preventing the treats from being overwhelmingly sugary.
- Melt Marshmallows Low and Slow: Patience is a virtue when melting marshmallows. Use low heat and stir constantly to ensure they melt smoothly and evenly. While some prefer a completely melted mixture, leaving a few marshmallows partially melted can create delightful pockets of gooeyness within your treats.
- Avoid Overcooking Marshmallows: This is perhaps the most crucial tip! Heating marshmallows too quickly or for too long can cause them to become hard and brittle once cooled. The goal is a molten, fluid consistency, not a caramelized one. Overcooked marshmallows are the primary cause of hard, crunchy treats instead of soft and chewy ones.
- Prevent Sticking with Non-Stick Spray: Generously spray your baking dish, as well as your hands, a wooden spoon, or a spatula, with non-stick cooking spray before pressing the mixture. This lubrication is essential for handling the sticky marshmallow-cereal combination and ensures easy release from the pan. Waxed paper can also be sprayed and placed on top before pressing.
- Press Gently: When transferring the mixture to the pan, resist the urge to compact it too firmly. Pressing too hard will squeeze out the air, resulting in dense, hard treats. A gentle, even pressure is all that’s needed to spread the mixture into a uniform layer, preserving that delightful chewy texture. Use a buttered spatula or spoon for this step.
- Do NOT Refrigerate: This might sound counterintuitive for a dessert, but refrigerating Fruity Pebbles Treats is a common mistake that leads to rock-hard, unappealing bars. The cold temperature causes the marshmallows to seize and become incredibly stiff. Always store them at room temperature to maintain their ideal soft and chewy texture.
- Use Fresh Cereal: The quality of your cereal directly impacts the texture of your treats. Stale cereal will result in stale-tasting and less crispy treats. Always use fresh, crisp Fruity Pebbles for the best possible outcome. If you wouldn’t enjoy the cereal in a bowl with milk, it won’t magically improve in your treats!
- Cool Completely Before Cutting: Allow the treats to cool and set completely at room temperature, ideally for at least an hour, before attempting to cut them. This ensures clean, neat squares and prevents the treats from falling apart.
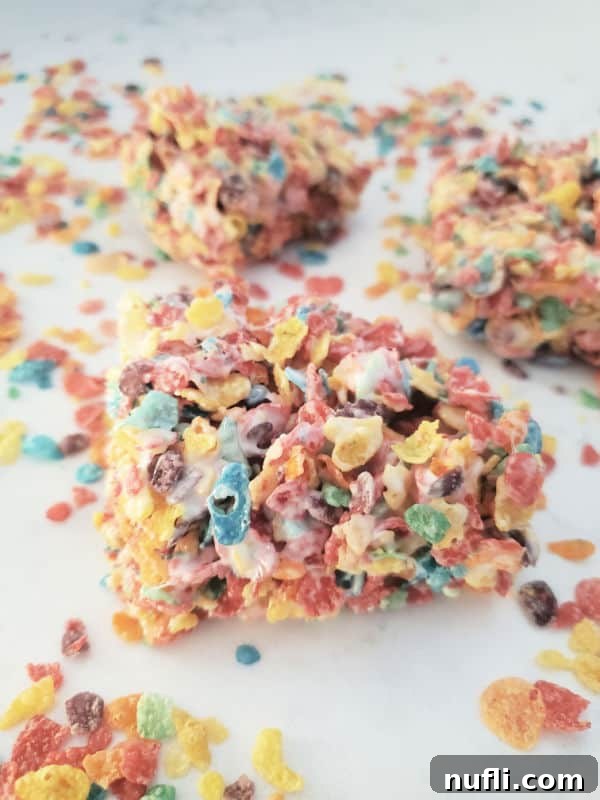
Pairing Suggestions: What to Serve with Fruity Pebbles Treats
These colorful, no-bake Fruity Pebbles Treats are a delightful, standalone sweet treat that appeals to kids and the young at heart! Their vibrant appearance and sweet, fruity flavor make them a versatile dessert for various meals and occasions. Here are some pairing suggestions to inspire your menu planning, whether you’re looking for complementary savory dishes or more sweet indulgences:
Sides: While these treats are often enjoyed solo, they can follow a wide array of comforting side dishes. Consider serving them after hearty classics like Broccoli Casserole, savory Apple Stuffing, creamy Funeral Potatoes, a refreshing BLT Pasta Salad, rich Southern Fried Cabbage with Bacon, a simple Air Fryer Baked Potato, fluffy Jiffy Cornbread with Sour Cream, a sweet and comforting Sweet Potato Casserole with Candied Yams, classic Southern Style Green Beans, or flavorful CrockPot Bourbon Baked Beans.
Main Dishes: These treats make a light and satisfying dessert after a more substantial main course. They’re a great follow-up to dishes such as Cracker Barrel Broccoli Cheddar Chicken, comforting Stovetop Meatloaf, a creamy Chicken Casserole with Ritz Crackers, hearty Million Dollar Spaghetti Casserole, rich CrockPot Macaroni & Cheese with Ham, savory Chicken Bacon Ranch Casserole, classic CrockPot Ham & Cheese Grits, or a delightful Cheesy Gnocchi Casserole.
Desserts: If you’re hosting a dessert spread, these Fruity Pebbles Treats fit right in! They can be served alongside other sweet favorites like a decadent Ooey-Gooey Butter Cake, tangy Lemon Bars or a refreshing Lemon Icebox Pie. They also pair wonderfully with the classic Best Rice Krispie Treats, a warm Bisquick Blueberry Cobbler, a festive Pig Pickin’ Cake, comforting Bisquick Apple Cobbler or Bisquick Peach Cobbler, chewy Molasses Cookies, moist Banana Bread, rich Classic Chocolate Brownies, or delicious Texas Sheet Cake Cookies.
Drinks: Complement the sweetness of these treats with a refreshing beverage. They go well with a cool Coke Slushie, a zesty Red Robin Freckled Lemonade, or a classic CopyCat McDonald’s Sweet Tea.
When to Indulge: Perfect Occasions for Fruity Pebbles Treats
These colorful and cheerful Fruity Pebbles Treats are versatile enough for almost any occasion. Their ease of preparation and universal appeal make them a fantastic choice for a wide array of events and everyday moments. Here are just a few ideas for when to whip up a batch:
- After-School Snacks: A bright and fun treat to energize kids after a day of learning.
- St. Patrick’s Day: The rainbow colors are absolutely perfect for celebrating this festive Irish holiday.
- Family Dinner Dessert: A simple yet satisfying end to any family meal.
- Just Because: Sometimes, you just need a little burst of joy and color!
- Road Trip Snack: Easy to pack, no-mess, and a great pick-me-up for long journeys.
- Sweet Snack Craving: When only a chewy, sugary, and fruity bite will do.
- Birthday Parties: Kids and adults alike will adore these vibrant, fun party favors or dessert table additions.
- Potlucks & Gatherings: An easy-to-transport and always popular contribution to any social event.
- School Events & Bake Sales: A guaranteed hit that stands out from typical baked goods.
- Movie Nights: A fun, easy-to-eat snack for cozy evenings in.
- Picnics & BBQs: A perfect no-fuss dessert that holds up well outdoors.
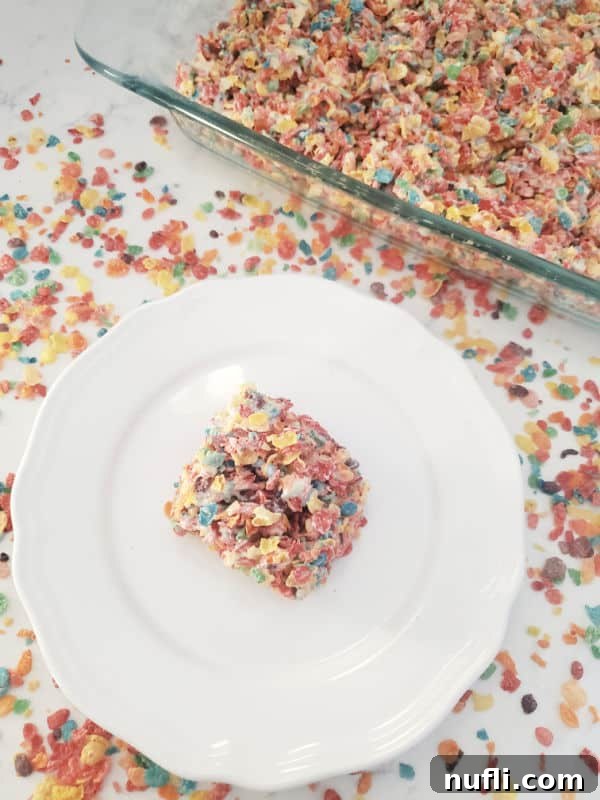
Explore More Great Recipe Collections
If you loved making these Fruity Pebbles Treats, you’ll be excited to discover our other fantastic recipe collections designed for ease, comfort, and deliciousness:
Comfort Food Recipes – Dive into a collection of the best comfort foods, perfect for any day you crave heartwarming, favorite meals. These recipes offer warmth and nostalgia in every bite.
3-Ingredient Recipes – Discover an array of simple yet satisfying dishes where every recipe requires only three ingredients! From appetizers to desserts, quick meals have never been easier.
Easy Dessert Recipes with 5 Ingredients (Or Less!) – Indulge your sweet tooth with quick and easy desserts that taste absolutely amazing, proving that you don’t need a long list of ingredients for incredible flavor.
Easy Cake Mix Recipes – You’ll be amazed at the diverse range of delicious creations you can make with a simple cake mix. Hint: they’re not all cakes! Explore cookies, bars, and more.
Recipes That Use Sweetened Condensed Milk – Find inventive ways to utilize that random can of sweetened condensed milk hiding in the back of your pantry, transforming it into rich, creamy delights.
Do you love recipes? Check out our copycat recipes, dessert recipes, and our CrockPot Recipes for even more culinary inspiration.
Stay connected and follow Tammilee Tips on MSN, Facebook, Instagram, and Pinterest for all our latest recipe posts and daily tips!

Fruity Pebbles Treats
Print
Rate
Ingredients
- 3 Tablespoon Butter
- 10 oz Mini Marshmallows
- 6 cups Fruity Pebbles Cereal
Instructions
- Melt butter in a large pot, once melted add in marshmallows and stir until melted.
- Remove from heat when marshmallows are melted and add in Fruity Pebbles cereal and stir together.
- Lightly press cereal mixture into 9×13 pan. Allow to cool before serving.
Kitchen Tools
- 9X13 Pan
Nutrition
Calories from Fat 27
