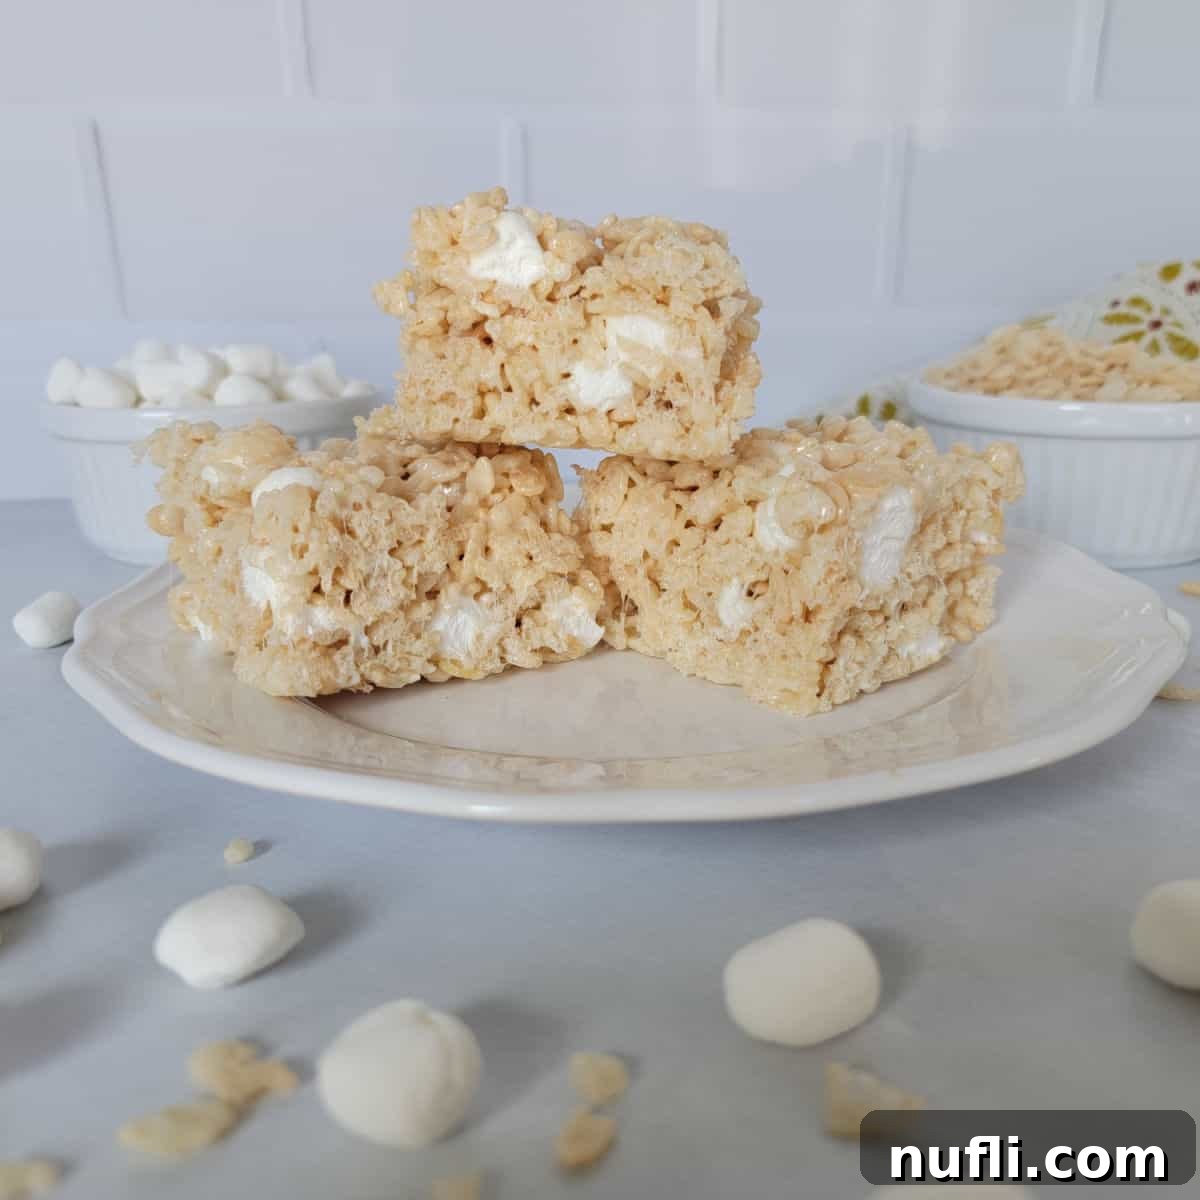
The Best Homemade Rice Krispie Treats Recipe: Perfectly Gooey & Easy!
Discover the ultimate recipe for classic Rice Krispie Treats that everyone absolutely adores. This timeless dessert is not just a treat; it’s a comforting memory, simple to make, and guaranteed to bring smiles. Forget the hard, brittle versions you might have encountered – our recipe ensures every bite is wonderfully soft, perfectly gooey, and bursting with that nostalgic flavor. Get ready to recreate a beloved childhood favorite that’s perfect for any occasion!
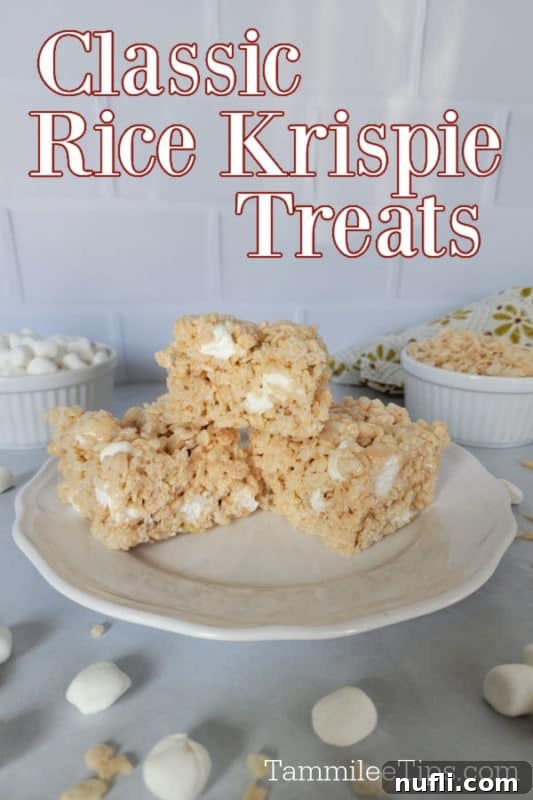
Unlocking the Secret to the Best Rice Krispie Treats
There’s something truly magical about classic Rice Krispie Treats. For many, they evoke fond memories of after-school snacks, bake sales, or dessert bars at family gatherings. The mere sight of a box of Rice Krispies cereal as a child would often spark hopes of those delightful, marshmallowy bars appearing, almost as if by magic.
As a teenager, I confess to attempting a quick microwave version, which, while satisfying a craving, paled in comparison to the stovetop method I mastered as an adult. The difference is truly night and day. While a quick zap in the microwave can get the job done in a pinch, this perfected stovetop recipe delivers a texture and flavor that is simply unparalleled, elevating a simple treat to a truly exceptional dessert experience.
With just a handful of basic ingredients, a few minutes of your time, and a little patience for cooling, you’ll create irresistibly soft and gooey Rice Krispie Treats. This year, one of my culinary goals is to share these time-honored recipes that are so ingrained in my cooking routine that I often make them without a second thought to measurements. So far, I’ve shared our beloved banana bread recipe, our foundational graham cracker crust recipe, and the ever-popular Watergate salad. Today, we add another cherished classic to the list: the ultimate Rice Krispie Treat.
The Sweet History of a Beloved Classic
Have you ever wondered about the origins of Rice Krispie Treats? The credit for inventing these iconic treats goes to Mildred Day, who worked for the Kellogg’s Cereal Company in Battle Creek, Michigan. Mildred was a recipe developer and culinary instructor, leading cooking classes for Kellogg’s across 38 states. Alongside her co-worker Malitta Jensen, she created these delightful bars around 1939, possibly even earlier, during a fundraising campaign for Camp Fire Girls.
Initially, these crispy, gooey squares were known as “Marshmallow Squares.” The recipe made its official debut on the Rice Krispies cereal box in 1941, though it had appeared in various newspapers and promotional materials prior to that. From humble beginnings, these treats quickly became a household staple, cherished for their simplicity, delicious taste, and versatility.
Ingredients for Unforgettable Homemade Rice Krispie Treats
Crafting the perfect Rice Krispie Treat doesn’t require a long list of fancy ingredients. In fact, its beauty lies in its simplicity! Here’s a quick rundown of what you’ll need to create the best batch of these irresistible bars. Specific measurements and detailed step-by-step instructions are provided in the full recipe card at the bottom of this post.
- Rice Krispies Cereal
- Butter
- Mini Marshmallows
- Vanilla Extract (the secret weapon!)
- A pinch of salt (optional, but highly recommended)
Ingredient Spotlight: Tips for Optimal Flavor and Texture
Rice Krispies Cereal
We highly recommend using classic Kellogg’s Rice Krispies cereal for this recipe. Its signature crispy texture is essential for the iconic snap and crunch of these treats. For a fun, festive twist during holidays, consider using the colored Rice Krispies cereal often available seasonally. While generic crispy rice cereals can work, you might notice a slight difference in texture and crispness.
Butter
Unsalted butter is our preference as it allows for better control over the overall sweetness and saltiness of the treats. However, if you enjoy a subtle salty-sweet balance, salted butter can absolutely be used. Just be mindful of the sweetness level of your marshmallows and adjust accordingly.
Mini Marshmallows
Miniature marshmallows are the star of the show! We find they melt much more evenly and quickly than large marshmallows, creating a smoother, more consistent marshmallow mixture. This consistency is crucial for ensuring every piece of cereal is perfectly coated, leading to those coveted gooey centers. For this recipe, we use a full 16oz bag of mini marshmallows. It’s important to double-check the bag size, as 10oz bags are also common, and you’ll want enough marshmallow goodness to achieve the ideal ratio. If you’re looking for dietary-specific options, Kosher and Gluten-Free mini marshmallows are readily available online, for instance, on Amazon.
Vanilla Extract
Don’t skip the vanilla extract! While some recipes omit it, a good quality vanilla extract adds a wonderful depth of flavor, enhancing the sweetness of the marshmallows and giving the treats a more refined, bakery-quality taste. It’s a small addition that makes a big difference.
Essential Equipment for Your Rice Krispie Treat Adventure
You won’t need any specialized gadgets to whip up these delicious treats. Most of these items are probably already in your kitchen!
- 9×13 Casserole Dish: This is the standard size for a good batch of treats. If you prefer exceptionally thick Rice Krispie treats, an 8×8 inch pan will yield fewer but much taller bars.
- Nonstick Cooking Spray: Essential for preparing your baking dish and for preventing the sticky mixture from clinging to your hands and utensils. A light spray on your spatula or wooden spoon makes pressing much easier.
- Large Saucepan or Large Pot: A spacious pot is crucial. You’ll need enough room to comfortably stir in the Rice Krispies cereal with the melted marshmallow mixture without it overflowing. A large Dutch oven works perfectly.
- Wooden Spoon or Spatula: A sturdy wooden spoon or a heat-resistant rubber spatula is ideal for stirring the sticky mixture.
- Parchment Paper: While optional, lining your baking dish with parchment paper makes removing the gooey, soft treats incredibly easy and ensures a clean release.
Crafting Perfection: How to Make the Best Rice Krispie Treats
Follow these simple steps for homemade Rice Krispie Treats that are soft, chewy, and perfectly sweet every time. Complete instructions are in the printable recipe card below, but here’s a detailed walkthrough of the stovetop method:
- Prepare Your Pan: Lightly spray your 9×13-inch casserole dish (or 8×8-inch for thicker bars) with non-stick cooking spray. You can also line it with parchment paper for easier removal. Set aside.
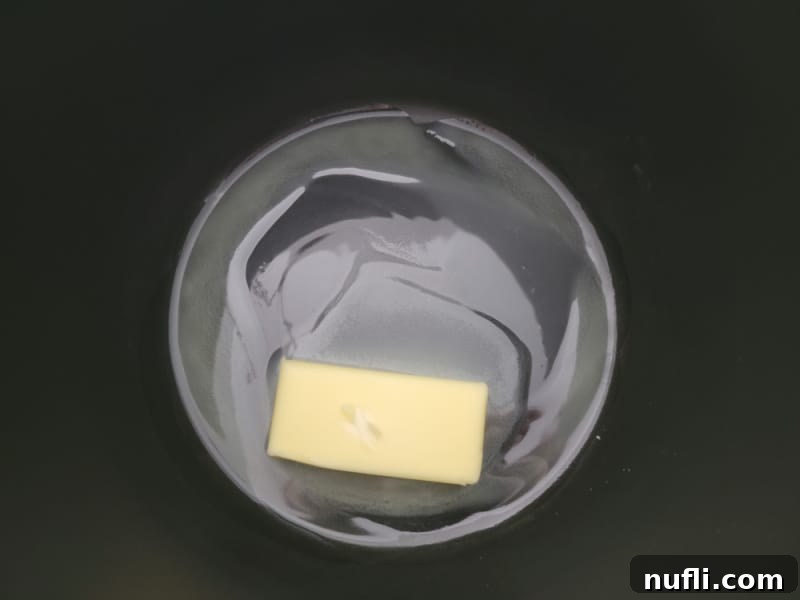
- Melt the Butter: In a large saucepan, melt the butter over medium-low heat. Keep the heat gentle to prevent the butter from browning too quickly, which can alter the flavor.
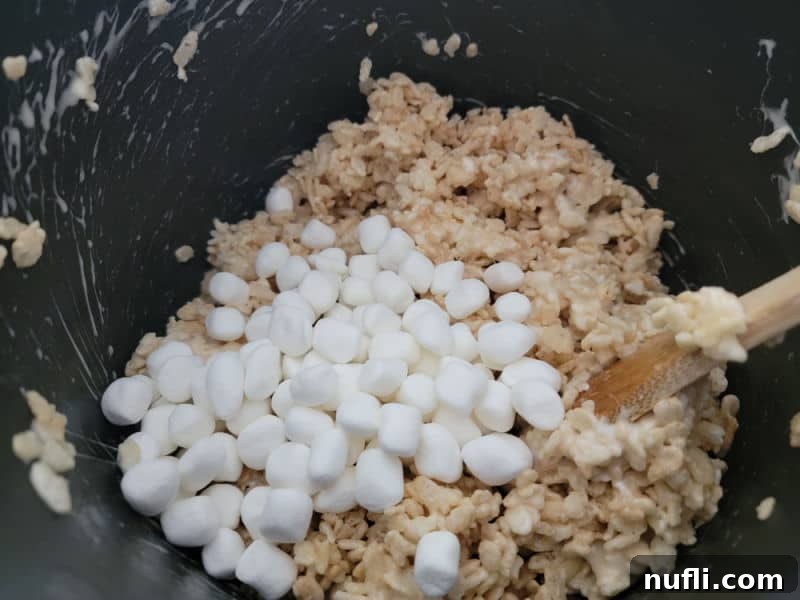
- Reserve Marshmallows: Set aside 1 cup of mini marshmallows. This step is a game-changer! Adding some marshmallows in at the very end ensures delightful pockets of soft, unmelted marshmallow throughout your treats, enhancing their gooey texture.
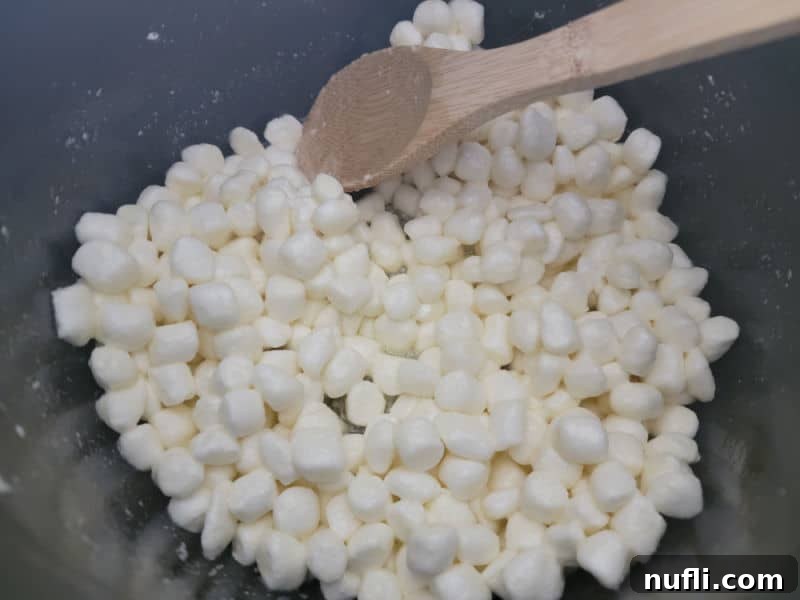
- Melt Remaining Marshmallows: Add the remaining mini marshmallows to the saucepan with the melted butter. Reduce the heat to low. Stir continuously with your wooden spoon or spatula until the marshmallows are completely melted and smooth. The key here is low and slow heat! If the heat is too high, the sugar in the marshmallows can cook too quickly and crystalize, resulting in hard, crunchy treats instead of soft ones.
- Remove from Heat & Add Vanilla: Once the butter and marshmallows are fully melted and combined into a smooth, shiny mixture, remove the saucepan from the heat and turn off the stovetop. Stir in the vanilla extract until well incorporated. This ensures the vanilla’s delicate flavor isn’t cooked off.
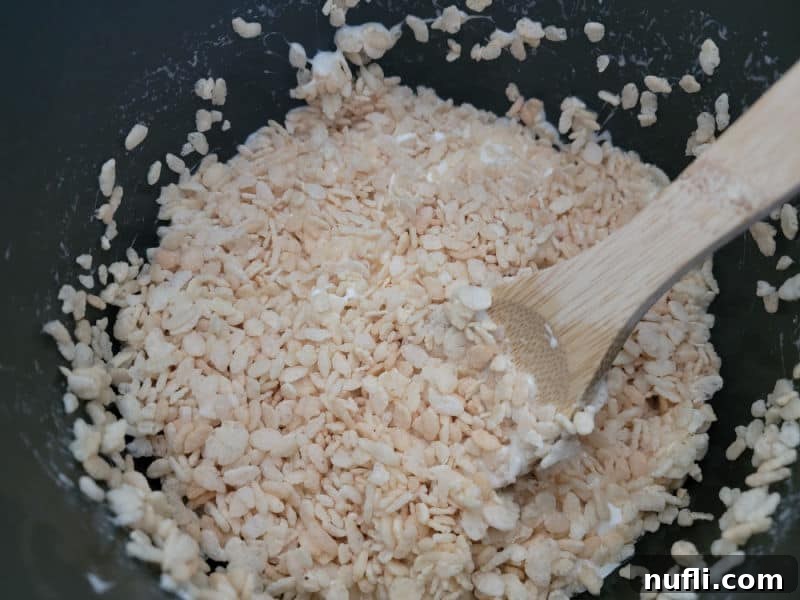
- Incorporate Cereal: Gradually add the Rice Krispies cereal to the marshmallow mixture in increments. I like to add about half the cereal, stir it thoroughly, then add the rest, mixing until all the cereal is evenly coated. This method helps achieve the perfect marshmallow-to-cereal ratio without overworking the mixture.
- Fold in Reserved Marshmallows: After most of the cereal is mixed in, gently fold in the reserved 1 cup of mini marshmallows. Do not over-mix them! You want these to remain as soft, pillowy pockets of marshmallow goodness throughout your treats, adding an extra layer of texture and gooeyness.
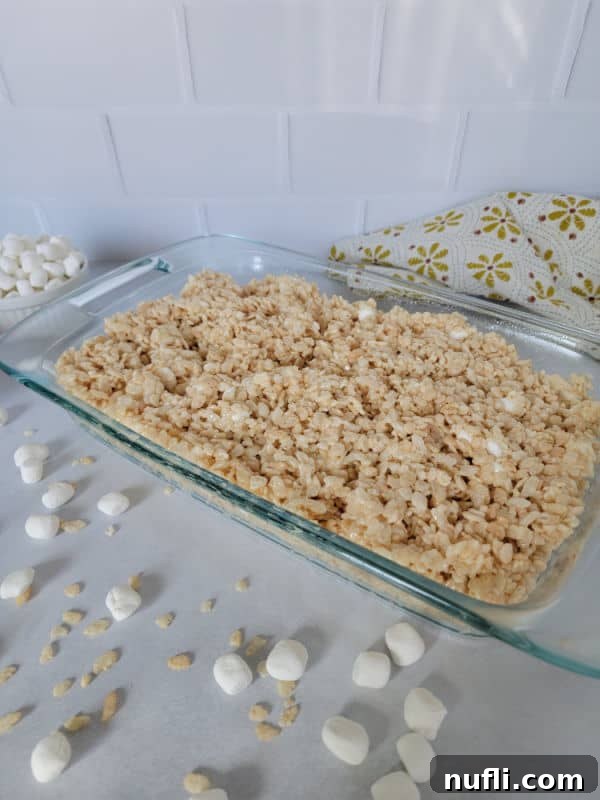
- Press into Pan: Pour the warm Rice Krispies and marshmallow mixture into your prepared casserole dish.
- Gentle Pressing is Key: Lightly grease your spatula and your hands with butter or non-stick cooking spray to prevent sticking. Gently press the mixture into the pan until it’s evenly spread. The crucial part here is to press down sparingly and with the least force possible. Over-compressing the mixture will squeeze out all the air, leading to dense, hard treats. You want to maintain an airy, fluffy structure for the ultimate soft and gooey texture.
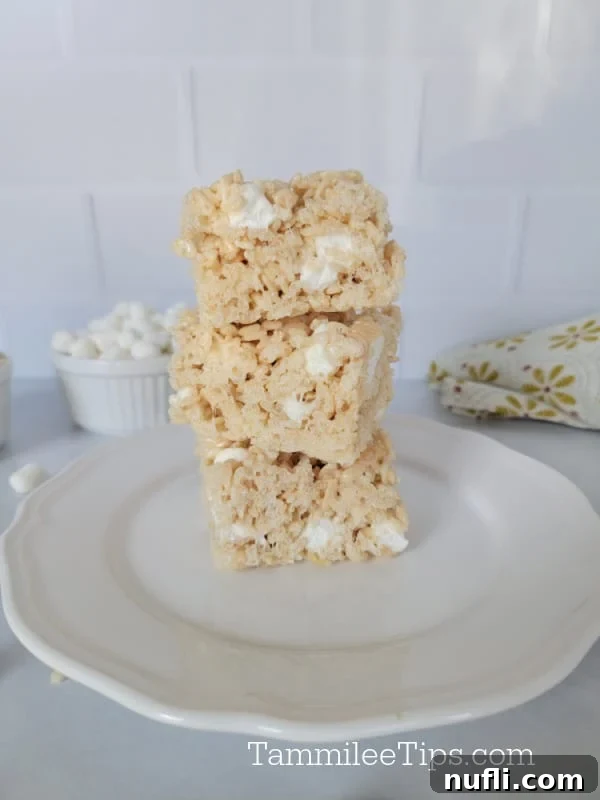
- Cool and Enjoy: Allow the treats to sit and cool at room temperature for at least an hour. This allows them to set perfectly. Once cooled, cut them into squares using a serrated knife, or get creative with cookie cutters for fun shapes. Then, indulge in your perfectly crafted, homemade Rice Krispie Treats!
Quick & Easy: Microwave Method for Rice Krispie Treats
For those times when you need a lightning-fast batch, the microwave can be your best friend. While the stovetop method yields the absolute best texture, this quick version is still delicious!
- In a large, microwave-safe bowl, combine the butter and marshmallows.
- Heat on high for 1 minute. Remove and stir well.
- Return to the microwave and heat for another 30 seconds to 1 minute, or until the marshmallows are completely melted and smooth when stirred.
- Stir in the vanilla extract until fully incorporated.
- Add the Rice Krispies cereal and stir until thoroughly coated.
- Gently press the mixture into a prepared baking dish, following the gentle pressing technique from the stovetop method.
- Allow to cool before cutting and serving.
Preparation, Storage, and Troubleshooting for Perfect Results
Mastering the Art of Soft and Gooey Treats
Achieving that coveted soft and gooey texture is key to the best Rice Krispie Treats. Here are our top tips and solutions to common issues:
- Reserve Marshmallows: Don’t forget to reserve some mini marshmallows to fold in at the very end. These pockets of soft, unmelted marshmallow are what make the treats extra gooey and delightful.
- A Pinch of Salt: Adding a small pinch of salt (about ¼ to ½ teaspoon) to your melted butter and marshmallow mixture subtly enhances the overall flavor, balancing the sweetness without making the treats taste salty.
- Re-soften Hard Treats: If your Rice Krispie Treats become a bit firm, don’t despair! A quick 5-10 second zap in the microwave can work wonders, bringing them back to their soft, gooey glory.
Troubleshooting: Why Are My Rice Krispie Treats Hard?
There are a couple of common culprits behind hard, crunchy Rice Krispie Treats instead of the soft, chewy kind:
- High Heat During Melting: The most frequent mistake is melting the marshmallows over too high a heat. When marshmallows are heated too rapidly or at too high a temperature, the sugar can crystalize and harden. Always use medium-low to low heat and stir constantly until just melted.
- Over-Compacting: Pressing the mixture too firmly into the baking dish will compress out all the air, resulting in dense and stiff bars. Remember to press gently, just enough to evenly spread the mixture without compacting it.
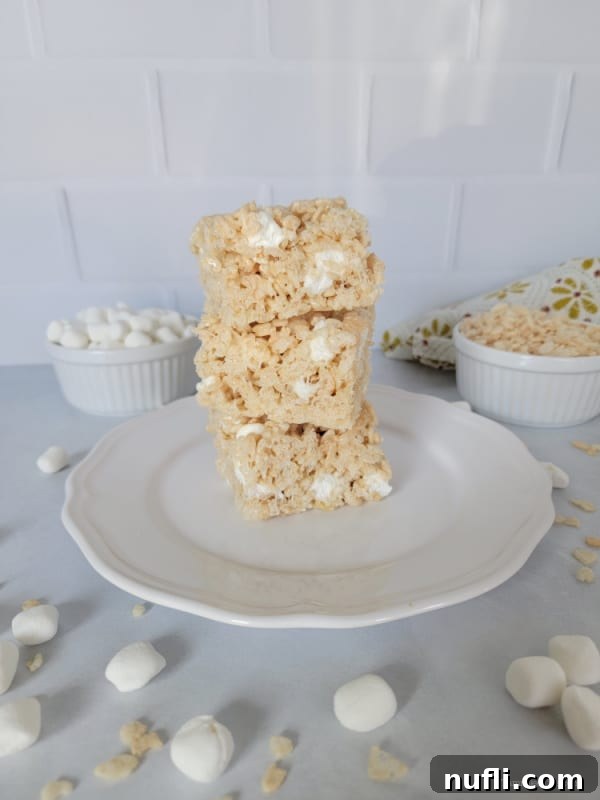
How to Cut Rice Krispie Treats
For clean, smooth cuts through your sticky treats, a serrated knife is your best friend. It glides through the marshmallow mixture without pulling or tearing, giving you perfectly shaped squares every time. Lightly grease the knife with non-stick spray for even easier cutting.
Preparation and Storage Guidelines
Make-Ahead Friendly
This recipe is wonderfully make-ahead friendly! Your homemade Rice Krispie Treats will be ready to enjoy once they have cooled and set in your baking dish for about an hour at room temperature. They are perfect for preparing a day in advance for parties or events.
Optimal Storage
To keep your treats at their best, store leftovers in an airtight container at room temperature. They will remain wonderfully fresh and soft for up to three days. We generally advise against refrigerating them, as the cooler temperatures can cause them to harden and lose their signature gooey texture.
Freezing Instructions
While you can freeze Rice Krispie Treats, be aware that their texture may slightly change after thawing. To freeze, first cut the treats into individual squares. Place a layer of parchment or wax paper between each treat to prevent them from sticking together. Store them in an airtight, freezer-safe container or bag for up to three months. To enjoy, simply thaw them at room temperature until they return to their soft, chewy consistency.
Creative Twists: Delicious Recipe Variations for Rice Krispie Treats
While the classic recipe is unbeatable, Rice Krispie Treats are incredibly versatile and lend themselves well to countless creative variations. Here are some ideas to inspire your next batch:
Flavor & Topping Substitutions
- Butter: As mentioned, unsalted butter gives you control, but salted butter can enhance the sweet-salty profile.
- Marshmallows: Mini marshmallows are preferred for even melting. If using large marshmallows, ensure they are fully melted before adding the cereal. Always double-check you have a 16oz bag for the best gooeyness! For a visual twist, consider using multi-colored marshmallows, though be aware they often have fruit flavors that will alter the classic taste.
- Cereal: Classic Rice Krispies are essential for the original flavor. However, for a fun, seasonal touch, consider using holiday-themed colored Rice Krispies. You can also experiment with other crispy cereals like Lucky Charms (for Lucky Charms Treats!) or Chex for different textures.
- Add-ins: Once the cereal is mixed in (before pressing), fold in chocolate chips, mini M&M’s, sprinkles, chopped nuts, or crushed candies. A drizzle of melted chocolate or caramel on top after they’ve cooled adds an extra layer of indulgence.
Our Favorite Rice Krispie Treat Variations
If you’re eager to explore exciting new twists on this timeless dessert, we have a range of tested recipes you’ll love. Dive into our Oreo Rice Krispie Treats, enjoy the nutty delight of Peanut Butter Rice Krispie Treats, indulge in Chocolate Dipped Rice Krispie Treats, savor the gourmet touch of Salted Caramel Rice Krispie Treats, or get cozy with Pumpkin Spice Treats. Each variation offers a unique flavor adventure while retaining that irresistible crispy-chewy texture.
Dietary Adaptations
- Vegetarian Option: To make these Classic Rice Krispie Treats vegetarian-friendly, ensure you use gelatin-free mini marshmallows. Also, be aware that many Rice Krispies cereals contain an animal-derived form of Vitamin D3, so look for a vegetarian-certified crispy rice cereal.
- Vegan Option: For a completely vegan version, in addition to using gelatin-free crispy rice cereal and marshmallows, replace the butter with a plant-based butter alternative.
- Gluten-Free: To make this recipe safe for a gluten-free diet, use certified gluten-free crispy rice cereal and gluten-free marshmallows. Many mini marshmallows are naturally gluten-free, but always check labels. You can often find kosher and gluten-free mini marshmallows conveniently on Amazon.
- Sugar-Free: For a sugar-free alternative, you can use sugar-free mini marshmallows and a sugar-free crispy rice cereal. Note that this will affect the taste and texture slightly, and the final sugar content will depend entirely on the specific ingredients chosen. The original recipe contains approximately 23 grams of sugar per serving.
Adjusting Serving Sizes
- Smaller Serving Size: The recipe as written yields 12 generous servings when made in a 9×13-inch baking dish. If you desire fewer but thicker homemade Rice Krispie treats, simply use an 8×8-inch pan. Be prepared for truly substantial bars!
- Larger Groups: This recipe is incredibly easy to double or triple to feed a crowd. Simply adjust the ingredient quantities proportionally to your desired yield.
When and What to Serve with Your Homemade Delights
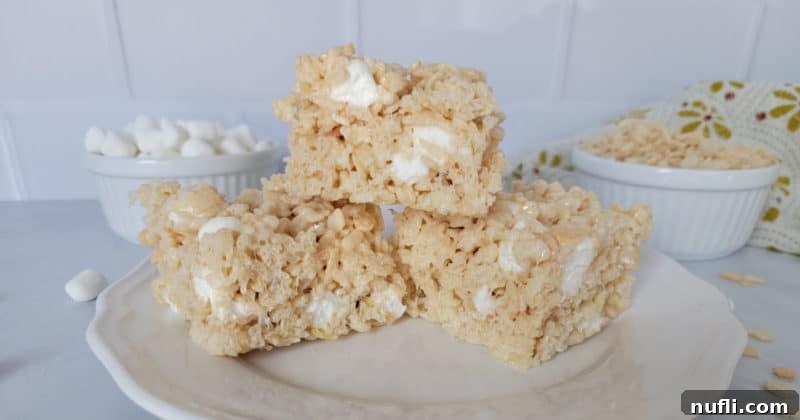
Classic Rice Krispie Treats are universally loved, making them a perfect crowd-pleasing sweet treat for virtually any gathering. Requiring only four basic ingredients and minimal effort, they are incredibly versatile. Here are some ideas for when to serve them and what to pair them with to complete your menu:
Perfect Occasions to Serve Rice Krispie Treats
- Lunch or Dinner Dessert
- Afternoon Snack
- Coffee or Tea Time Indulgence
- Potluck Gatherings
- Picnics and Barbecues
- Party Food Spread
- Game Day Snacks
- Birthday Parties
- Holiday Celebrations
Complementary Pairings
Whether you’re looking for savory sides, hearty main courses, more sweet treats, or refreshing drinks, Rice Krispie Treats fit right in.
Sides
Pair these sweet treats with comforting favorites like Broccoli Casserole, Apple Stuffing, Funeral Potatoes, BLT Pasta Salad, Southern Fried Cabbage with Bacon, Air Fryer Baked Potato, Jiffy Cornbread with Sour Cream, Sweet Potato Casserole with Candied Yams, Southern Style Green Beans, or CrockPot Bourbon Baked Beans.
Main Dishes
They make a delightful ending to meals featuring Cracker Barrel Broccoli Cheddar Chicken, Stovetop Meatloaf, Chicken Casserole with Ritz Crackers, CrockPot Rosemary Pork, Cracker Barrel Chicken & Dumplings, CrockPot Macaroni & Cheese with Ham, CrockPot Salisbury Steak, or CrockPot Ham & Cheese Grits.
Desserts
For a truly indulgent spread, serve them alongside other sweet treats like Marbled Cherry Pie Cake, Lemon Bars, Lemon Icebox Pie, Lemon Dump Cake, Pig Pickin’ Cake, Bisquick Apple Cobbler, Bisquick Peach Cobbler, Molasses Cookies, Banana Bread, Classic Chocolate Brownies, Texas Sheet Cake Cookies, or M&M Cookies.
Drinks
Wash them down with refreshing beverages such as a Coke Slushie, Red Robin Freckled Lemonade, or a cooling CopyCat McDonald’s Sweet Tea.
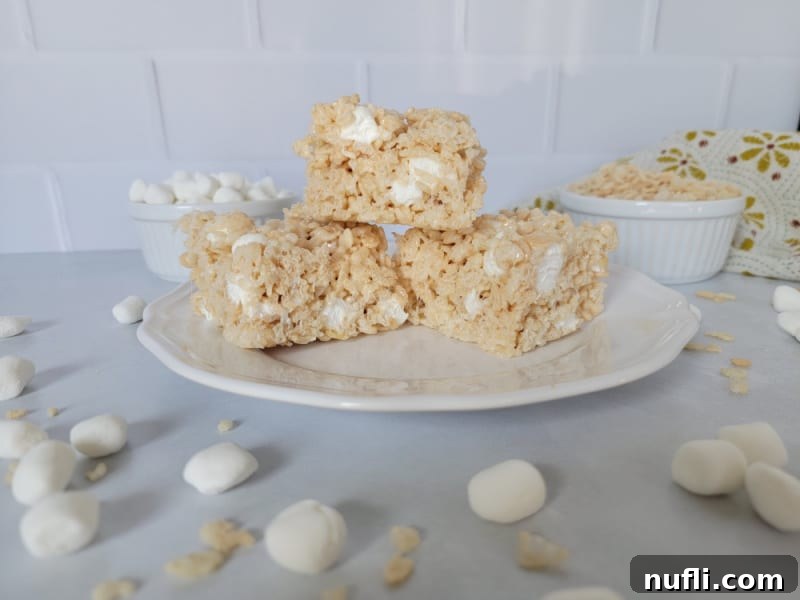
Explore More Irresistible Recipes!
If you loved making these classic treats, you’ll surely enjoy exploring other easy and delicious recipes from our collection:
- Easy Dessert Recipes with 5 Ingredients (Or Less!)
- Easy 3 Ingredient Recipes That Taste Amazing!
- Deliciously Simple: Classic and Creative Cookie Recipes Made Easy
- Peanut Butter Recipes
- 70+ Easy Potluck Recipes for Your Next Gathering
And don’t forget to check out our broader categories for more culinary inspiration: copycat recipes, delightful dessert recipes, and our convenient CrockPot Recipes.
Stay connected and follow Tammilee Tips on Facebook, Instagram, and Pinterest for our latest recipe posts and culinary adventures.
The Best Rice Krispie Treats Recipe
How to make the best homemade Rice Krispie Treats recipe! This classic dessert is incredibly easy to make and tastes absolutely amazing, with a perfectly soft and gooey texture.
Prep Time: 5 minutes
Cook Time: 10 minutes
Total Time: 15 minutes
Servings: 12
Calories: 226 kcal per serving
Author: Tammilee Tips
Ingredients
- 6 Tablespoons Butter (unsalted recommended)
- 16 oz Mini Marshmallows (one full bag, plus a little extra for reserving)
- 2 Teaspoons Vanilla Extract
- 6-7 Cups Rice Krispies Cereal
- Pinch of salt (optional)
Instructions
- Lightly spray a 9×13 inch baking dish with non-stick cooking spray or line with parchment paper.
- In a large saucepan, melt butter over medium-low heat.
- Set aside 1 cup of mini marshmallows for later.
- Add the remaining marshmallows to the saucepan with the melted butter. Reduce heat to low and stir continuously until completely melted and smooth. Be careful not to overheat.
- Remove the saucepan from the heat. Stir in the vanilla extract and an optional pinch of salt.
- Add the Rice Krispies cereal in increments, stirring until the cereal is nicely coated with the marshmallow mixture.
- Gently fold in the reserved 1 cup of mini marshmallows into the cereal mixture. Do not over-mix.
- Pour the Rice Krispie and marshmallow mixture into the prepared baking dish.
- Lightly grease your hands or a spatula with butter or non-stick spray, then gently press the mixture evenly into the dish. Avoid pressing too firmly.
- Allow the treats to cool at room temperature for at least one hour before cutting and serving.
Kitchen Tools
- 9×13 Inch Baking Dish
- Large Saucepan
- Wooden Spoon or Spatula
- Non-stick cooking spray
- Parchment paper (optional)
Nutrition Facts
The Best Rice Krispie Treats Recipe
Amount Per Serving
Calories 226 | Calories from Fat 54
% Daily Value*
Fat 6g (9%)
- Saturated Fat 4g (25%)
- Trans Fat 1g
- Polyunsaturated Fat 1g
- Monounsaturated Fat 2g
Cholesterol 15mg (5%)
Sodium 154mg (7%)
Potassium 22mg (1%)
Carbohydrates 43g (14%)
- Fiber 1g (4%)
- Sugar 23g (26%)
Protein 2g (4%)
Vitamin A 1106IU (22%)
Vitamin C 9mg (11%)
Calcium 4mg (0%)
Iron 4mg (22%)
* Percent Daily Values are based on a 2000 calorie diet.
Love this recipe? Follow @TammileeTips on Pinterest for more delicious ideas!
Tried this recipe? Mention @TammileeTipsLife when you share a photo on Instagram!
