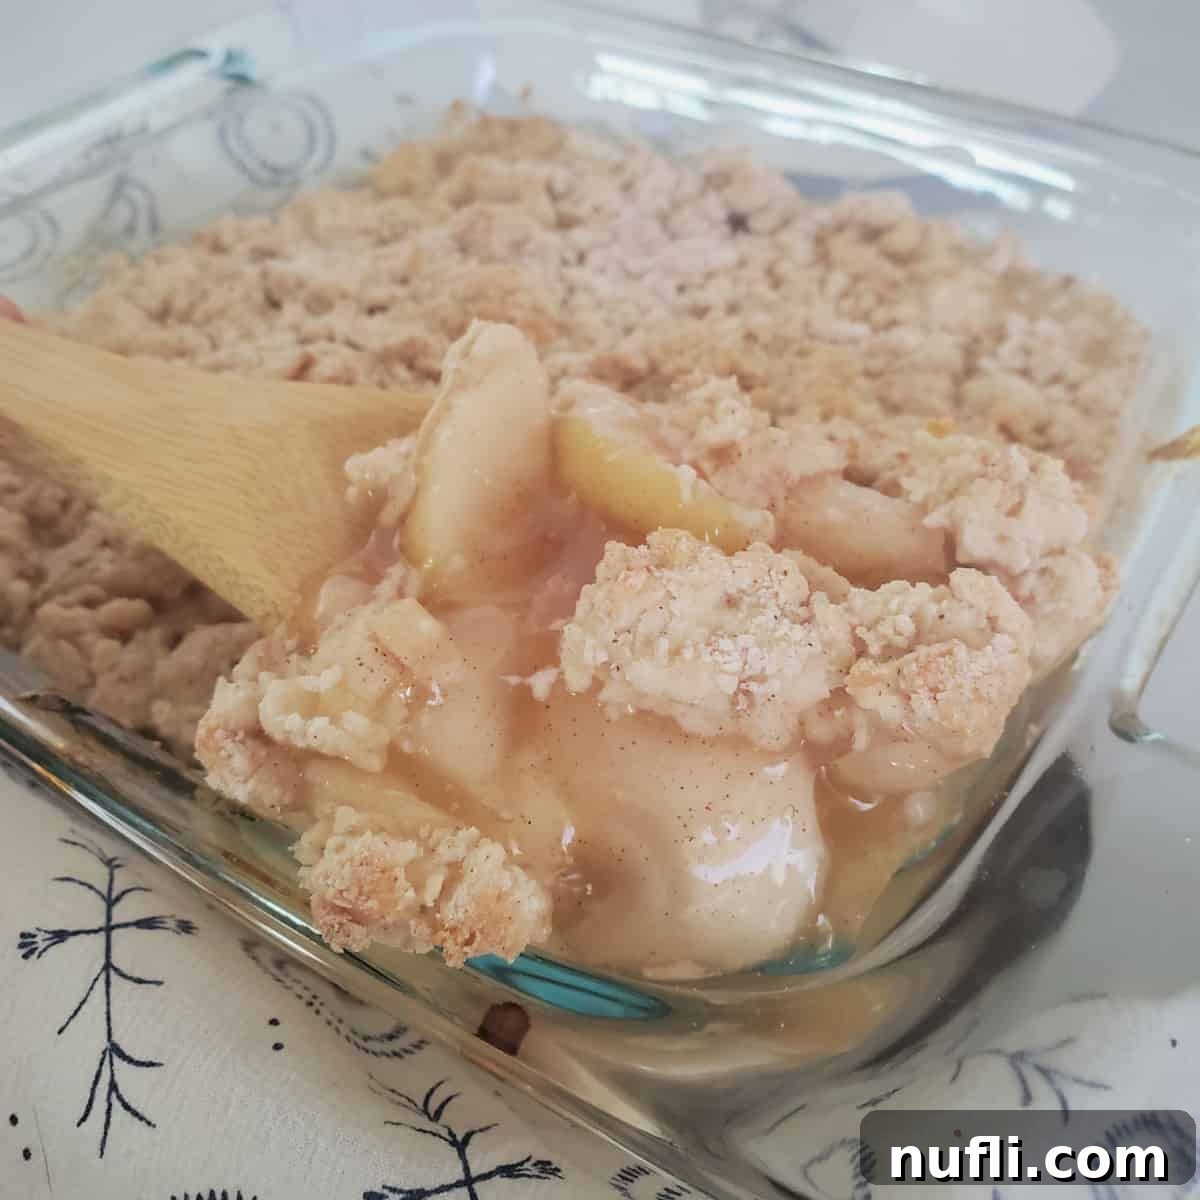
Effortless Delight: The Ultimate Bisquick Apple Cobbler Recipe
There’s nothing quite like a warm, bubbling apple cobbler to evoke feelings of comfort and nostalgia. And when it comes to creating such a delightful dessert with minimal effort, our Bisquick Apple Cobbler stands head and shoulders above the rest. This recipe isn’t just easy; it’s a testament to how simple ingredients can come together to form an utterly satisfying, homemade treat. Perfect for a cozy family dinner, a festive holiday gathering, or simply when a craving for something sweet strikes, this cobbler promises rich apple flavor crowned with a tender, golden Bisquick topping.
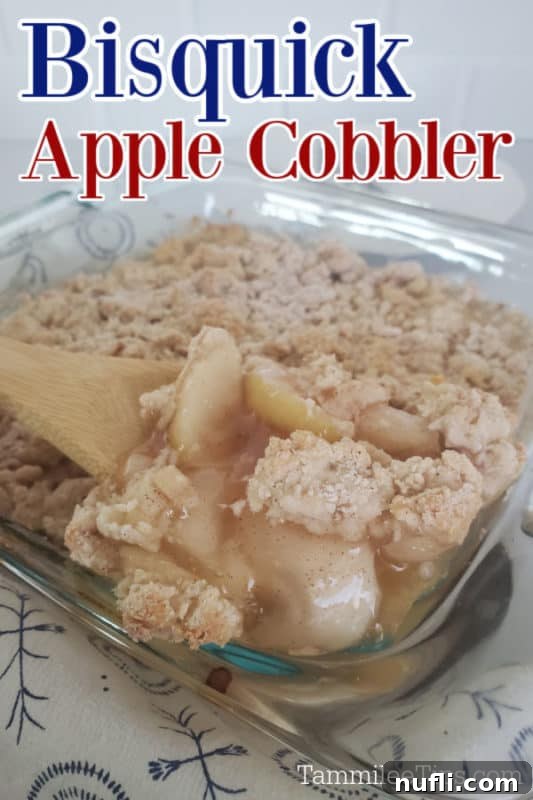
Unveiling the Magic of Bisquick Apple Cobbler
In the realm of quick and easy desserts, apple cobbler holds a cherished spot. Its rustic charm and delectable taste make it a universally loved dish. What makes this particular recipe shine is the ingenious use of Bisquick baking mix. This versatile pantry staple streamlines the process, allowing you to whip up a gourmet-tasting dessert in mere minutes of prep time. Imagine the aroma of sweet cinnamon apples mingling with a buttery, biscuit-like topping filling your home – all without breaking a sweat in the kitchen!
This recipe is designed for maximum flavor with minimum fuss. We’ve honed it to deliver that classic apple cobbler experience: tender, spiced apples bubbling underneath a perfectly crisp and chewy crust. It’s the kind of dessert that feels special, yet comes together effortlessly, making it a go-to for busy weeknights and special occasions alike. Whether you’re a seasoned baker or a kitchen novice, you’ll find joy in how straightforward and rewarding this Bisquick Apple Cobbler is to prepare.
Why Bisquick is Your Best Baking Friend
Bisquick is more than just a pancake mix; it’s a secret weapon for home bakers. Its carefully balanced blend of flour, leavening agents, and shortening provides a foolproof foundation for countless recipes, both sweet and savory. For cobblers, it’s an absolute game-changer. Forget measuring out multiple dry ingredients; Bisquick handles the heavy lifting, ensuring a consistently light and tender topping every time.
Our love affair with Bisquick cobblers runs deep. We’ve explored the delightful possibilities with other fruits, crafting a fantastic Bisquick Peach Cobbler, a luscious Bisquick Blackberry Cobbler, and an epic Blueberry Cobbler with Bisquick. Each version proves just how adaptable and reliable this mix is. Extending this success, it only made sense to create a Bisquick Apple Cobbler, tapping into the timeless appeal of apples in dessert. The results, as you’ll soon discover, are nothing short of spectacular.
Canned vs. Fresh: A Shortcut to Deliciousness
One of the brilliant shortcuts in this recipe is the use of canned apple pie filling. While fresh apples certainly have their place, canned filling provides unparalleled convenience, especially when time is of the essence. It comes pre-sliced, perfectly spiced, and ready to go, eliminating the need for peeling, coring, slicing, and seasoning raw apples. This small cheat significantly cuts down on prep time, allowing you to enjoy a warm, homemade cobbler in record time. It’s ideal for those moments when you want a delightful dessert without spending hours in the kitchen.
Don’t underestimate the quality of canned apple pie filling. Many brands offer a rich, flavorful base that’s ready to transform into a delicious cobbler. It’s a quick and easy solution that doesn’t compromise on taste, making this Bisquick Apple Cobbler a truly accessible and time-efficient dessert for any occasion.
Perfect for Any Occasion
This easy Bisquick Apple Cobbler is incredibly versatile, fitting seamlessly into various dining scenarios. It makes a fantastic dessert for a casual family dinner, providing a sweet and comforting end to any meal. Hosting a potluck or backyard barbecue? This cobbler is a guaranteed crowd-pleaser, easy to transport and serve. And for those moments when you just need a little something sweet to satisfy a craving, its quick preparation makes it an ideal treat.
For an elevated experience, we highly recommend serving this cobbler warm, straight from the oven, topped with a generous scoop of vanilla ice cream. The cold, creamy ice cream melting into the warm, spiced apples and tender topping creates an irresistible contrast that takes this dessert from delicious to absolutely divine. You can also experiment with a dollop of whipped cream, a sprinkle of extra cinnamon, or even a drizzle of caramel sauce for an extra touch of indulgence. It truly is one of our favorite apple desserts, beloved for both its incredible flavor and its unmatched simplicity.
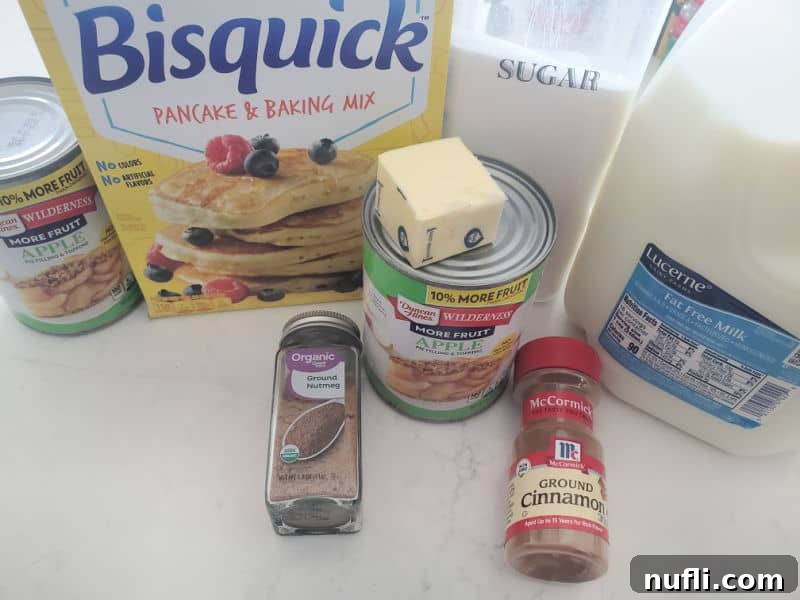
Gather Your Ingredients: What You’ll Need
The beauty of this Bisquick Apple Cobbler lies in its short and sweet ingredient list. You likely have most of these items in your pantry already, making it easy to decide to whip up this dessert on a whim. Each ingredient plays a crucial role in creating the perfect balance of flavor and texture.
Key Ingredients:
- Bisquick Baking Mix: The star of our topping! We recommend using the Original Bisquick Mix, which is widely available in most grocery stores and online. It provides the ideal structure and fluffiness for the cobbler crust. If you’re looking for a gluten-free option, there’s also a Gluten-Free Bisquick mix available, which works wonderfully as a direct substitute.
- Apple Pie Filling: As mentioned, canned apple pie filling is our secret weapon for speed and convenience. For this recipe, we typically use two 21-ounce cans, ensuring a generous, fruity base. You can adjust this to one can if you prefer a higher topping-to-fruit ratio, but we love having plenty of apples in every bite.
- Granulated Sugar: A touch of white granulated sugar sweetens the Bisquick topping, complementing the sweetness of the apple filling. While white sugar is standard, you can experiment by adding a tablespoon or two of light brown sugar to the topping mix for a deeper, more molasses-like flavor and a slightly chewier texture.
- Milk: Milk is essential for bringing our Bisquick topping ingredients together, creating a pourable batter that bakes into a tender, cake-like crust. Any kind of milk (dairy or non-dairy) will work, so use what you have on hand.
- Butter: Softened butter is incorporated into the Bisquick topping, contributing to its rich flavor and tender crumb. Make sure your butter is at room temperature to ensure it blends smoothly and evenly with the dry ingredients.
- Ground Cinnamon: A touch of cinnamon in the topping enhances the warm, spiced flavors of the apple pie filling, tying the whole dessert together beautifully.
- Ground Nutmeg (Optional): For an extra layer of warm spice, a hint of ground nutmeg can be added to the Bisquick topping. It pairs exquisitely with apples, adding a subtle depth of flavor.
Optional Add-Ins & Flavor Boosters:
While delicious as is, this cobbler is also a fantastic canvas for additional flavors. Consider stirring in a handful of chopped pecans or walnuts into the apple filling for added crunch, or sprinkling some brown sugar on top of the Bisquick mixture before baking for a caramelized finish. A drizzle of caramel sauce over the warm cobbler or a dollop of fresh whipped cream also makes for an irresistible garnish.
Essential Kitchen Tools for Success
You won’t need an extensive array of kitchen gadgets to make this Bisquick Apple Cobbler. The beauty of this recipe extends to its simplicity in equipment as well. Here are the basic tools that will make your cobbler creation seamless:
- 8×8 Baking Dish: This size is perfect for the recipe as written, yielding about 6 generous servings. Its compact size ensures even baking and a lovely, thick cobbler. If you’re feeding a larger crowd or want more leftovers, this recipe can easily be doubled and baked in a 9×13 baking dish. Just ensure to adjust baking time slightly if using a larger dish, adding a few extra minutes until golden brown.
- Large Mixing Bowl: A good-sized mixing bowl is crucial for comfortably combining the Bisquick topping ingredients without spills. We’re particularly fond of glass batter bowls with a handle, as they make mixing ingredients a breeze and stay steady on the counter.
- Spoon or Spatula: You’ll need a sturdy spoon or rubber spatula for stirring the topping ingredients and for spreading the Bisquick mixture evenly over the apple filling. A larger spoon helps with even distribution.
- Heat-Resistant Potholders: Safety first in the kitchen! A couple of reliable, heat-resistant potholders are essential for safely handling the hot baking dish when transferring it to and from the oven. This might seem like a small detail, but it’s an important one. We once had a fire scare when an ordinary cloth potholder accidentally touched a hot burner – thankfully, we noticed the smoke in time! Ever since, we strictly use high-quality, heat-resistant potholders to prevent such incidents.
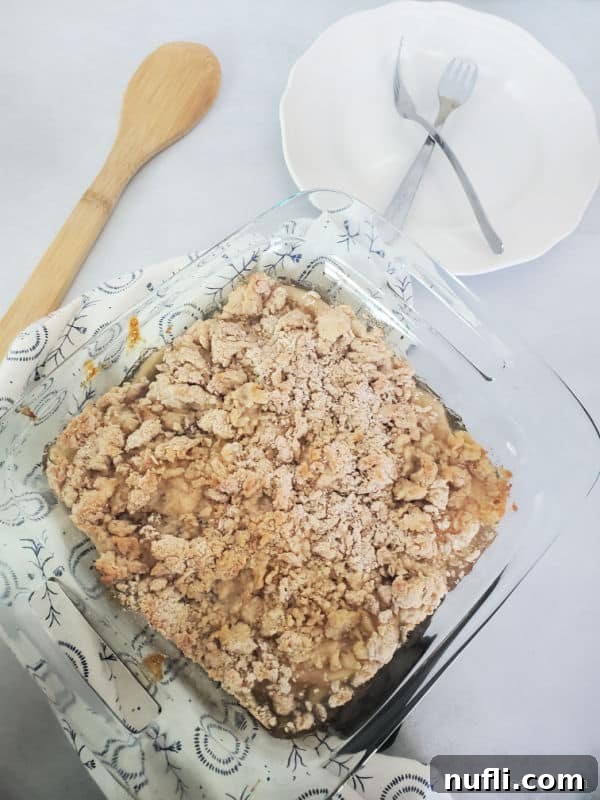
Step-by-Step Guide: How to Make Bisquick Apple Cobbler
Creating this delicious apple cobbler is incredibly simple, requiring just a few straightforward steps. Follow these instructions, and you’ll have a warm, inviting dessert ready to enjoy in no time.
- Preheat and Prepare: Start by preheating your oven to 400 degrees Fahrenheit (200 degrees Celsius). This ensures your oven is at the correct temperature for even baking as soon as your cobbler is assembled. While the oven heats, gather all your ingredients and equipment. This practice, known as “mise en place,” makes the cooking process smoother and more enjoyable.
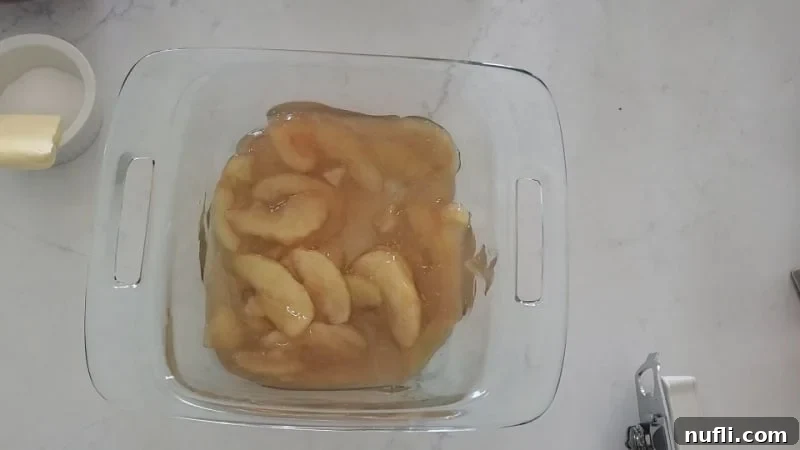
- Layer the Apples: Open your cans of apple pie filling and pour them directly into your 8×8 baking dish. Use the back of a spoon or a spatula to gently spread the apple slices evenly across the bottom of the pan. This creates a uniform fruit layer for your topping.
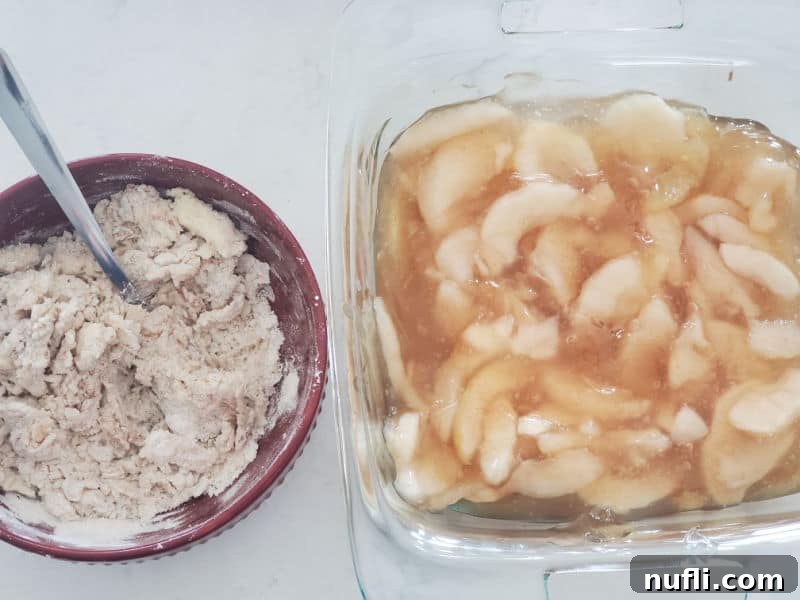
- Prepare the Bisquick Topping: In a medium-sized mixing bowl, combine the Bisquick baking mix, granulated sugar, and ground cinnamon. Stir these dry ingredients together. Next, add the softened butter and blend it into the mixture until crumbly. Finally, pour in the milk and stir until a smooth, thick batter forms. Be careful not to overmix; a few small lumps are fine.
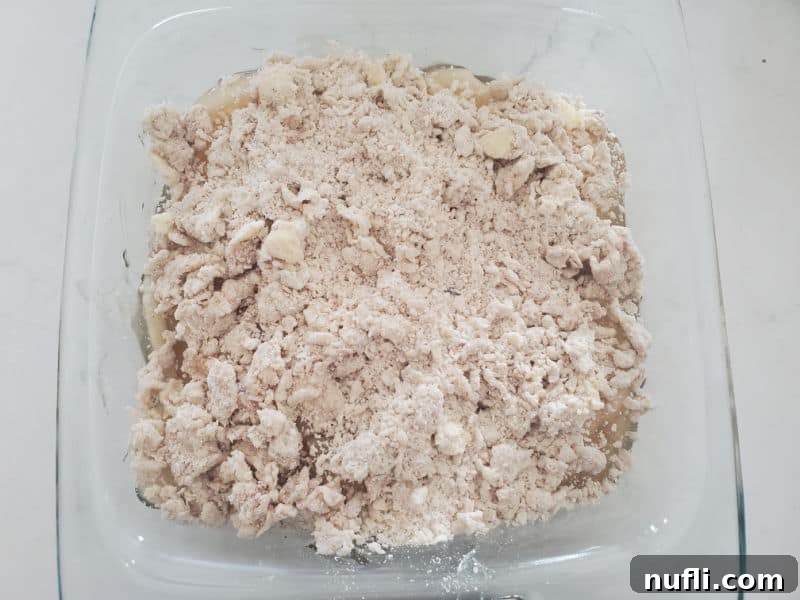
- Cover the Apples: Using a large spoon, dollop and spread the Bisquick topping mixture evenly over the entire surface of the apple pie filling. Try to cover as much of the fruit as possible, ensuring a consistent layer that will bake into a beautiful crust.
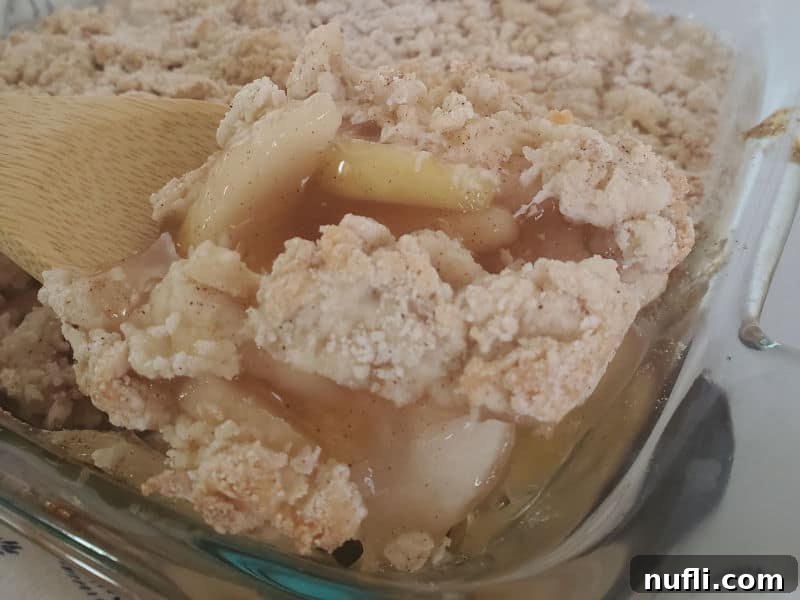
- Bake to Golden Perfection: Place the baking dish into your preheated oven. Bake for approximately 18-20 minutes, or until the Bisquick topping is puffed, golden brown, and cooked through. A toothpick inserted into the topping should come out clean (avoiding the apples).

Pro Tips for Your Best Apple Cobbler
Achieving a perfect Bisquick Apple Cobbler every time is easy with a few insider tips. These suggestions will help you maximize flavor, texture, and convenience:
- Don’t Forget to Preheat! It might seem obvious, but ensuring your oven is fully preheated to 400°F (200°C) is crucial. A properly heated oven allows the cobbler topping to rise and brown correctly from the start, preventing a dense or undercooked crust.
- Apple Quantity Matters: This recipe calls for two 21-ounce cans of apple pie filling, which results in a wonderfully robust apple layer. However, if you prefer a less fruit-heavy cobbler or a thicker topping-to-fruit ratio, you can easily use just one can. Adjusting the apple quantity can slightly change the baking time, so keep an eye on it.
- Serve it Warm: While Bisquick Apple Cobbler is still delicious at room temperature, its true magic shines when served warm, straight from the oven. The warmth brings out the spices in the apples and softens the topping to a delightful tenderness.
- Embrace the Toppings: A scoop of vanilla ice cream is the classic companion, melting into a creamy sauce that contrasts beautifully with the warm cobbler. Other fantastic additions include a dollop of whipped cream, a sprinkle of ground cinnamon, a drizzle of caramel sauce, or a handful of toasted pecans or walnuts for added texture and richness.
- Scaling Up is Simple: This recipe is incredibly forgiving and easy to double. If you’re hosting a larger gathering or simply want more servings, use a 9×13 baking dish and double all the ingredients. The baking time will likely remain similar, but keep an eye on the cobbler to ensure it’s golden brown and cooked through.
- Storage and Reheating: Store any leftover cobbler in an airtight container in the refrigerator for up to 3-4 days. To reheat, you can warm individual servings in the microwave or place the entire dish (covered with foil) in a preheated oven at 350°F (175°C) until heated through.
- Flavor Variations: Feel free to experiment with additional spices in the apple filling or topping. A pinch of allspice or a dash of apple pie spice can enhance the existing flavors. A squeeze of lemon juice stirred into the apple filling can brighten the taste, especially if using a very sweet pie filling.
Frequently Asked Questions (FAQ)
Can this Bisquick Apple Cobbler be made gluten-free?
Absolutely! Most major brands, including Bisquick, offer a gluten-free baking mix. Simply substitute the regular Bisquick mix with the gluten-free version in the exact same quantity. All other ingredients in this recipe are naturally gluten-free, so no further modifications are needed. This makes it a fantastic dessert option for those with gluten sensitivities or dietary restrictions.
Can I use fresh apples instead of canned pie filling?
Yes, you certainly can! While canned pie filling offers incredible convenience, fresh apples will give you a cobbler with a vibrant, natural texture and flavor. If using fresh apples, you’ll need about 6-8 medium apples, peeled, cored, and sliced. We recommend using varieties that hold their shape well and offer a good balance of sweet and tart, such as Honeycrisp, Granny Smith, Fuji, or Braeburn. Granny Smith apples are particularly excellent for apple cobblers and apple crisps due to their tartness, which balances the sweetness of the sugar. Before adding them to the dish, you’ll want to toss the fresh apple slices with about ½ cup of sugar (or to taste), 1 tablespoon of flour (to help thicken the juices), 1 teaspoon of cinnamon, and ½ teaspoon of nutmeg. You may also want to add a splash of lemon juice to prevent browning and brighten the flavor. The baking time might need to be extended slightly (by 5-10 minutes) to ensure the fresh apples are tender.
What other fruits work well with Bisquick cobbler?
Bisquick cobbler is incredibly versatile! Beyond apples, it works beautifully with a variety of fruits, both fresh and canned. Peaches, blackberries, blueberries, cherries, and mixed berries are all excellent choices. If using canned fruit, ensure it’s drained well. If using fresh fruit, you’ll need to sweeten it and possibly add a thickener like flour or cornstarch, similar to preparing fresh apples.
How should I store leftover cobbler?
To keep your Bisquick Apple Cobbler fresh, allow it to cool completely before covering it tightly with plastic wrap or transferring it to an airtight container. Store it in the refrigerator for up to 3-4 days. For longer storage, you can freeze individual portions for up to 2-3 months. Thaw in the refrigerator overnight before reheating.
Can I prepare this cobbler ahead of time?
You can prepare the apple filling and the Bisquick topping separately ahead of time. Keep the apple filling covered in the baking dish in the refrigerator. Mix the Bisquick topping ingredients, but don’t add the milk until you’re ready to bake (or mix it and store it covered in the fridge for no more than a day). Assemble and bake just before serving for the best texture and warmth. If you fully bake it ahead, you can simply reheat it as described above.
More Delicious Bisquick Recipes to Explore
Our love for Bisquick doesn’t stop at cobblers. This incredible mix can simplify so many of your favorite dishes. If you enjoyed the ease and flavor of this apple cobbler, we highly recommend exploring some of our other fantastic Bisquick recipes:
- Bisquick Blueberry Muffins
- Bisquick Cheeseburger Pie
- Bisquick Waffles
- John Wayne Casserole
- 7-up Biscuits
- Cheddar Bay Biscuits
- Pancake Muffins
Be sure to check out our broader collection of favorite easy dessert recipes, especially our other great apple desserts!
The Easy Bisquick Apple Cobbler Recipe Card
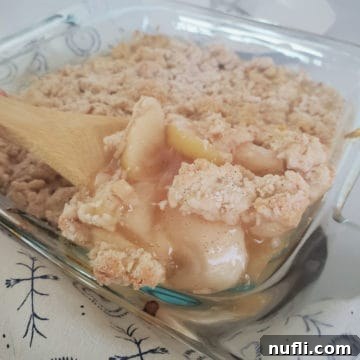
Bisquick Apple Cobbler Recipe
Easy Bisquick Apple Cobbler is a fantastic homemade dessert with only a few ingredients. So easy to make and tastes amazing.
- Prep Time: 10 minutes
- Cook Time: 20 minutes
- Total Time: 30 minutes
- Servings: 6
- Calories: Approximately 314 kcal
- Author: Tammilee Tips
Ingredients
- 42 oz Apple Pie Filling (2 21oz cans)
- 1 cup Bisquick Baking Mix
- 1 Tablespoon White Sugar
- 1 Tablespoon Butter (softened)
- ¼ cup Milk
- 1 teaspoon Ground Cinnamon
- ½ teaspoon Ground Nutmeg (optional)
Instructions
- Preheat oven to 400 degrees Fahrenheit (200 degrees Celsius).
- Spread both cans of apple pie filling evenly in an 8×8 casserole dish.
- In a separate medium-sized bowl, combine Bisquick, sugar, and cinnamon. Add the softened butter and blend thoroughly, then stir in the milk until a thick batter forms.
- Spoon the Bisquick mixture evenly over the apples, covering them completely.
- Bake for 18-20 minutes, or until the topping is golden brown and cooked through. Serve warm.
Kitchen Tools
- 8×8 Baking Pan
- Large Mixing Bowl
- Spoon or Spatula
Nutrition Facts (Approximate per serving)
Nutrition Facts
Bisquick Apple Cobbler Recipe
Amount Per Serving
Calories 314 (Calories from Fat 45)
% Daily Value*
- Fat 5g (8%)
- Saturated Fat 2g (13%)
- Trans Fat 1g
- Cholesterol 6mg (2%)
- Sodium 369mg (16%)
- Potassium 140mg (4%)
- Carbohydrates 67g (22%)
- Fiber 3g (13%)
- Sugar 32g (36%)
- Protein 2g (4%)
- Vitamin A 129IU (3%)
- Vitamin C 3mg (4%)
- Calcium 60mg (6%)
- Iron 1mg (6%)
* Percent Daily Values are based on a 2000 calorie diet.
We hope you love this easy Bisquick Apple Cobbler as much as we do! It’s a truly versatile and delicious dessert that brings joy to any table. Don’t forget to explore our other copycat recipes, dessert recipes, and our Crock Pot Recipes for more culinary inspiration.
Follow Tammilee Tips on Facebook, Instagram, Pinterest, and Twitter for all our latest recipe posts and delicious ideas!
