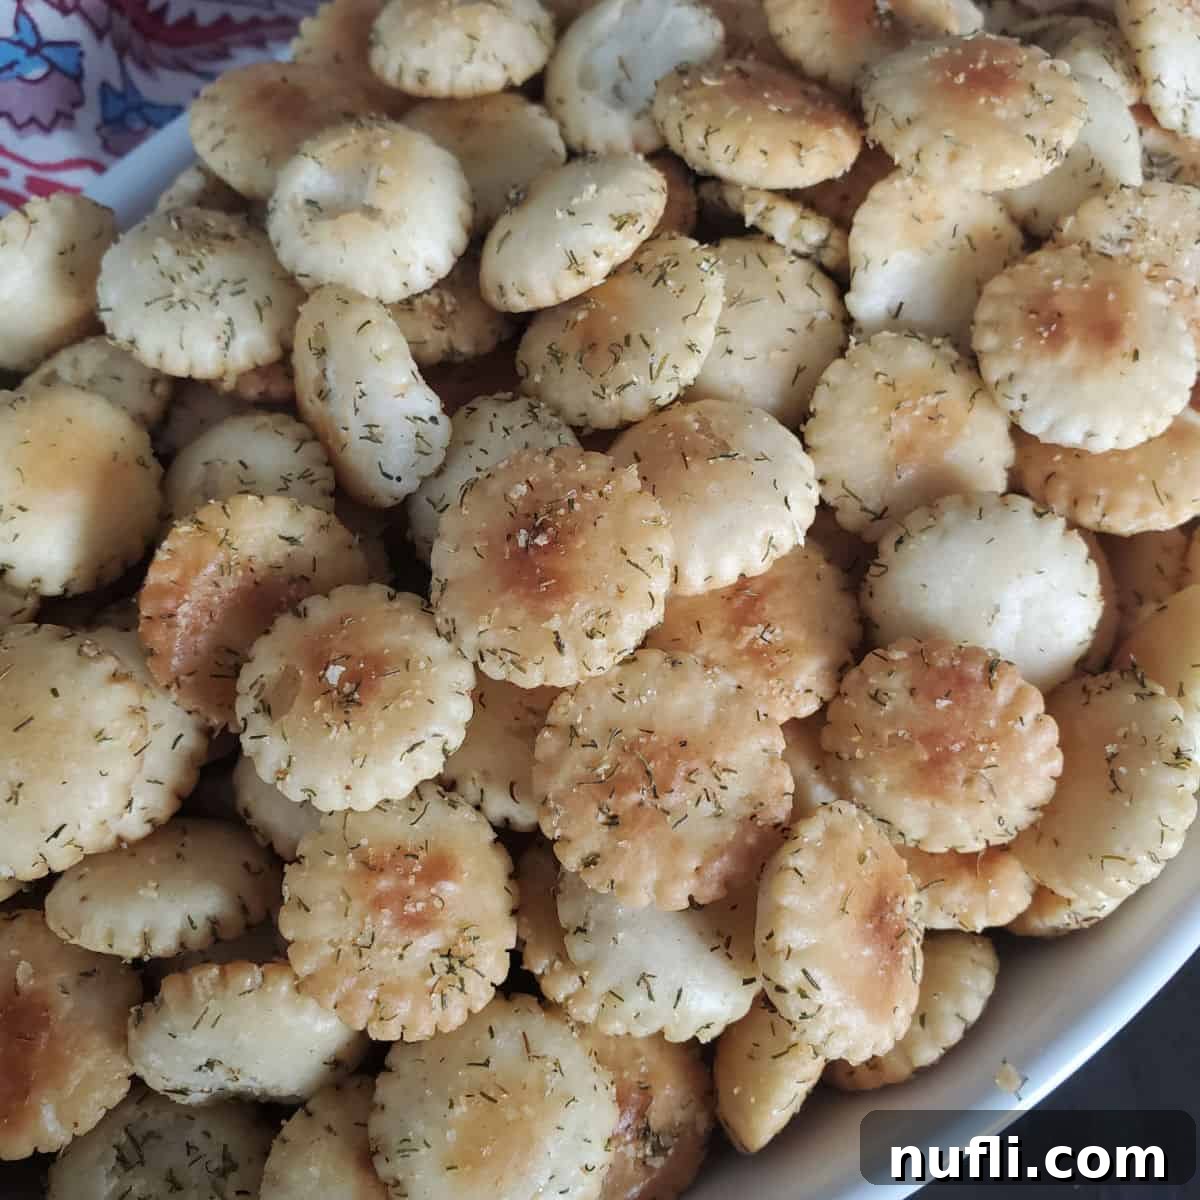
Craving an incredibly easy, flavorful, and versatile snack? Look no further than these Easy Dill Oyster Crackers! This simple recipe transforms plain oyster crackers into a savory, crunchy delight seasoned with aromatic dill and garlic. Perfect as a standalone snack, a delightful soup topper, or a unique crunch for your salads, these seasoned oyster crackers are guaranteed to become a household favorite. With minimal preparation and a short baking time, you’ll have a batch of these irresistible crackers ready to enjoy in no time. Get ready to elevate your snacking experience with this simple yet sensational recipe!
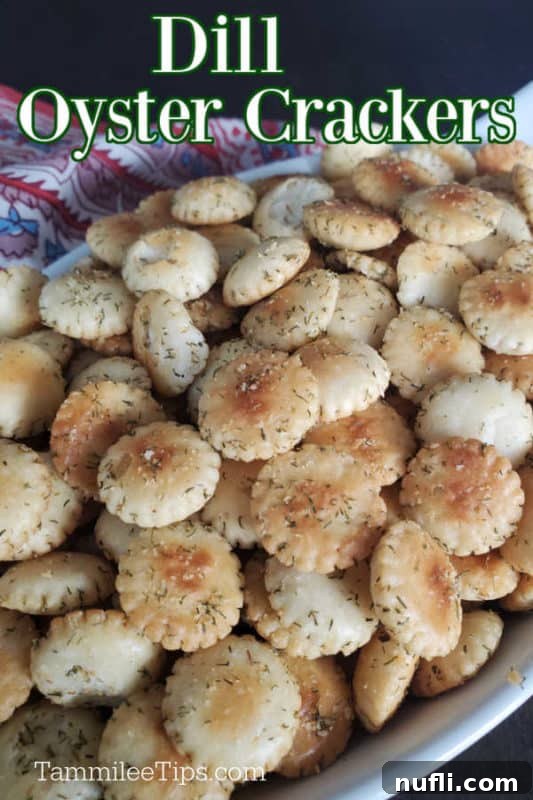
Irresistible Dill Oyster Cracker Recipe: Your New Favorite Snack
Among our collection of simple and satisfying snack recipes, seasoned oyster crackers hold a special place. For instance, our Ranch Oyster Crackers are a constant go-to, perfect for a quick bite or packing along for road trips. They’re excellent for munching throughout the workday or adding a savory crunch to your favorite salads. This particular dill version came to life a few weeks ago when I discovered an abundance of oyster crackers in my pantry. They must have been on sale, prompting a strategic stock-up during one of our less frequent grocery runs.
The beauty of these homemade dill oyster crackers lies in their delicious flavor and incredibly short baking time – just 15 minutes! Once baked, they transform into a crispy, seasoned treat that’s hard to resist. Beyond being a fantastic snack on their own, these easy Dill Oyster Crackers are incredibly versatile. They make an exceptional topping for creamy soups, hearty chili, or vibrant salads, adding a burst of flavor and a delightful textural contrast. While I wouldn’t suggest them for an ice cream sundae, their savory profile complements a surprising array of dishes, offering a crunchy element wherever you need it most.
These seasoned oyster crackers require a mere 15 minutes in the oven, and then comes the most challenging part: the wait! To achieve optimal crispness and allow the flavors to fully meld, it’s crucial to let them cool for at least an hour before diving in. I know, patience is a virtue, especially when a tempting aroma fills your kitchen, but trust me, it’s worth every minute. This cooling period ensures you don’t burn your tongue on hot crackers and allows them to firm up, guaranteeing that perfect, satisfying crunch with every bite.
Ingredients for Flavorful Dill Oyster Crackers
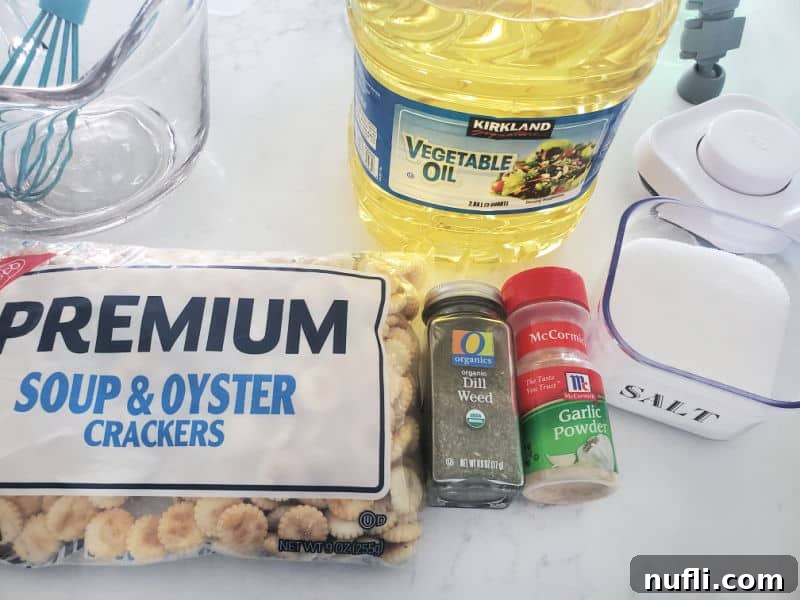
Making these delicious dill oyster crackers requires just a few simple ingredients, most of which you likely already have in your pantry. The combination creates a savory, herbaceous flavor that’s incredibly addictive.
- Oyster Crackers
- Dried Dill Weed
- Garlic Powder
- Salt
- Vegetable Oil
Optional Enhancements: Feel free to customize your seasoned crackers with these additions for an extra kick of flavor: Hidden Valley Ranch dressing mix, garlic salt, lemon pepper, or swap out vegetable oil for olive oil for a nuanced taste.
Ingredient Spotlight:
- Oyster Crackers: These small, coin-shaped crackers are the perfect canvas for our seasoning. Their light, airy texture becomes wonderfully crispy when baked. You can typically find them in the cracker aisle of most grocery stores. In our local supermarket, they tend to be on the highest shelf, so keep an eye out!
- Dried Dill Weed: The star of the show, dried dill weed imparts a distinctive fresh, tangy, and slightly grassy flavor that pairs beautifully with the savory garlic and salt. Using dried dill ensures an even distribution of flavor and a longer shelf life for your crackers.
- Garlic Powder: This provides a foundational savory note, complementing the dill without overpowering it. It’s an essential component for that irresistible aroma and taste.
- Salt: A crucial seasoning that brings all the flavors together. You may adjust the amount to your preference, especially if using a ranch mix or garlic salt which also contain sodium.
- Vegetable Oil: This acts as a binder, helping the seasonings adhere to the crackers, and contributes to their overall crispness during baking. Any neutral-flavored oil like canola or grapeseed oil will work well. If you prefer a slightly fruitier, more robust flavor, olive oil can also be used, adding its own unique character to these seasoned oyster crackers.
Essential Equipment for Making Dill Oyster Crackers
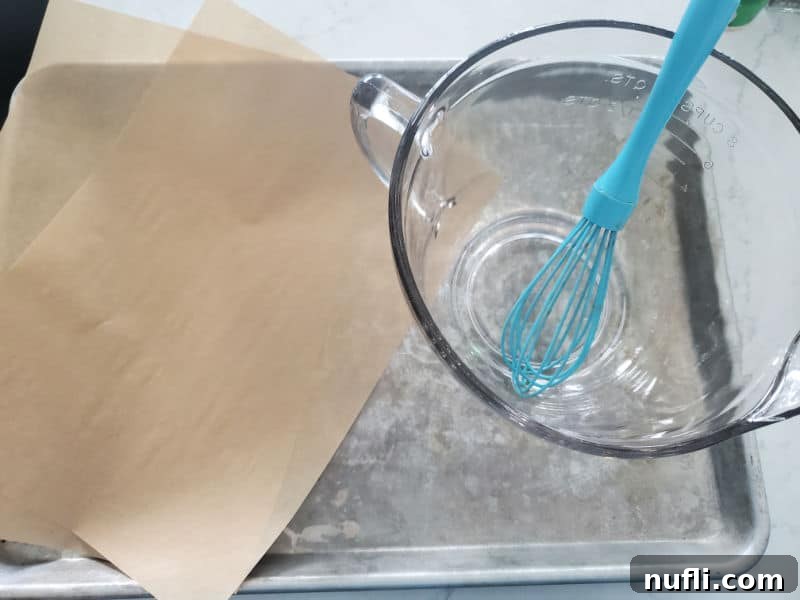
Having the right tools makes the preparation process even smoother and more enjoyable. Here’s what you’ll need to whip up a batch of these delectable crackers:
- Baking Sheet: I always recommend using a baking sheet with raised sides. This prevents any adventurous oyster crackers from sliding off and ending up on the bottom of your oven, ensuring an even bake and easy cleanup.
- Small Bowl: This is perfect for whisking together your liquid seasoning mixture – the dill weed, garlic powder, salt, and oil. Combining them here first ensures all the spices are well-incorporated before they meet the crackers.
- Large Mixing Bowl: You’ll need a generously sized bowl to comfortably toss all the oyster crackers with the seasoning mixture. This ensures every cracker gets an even coating of that delicious dill and garlic goodness.
- Parchment Paper: Lining your baking sheet with parchment paper is a game-changer. It prevents sticking, promotes even baking, and makes transferring the cooked dill oyster crackers to a storage container or serving dish incredibly easy and mess-free.
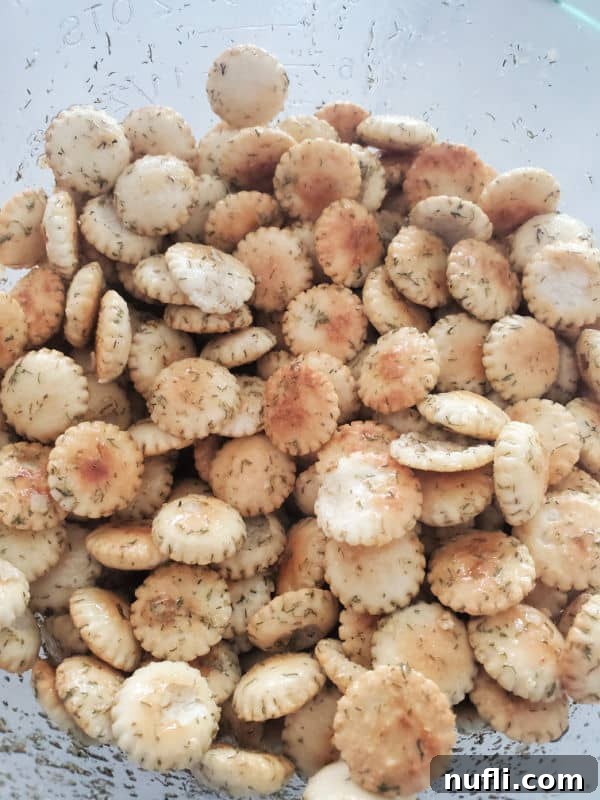
Expert Tips for Perfect Dill Oyster Crackers
Achieving perfectly seasoned and crispy dill oyster crackers is simple with these helpful tips and tricks:
- Get the Kids Involved: If you have little kitchen helpers eager to assist, skip the large bowl for mixing and opt for a large Ziploc bag instead. Add the oyster crackers, pour in the dill weed oil mixture, seal the bag tightly, and let your helpers shake, jiggle, and even dance around the kitchen to coat the crackers evenly. It’s a fun, mess-free way to get them involved!
- Preheat Your Oven: Always remember to preheat your oven to 250 degrees Fahrenheit before you start baking. A properly preheated oven ensures consistent temperature and even cooking, which is key for perfectly crisp crackers.
- Even Spread is Key: After pouring the seasoned crackers onto your parchment-lined baking sheet, gently shake the pan back and forth a few times. This helps spread the crackers into a single, even layer, allowing them to bake uniformly and achieve maximum crispness.
- Patience is a Virtue: As tempting as it is to dig in immediately, plan for at least an hour of cooling time once the crackers are out of the oven. This crucial step allows them to fully crisp up and for the flavors to deepen, preventing a soggy texture and ensuring they are safe to eat without burning your tongue.
- Boost the Flavor with Ranch: For an extra burst of savory goodness, consider adding a packet of ranch seasoning mix to your dill and garlic blend. The ranch packet will introduce a more complex, tangy flavor profile, though it may make the crackers a bit saltier. Adjust the amount of added salt accordingly.
- Know Your Crackers: Depending on where you grew up, oyster crackers might go by different names, such as water crackers, Philadelphia crackers, or Trenton crackers. Regardless of what you call them, the result is the same: a delicious, crunchy treat!
- Storage Solutions: To keep your dill seasoned oyster crackers fresh and delightfully crispy, store them in an airtight container or a sealed Ziploc bag once they are completely cooled. Kept at room temperature in a cool, dry place, they should stay fresh for up to a week.
- Serving Versatility: These crackers aren’t just for soups! Serve them as a simple party appetizer, a crunchy element in lunchboxes, a movie night snack, or crumbled over casseroles for added texture and flavor.
- Customize Your Batch: Don’t hesitate to experiment with other spices! A pinch of onion powder, a dash of paprika, or a hint of chili powder can add new dimensions to these versatile crackers. Create your own signature blend!
No matter what you call them or how you choose to customize them, these Dill Seasoned Oyster Crackers are incredibly easy to make and taste absolutely amazing. Their addictive quality means you might find yourself baking up a batch frequently. Just remember to store them properly in an airtight container or Ziploc bag to maintain their freshness and irresistible crunch.
If you’re a fan of a little heat, be sure to check out our recipe for Spicy Oyster Crackers for another fantastic variation!
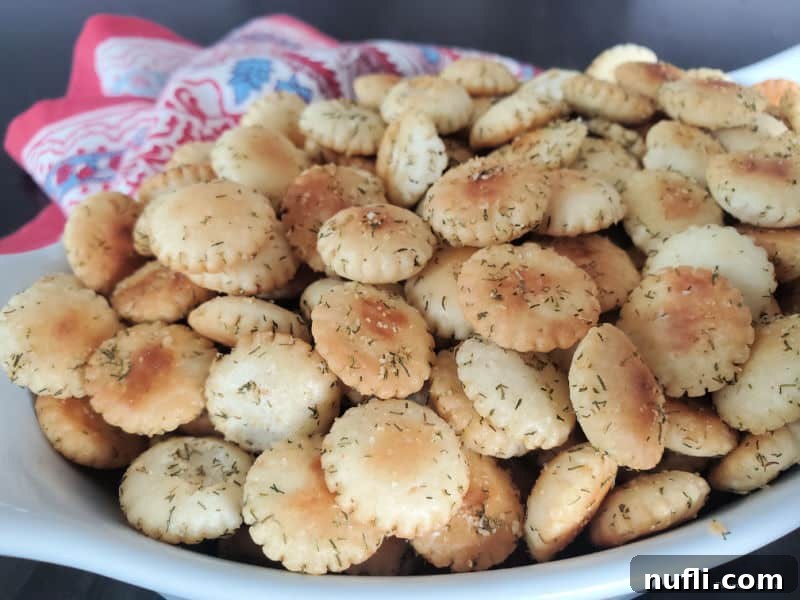
More Great Snack Recipes to Explore
If you loved these dill oyster crackers, you’ll surely enjoy these other easy and delicious snack ideas:
Old Bay Goldfish Crackers
Ants on a Log
Ranch Pretzels
Cheerios Bars
Peanut Butter Balls with Rice Krispies
Kool Aid Pickles
Candied Walnuts
Do you love discovering new recipes? Be sure to explore our diverse categories, including copycat recipes, tempting dessert recipes, and our collection of convenient Crock Pot Recipes.
My adorable kitten assistant was on duty again during this photoshoot. I’m fairly certain he wasn’t thrilled with my photo setup, judging by his highly critical gaze! He sat there, majestically watching my every move, sending clear signals of judgment and glaring at me for neglecting his rightful share of attention and pets. Oh, the life of a food blogger with furry supervisors!
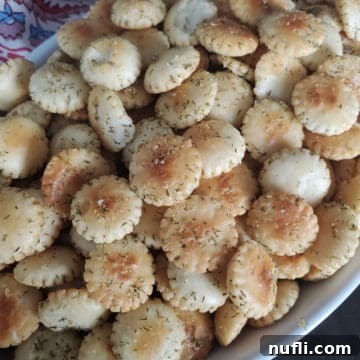
Dill Oyster Crackers Recipe
Print
Rate
Ingredients
- 9 oz Oyster Crackers
- ⅔ cup Vegetable Oil
- 1 Tablespoon Dill Weed dried
- 1 Tablespoon garlic powder
- ½ tsp Salt
Instructions
- Preheat oven to 250 degrees. Line a baking sheet with parchment paper and set to the side.
- Combine vegetable oil, dill weed, garlic powder, and salt in a small bowl. Whisk to combine.
- Pour ½ of the oyster crackers into a large bowl, pour ½ the dill weed oil mixture over them. Top with remaining oyster crackers and dill weed oil. Toss to combine.
- Pour oyster crackers onto parchment paper lined baking sheet and shake baking sheet to evenly spread them out.
- Bake for 15 minutes, making sure to carefully stir them 7 minutes in to baking.
- Let the Oyster Crackers cool for 1 hour before serving.
Kitchen Tools
- Parchment Paper
- Cookie Sheets
- Large Mixing Bowl
Nutrition
Calories from Fat 90
