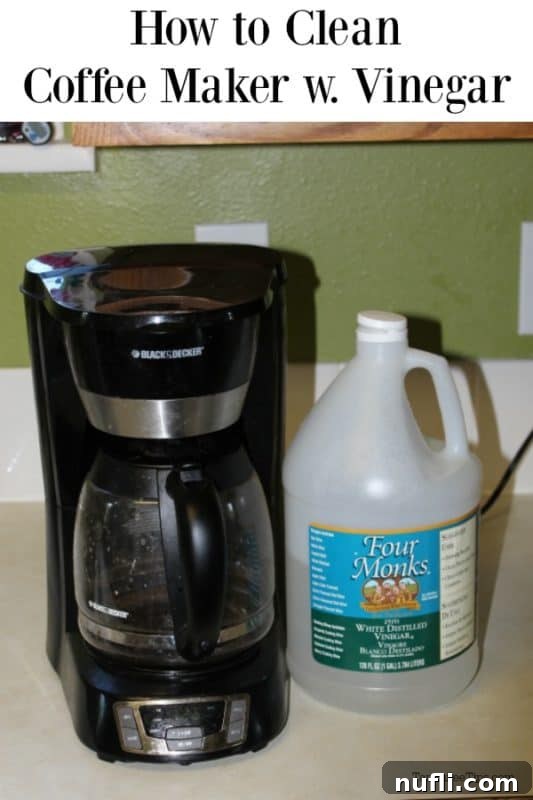
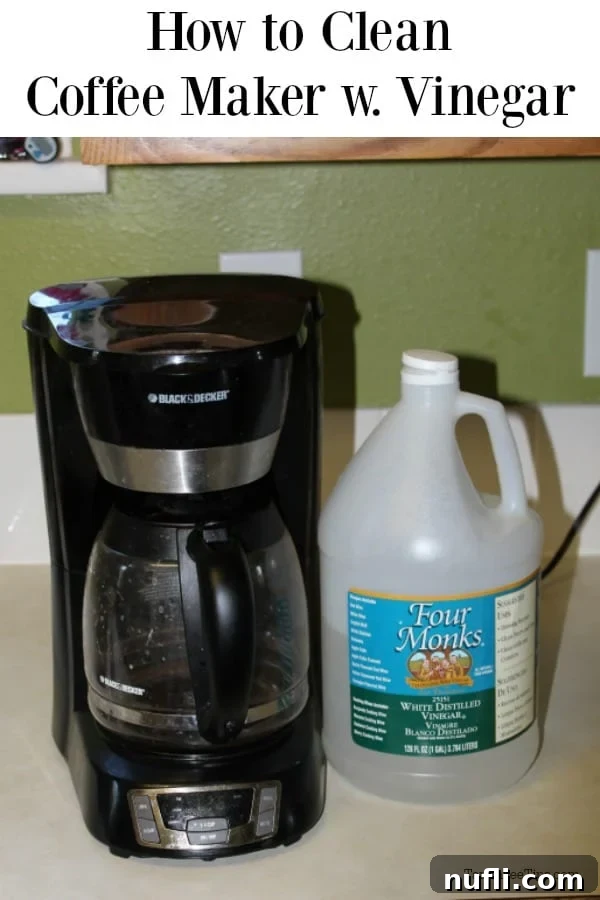
How to Clean Your Coffee Maker with Vinegar: A Comprehensive Guide for Optimal Brews
Is mineral buildup affecting your morning coffee? Are you noticing a decline in taste or performance from your beloved coffee maker? Fear not! Cleaning your coffee maker effectively is simpler than you might think, and the secret weapon is likely sitting in your pantry right now: white vinegar. This detailed guide will walk you through the easiest and most effective way to restore your coffee maker to its pristine condition, ensuring every cup tastes as fresh and flavorful as intended.

Why Regular Coffee Maker Cleaning is Essential
For many, a daily cup of coffee is a non-negotiable ritual, a warm start to the day. Yet, the very machine that delivers this essential brew often goes overlooked when it comes to cleaning. Over time, coffee makers accumulate more than just coffee residue. Hard water, which is common in many areas, leaves behind mineral deposits, primarily calcium and magnesium. This buildup, often referred to as ‘scale,’ can have several detrimental effects:
- Degraded Coffee Taste: Mineral deposits can alter the flavor profile of your coffee, making it taste bitter, stale, or just “off.” The true nuances of your coffee beans get masked by these impurities.
- Reduced Performance: Scale can clog the internal components, slowing down the brewing process, leading to a less hot brew, and increasing the overall brewing time. The heating element also has to work harder to heat water through insulated scale, leading to higher energy consumption.
- Shorter Lifespan of the Machine: Constant strain on the heating element and clogged tubes can significantly shorten the operational life of your coffee maker, leading to premature breakdowns and costly replacements.
- Hygiene Concerns: A damp, warm environment is also an ideal breeding ground for mold and bacteria, especially in the water reservoir and internal tubing if not regularly cleaned. While coffee grounds themselves are not usually a major health risk, the combination with water and warmth can lead to microbial growth.
Regular descaling and cleaning are crucial to maintaining the quality of your coffee, extending the life of your appliance, and ensuring a hygienic brewing environment.
The Power of Vinegar: Your Natural Descaling Solution
Among the many cleaning agents available, white distilled vinegar stands out as the ultimate champion for coffee maker maintenance. Why vinegar?
- Natural and Non-Toxic: Unlike harsh chemical descalers, vinegar is a natural product, making it a safer choice for an appliance that prepares your daily beverage. You won’t have to worry about residual harmful chemicals.
- Highly Effective Acid: Vinegar’s acetic acid content is remarkably effective at dissolving the mineral deposits (calcium carbonate) that accumulate inside your coffee maker. It breaks down the scale, allowing it to be flushed out easily.
- Affordable and Accessible: White vinegar is inexpensive and readily available in almost any grocery store, making it a practical and economical cleaning solution.
- Odor Neutralizer: Beyond descaling, vinegar also helps to neutralize lingering odors, leaving your coffee maker smelling fresh and clean, without a chemical scent.
Step-by-Step Guide: Cleaning Your Coffee Maker with Vinegar
My husband, John, is a true coffee enthusiast. His day truly doesn’t begin until he’s had his thermos full of coffee, brewed fresh every morning. Our coffee maker works tirelessly, enduring daily use, and sometimes, it needs a little TLC to keep brewing those perfect cups. Here are the precise steps I follow to ensure our machine remains clean, efficient, and ready for another day of delicious coffee.
What You’ll Need:
- White distilled vinegar
- Fresh, clean water
- A clean cloth or sponge
- Dish soap (optional, for removable parts)
The Cleaning Process:
Prepare Your Coffee Maker
First, ensure your coffee maker is completely empty. Remove any old coffee grounds from the filter basket and discard them. Empty the carafe and rinse it out with water. It’s also a good practice to wipe down the exterior surfaces quickly to remove any loose debris or spills before starting the deep clean.
Introduce the Vinegar Solution
Pour approximately 4 cups of white distilled vinegar into the coffee maker’s water reservoir. For smaller machines (4-6 cup capacity), you might use 2-3 cups. For larger machines (12 cups or more), you might increase it to 5-6 cups or use a 1:2 vinegar to water ratio if you’re concerned about a strong vinegar smell. Let this solution sit in the reservoir for at least 30 minutes. This soaking period allows the acetic acid in the vinegar to start working on the mineral deposits before the brewing cycle even begins, softening and loosening them.
Run the Vinegar Brew Cycle
After the soaking period, place the empty carafe back on the warming plate. Turn on your coffee maker and let it run a full brewing cycle with the vinegar solution. As the vinegar runs through the internal tubing, heating element, and spray head, it actively dissolves the mineral buildup. You might notice some cloudy or discolored water dripping into the carafe – this is simply the dissolved scale and residue being flushed out. If your machine has a “clean” or “descale” cycle, activate that feature.
Perform Multiple Water Rinsing Cycles
Once the vinegar cycle is complete, discard the vinegar solution from the carafe. Fill the water reservoir with fresh, clean water (about a full carafe’s worth). Run 2-3 full brewing cycles using only clean water. This is a critical step to thoroughly rinse out any residual vinegar and dissolved mineral deposits from the machine. You’ll want to continue running cycles until the distinct vinegar smell is completely gone. A quick sniff test of the water coming out can help you determine if another rinse is needed. You want your next cup of coffee to taste like coffee, not salad dressing!
Clean External Surfaces and Cords
While the machine is unplugged and cool, take a damp cloth or sponge and wipe down the exterior of your coffee maker, including the warming plate, control panel, and any visible surfaces. Pay attention to the power cord, wiping it clean but ensuring no moisture enters the plug or electrical components. This step not only improves the appearance of your machine but also removes any accumulated dust or spills.
Wash Removable Parts (If Applicable)
Many coffee maker parts, such as the filter basket, carafe, and lid, are often dishwasher safe. If yours are, run them through a cycle in your dishwasher for an extra thorough clean. If not, wash them by hand with warm, soapy water. Ensure all parts are completely dry before reassembling them into the coffee maker.
Reassemble and Enjoy!
Once all parts are clean, dry, and reassembled, your coffee maker is ready for action. Sit back, brew your favorite coffee, and savor the noticeably improved taste and aroma that comes from a perfectly clean machine.
How Often Should You Clean Your Coffee Maker?
The frequency of cleaning largely depends on how often you use your coffee maker and the hardness of your tap water. As a general guideline:
- For daily users with average water hardness: Aim to descale your coffee maker with vinegar at least once a month.
- For infrequent users or those with soft water: Every 2-3 months might suffice.
- For heavy users or those with very hard water: Consider cleaning every 2-3 weeks.
If you notice slower brewing times, a change in coffee taste, or visible mineral buildup, it’s definitely time for a cleaning, regardless of the last time you descaled it.
Troubleshooting and Advanced Cleaning Tips
What if the vinegar smell persists?
If, after multiple water rinse cycles, you still detect a faint vinegar odor, try running an additional cycle with a tablespoon of lemon juice or a pinch of baking soda dissolved in water. These can help neutralize any lingering acetic acid. Follow up with another plain water rinse.
What if coffee still tastes off?
If the taste of your coffee hasn’t improved after a thorough vinegar cleaning, it might indicate that some stubborn buildup remains, or perhaps the issue lies elsewhere. For particularly stubborn scale or for those who prefer an alternative, specialized commercial coffee maker cleaners (descalers) are available. These products are often formulated with stronger acids or sequestering agents specifically designed to tackle heavy mineral deposits.
We’ve found this highly-rated coffee maker cleaner on Amazon to be incredibly effective. It’s super easy to use, and the amount of gunk it pulls out of even a seemingly clean coffee maker can be astonishing, serving as a powerful supplement to regular vinegar cleaning or for when vinegar alone isn’t quite enough.
Beyond Descaling: Daily Habits for a Happier Coffee Maker
While deep cleaning is vital, adopting a few daily habits can significantly prolong the periods between intensive cleaning sessions:
- Empty and Rinse Daily: After each use, empty the coffee grounds and rinse the carafe and filter basket with warm water.
- Leave Reservoir Lid Open: Allow the water reservoir to air dry by leaving the lid open when the machine is not in use. This helps prevent mold and mildew growth.
- Use Filtered Water: If your tap water is particularly hard, consider using filtered water. This dramatically reduces the mineral content entering your machine, slowing down scale buildup.
- Wipe Down Exterior: A quick wipe of the exterior surfaces prevents spills and dust from accumulating and becoming harder to clean later.
