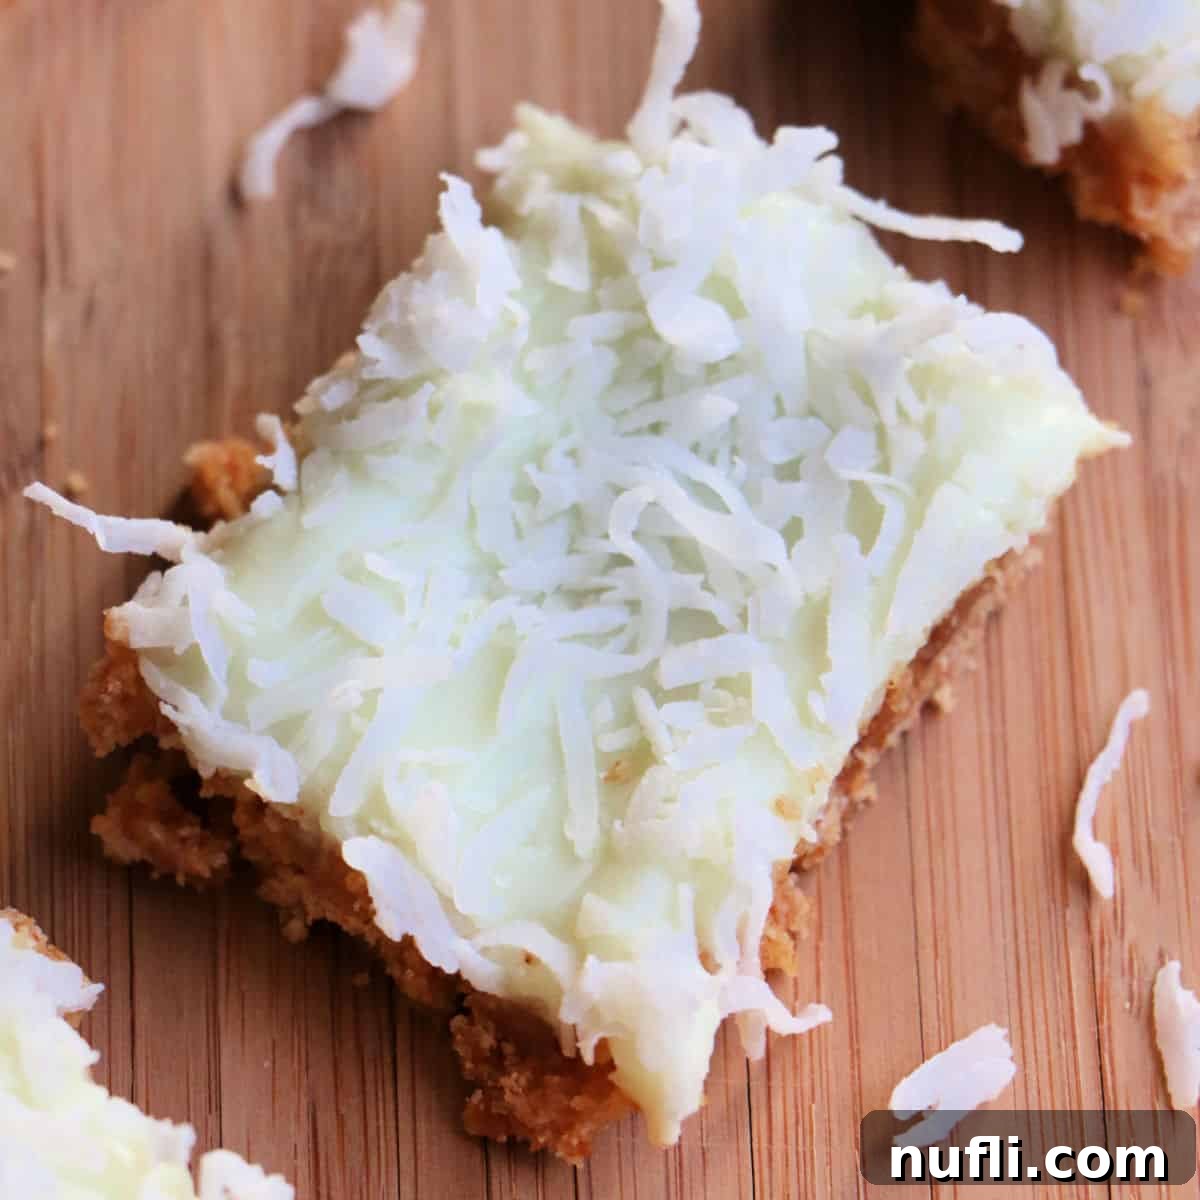
Welcome to the easiest and most irresistible Key Lime Bars recipe you’ll ever find! Forget complicated desserts; these delightful coconut lime bars are a breeze to whip up, promising a taste of tropical paradise with minimal effort. Imagine a perfectly balanced blend of tangy key lime, sweet coconut, and a buttery graham cracker crust – a slice of sunshine in every bite. Whether you’re a seasoned baker or just starting out, this recipe is designed for foolproof success, making it an ideal treat for any occasion, from casual family gatherings to elegant dessert spreads.
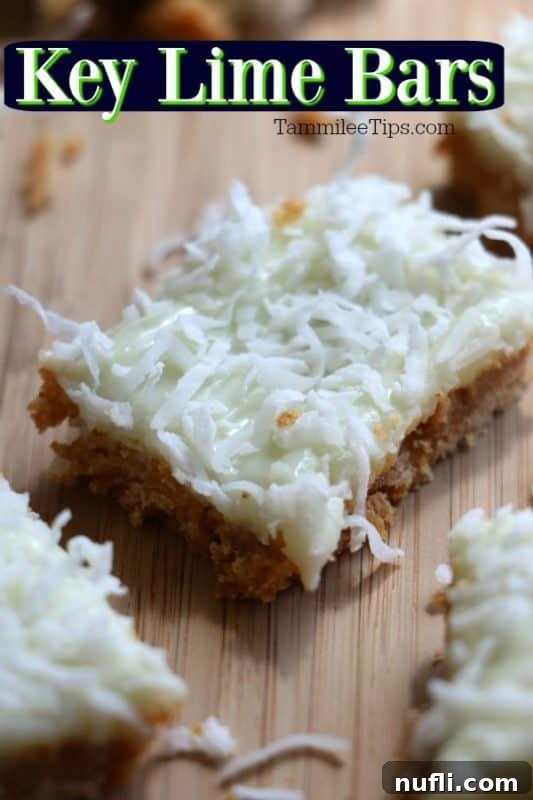
The Ultimate Easy Key Lime Bars Recipe
Have you ever stumbled upon a recipe on a package and known instantly that you had to try it? That’s exactly how I discovered these incredible Key Lime Bars. While browsing a can of Key Lime Pie filling in my pantry, a simple recipe caught my eye. With all the ingredients already on hand, I knew it was destined to be made that very day.
Keeping a well-stocked pantry is a game-changer, especially for those of us who love to travel. There’s nothing quite like returning home after a long trip and being able to whip up a delicious dinner or a special treat without an extra grocery run. These Key Lime Bars perfectly fit that bill. They are unbelievably simple to make, yet the flavor is profoundly satisfying. Each bite instantly transports me back to the sun-drenched shores of the Florida Keys, reminiscent of the best Key Lime Pie I’ve ever tasted there. It’s a delightful way to bring a little bit of that tropical vacation feeling home, even when we’re not soaking up the Florida sun.
Why These Key Lime Bars Will Be Your New Favorite Dessert
Beyond their incredible ease of preparation, these Key Lime Bars offer a multitude of reasons to fall in love. First, the vibrant citrus flavor of key lime is a refreshing change from heavier desserts, making it perfect for spring and summer gatherings, or simply whenever you crave something light and bright. The addition of coconut flakes adds a wonderfully chewy texture and an extra layer of tropical flavor that complements the lime beautifully.
The base is a classic graham cracker crust – crunchy, buttery, and the ideal foundation for the creamy, tangy filling. This combination creates a delightful contrast in textures and flavors that will tantalize your taste buds. Furthermore, they are excellent make-ahead desserts. A few hours of chilling time allows the flavors to meld and the bars to set perfectly, making them a stress-free option for entertaining. Just slice, serve, and watch them disappear!
Simple Ingredients for Exceptional Flavor
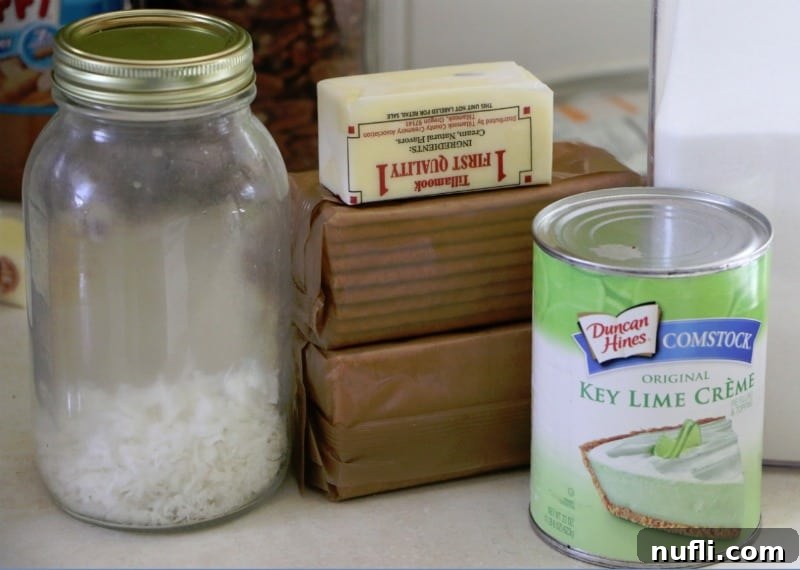
One of the best aspects of this recipe is its minimal ingredient list. You likely have most of these staples in your pantry already, proving that you don’t need exotic items to create something truly delicious.
- Graham cracker crumbs: The foundation of our delightful crust. You can buy them pre-crushed or crush your own graham crackers for a fresher taste.
- Sugar: Just enough to sweeten the crust and balance the tang of the lime.
- Butter: The magical ingredient that binds the crust together and adds richness.
- Key Lime Creme Pie Filling: The star of the show, providing that signature tangy and creamy lime flavor. This shortcut ingredient makes the recipe incredibly quick.
- Coconut flakes: Adds a tropical twist and a lovely texture to the finished bars.
Crafting Your Delicious Key Lime Bars: Step-by-Step Guide
Get ready for a straightforward baking experience that yields incredibly satisfying results. Follow these simple steps to create your own batch of homemade Key Lime Bars:
Instructions:
- Preheat Oven: Begin by pre-heating your oven to 350 degrees Fahrenheit (175 degrees Celsius). This ensures your oven is at the correct temperature for baking the crust evenly.
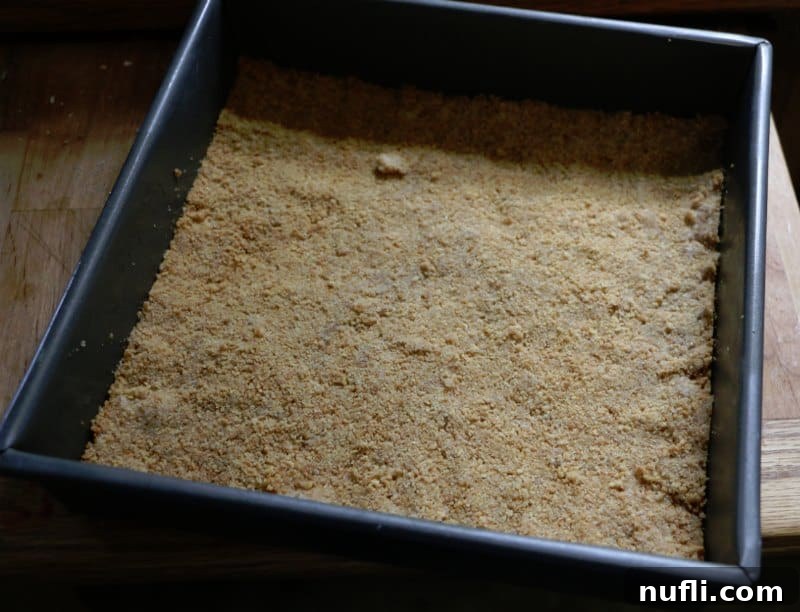
- Prepare the Crust Mixture: In a medium-sized mixing bowl, combine the graham cracker crumbs, sugar, and melted butter. Stir these ingredients together until they are thoroughly combined. The mixture should resemble wet sand and hold together when pressed.
- Bake the Crust: Press the graham cracker mixture evenly into the bottom of a 9×9 inch (23×23 cm) baking pan. Use the back of a spoon or your fingertips to create a compact and smooth layer. Bake the crust in the preheated oven for 10 minutes. This short bake time helps to set the crust and give it a golden hue.
- Cool the Crust: Once baked, remove the pan from the oven and allow the crust to cool completely. Cooling is crucial before adding the filling to prevent it from melting or separating.
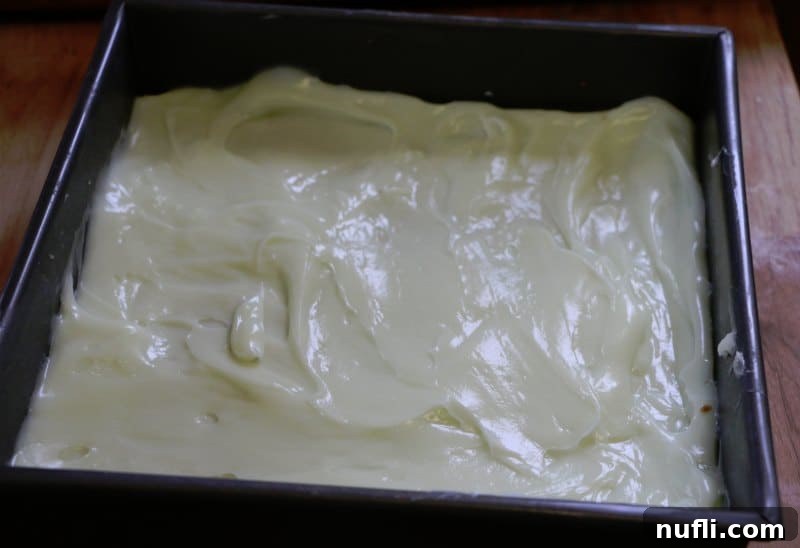
- Add the Key Lime Filling: Once the crust is cool, carefully spread the Key Lime Pie Filling over the top, ensuring an even layer across the entire crust.
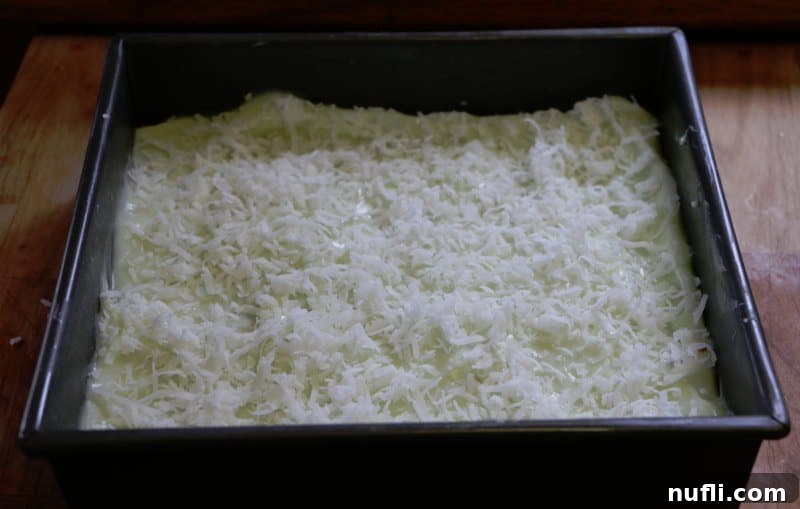
- Chill to Perfection: Place the baking dish into the refrigerator and chill for several hours, ideally 3-4 hours, or until the filling is firm and set. This step is essential for the bars to hold their shape when cut.
- Garnish and Serve: Just before serving, sprinkle generously with coconut flakes for an extra tropical touch and beautiful presentation.
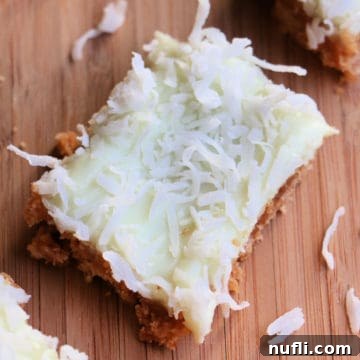
- Cut and Enjoy: Use a sharp knife to cut the chilled dessert into individual bars. Serve immediately and savor the incredible flavor!
Pro Tips for Perfect Key Lime Bars
- Chill Time is Key: Do not rush the refrigeration step. A properly chilled bar will be much easier to cut and will have the ideal firm, creamy texture.
- Even Crust: Ensure your graham cracker crust is pressed firmly and evenly into the pan. This prevents crumbling and provides a sturdy base.
- Sharp Knife: For clean cuts, use a sharp knife and wipe it clean between each slice, especially after the bars are fully chilled.
- Storage: Store any leftover Key Lime Bars in an airtight container in the refrigerator for up to 3-4 days. They taste even better the next day!
Variations to Explore
While these Key Lime Bars are perfect as is, you can always experiment with a few variations:
- Toasted Coconut: Lightly toast the coconut flakes in a dry pan over medium heat until golden brown for a deeper, nuttier flavor.
- Whipped Cream Topping: A dollop of fresh whipped cream and a lime zest garnish can elevate these bars for a more elegant presentation.
- White Chocolate Drizzle: A drizzle of melted white chocolate over the finished bars adds an extra layer of sweetness and visual appeal.
- Nutty Crust: Replace a portion of the graham cracker crumbs with finely chopped pecans or walnuts for a different crust texture and flavor.
Kitchen Essentials for Baking Success
Having the right tools can make all the difference in your baking adventures. For this recipe, a good 9×9 inch baking pan is essential. And speaking of kitchen safety, I can’t stress enough the importance of reliable heat-resistant potholders. A few years ago, we had a scary incident where a cloth potholder caught fire because we accidentally left a burner on. Thankfully, we noticed the smoke in time and managed to extinguish it ourselves. Since that day, we’ve exclusively used silicone, heat-resistant potholders to ensure maximum safety in our kitchen.
More Irresistible Dessert Bar Recipes
If you’ve enjoyed these Key Lime Bars, you might love exploring other delightful bar recipes. Dessert bars are fantastic for their portability, ease of serving, and delicious variety:
- Lemon Bars with Cake Mix
- Buckeye Bars
- Cherry Bars Recipe
- 5 Layer Bars
- Creme Brulee Cheesecake Bars
And for another take on key lime goodness, don’t miss our No-Bake Key Lime Pie.
Dive Deeper into Our Recipe Collection
Do you love discovering new recipes as much as we do? Be sure to check out our extensive collection:
- Explore our copycat recipes to recreate your restaurant favorites at home.
- Indulge your sweet tooth with our wide array of dessert recipes.
- Discover convenience and flavor with our easy CrockPot Recipes.
Stay Connected with Tammilee Tips!
Don’t miss out on any of our delicious recipe posts and culinary adventures. Follow Tammilee Tips on Facebook, Instagram, and Pinterest for daily inspiration and updates. Join our community of food lovers and share your own cooking triumphs!
Key Lime Bars
Easy Coconut Key Lime Bars that only take a few ingredients.
Print Recipe
Prep Time: 10 minutes
Cook Time: 10 minutes
Refrigeration: 3 hours
Total Time: 3 hours 20 minutes
Servings: 16
Calories: 236 kcal
Author: Tammilee Tips
Ingredients
- 1 ¾ cups graham cracker crumbs
- 4 Tablespoons White Sugar
- 1 stick Butter, melted
- 22 oz Key Lime Creme Pie Filling
- 1 cup Coconut Flakes
Instructions
- Pre-heat oven to 350 Degrees.
- In a medium bowl, stir graham cracker crumbs, sugar, and butter until well combined.
- Press mixture evenly into your 9×9 inch pan, bake for 10 minutes.
- Remove from oven and let cool.
- Spread Key Lime Pie Filling over the top of the crust and refrigerate for several hours.
- Sprinkle with coconut.
- Cut into bars and enjoy.
Kitchen Tools
- 9×9 Baking Pan
Nutrition
Nutrition Facts
Key Lime Bars
Amount Per Serving
Calories 236 (Calories from Fat 135)
% Daily Value*
- Fat 15g (23%)
- Saturated Fat 8g (50%)
- Cholesterol 94mg (31%)
- Sodium 151mg (7%)
- Potassium 34mg (1%)
- Carbohydrates 26g (9%)
- Fiber 1g (4%)
- Sugar 21g (23%)
- Protein 3g (6%)
- Vitamin A 182IU (4%)
- Vitamin C 5mg (6%)
- Calcium 10mg (1%)
- Iron 1mg (6%)
* Percent Daily Values are based on a 2000 calorie diet.
Love this recipe? Follow @TammileeTIps on Pinterest
Tried this recipe? Mention @TammileeTipsLife when you share a photo!
