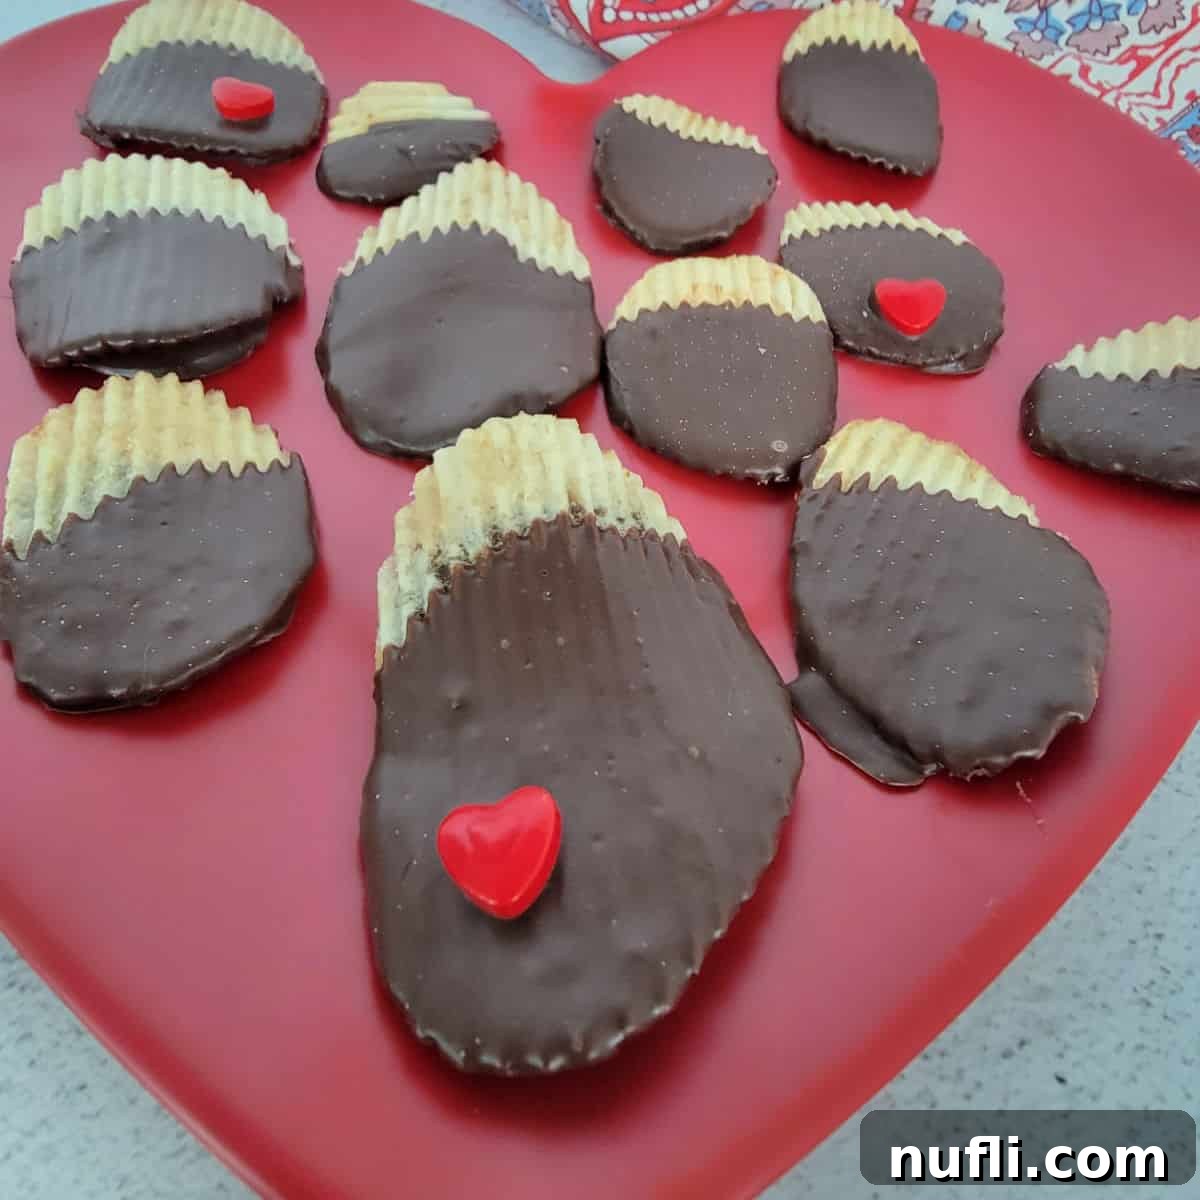
Indulge in the ultimate union of salty and sweet with these incredibly easy 2-ingredient Chocolate Covered Potato Chips. A deceptively simple treat, they offer an irresistible crunch enveloped in rich, decadent chocolate, making them a perfect snack, a delightful dessert, or a charming homemade gift. Forget complex recipes; this guide will show you how to create a gourmet-level confection with minimal effort and maximum flavor, transforming humble potato chips into an extraordinary culinary experience.
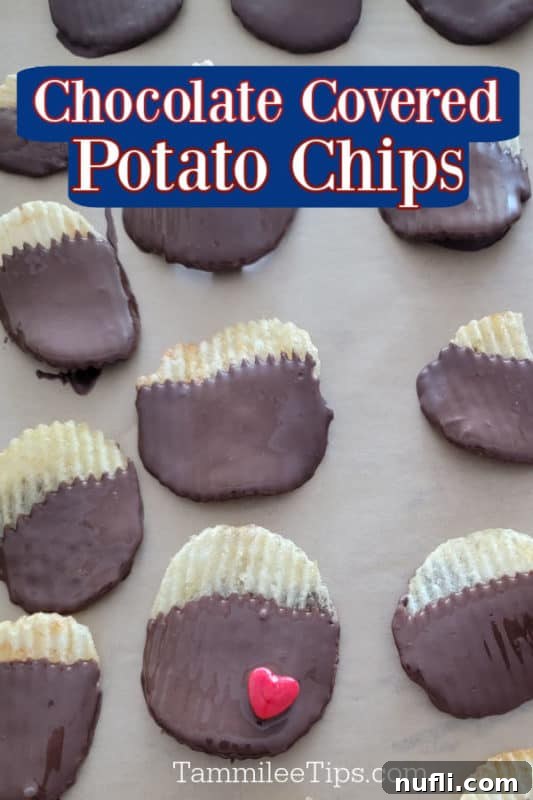
Crafting Irresistible Chocolate Covered Potato Chips
There’s a magical synergy that happens when the crispy, savory crunch of a potato chip meets the smooth, melting sweetness of chocolate. This seemingly unusual pairing creates an explosion of flavors and textures that is truly addictive. Our recipe for chocolate covered potato chips isn’t just easy; it’s a revelation for anyone seeking a quick, satisfying dessert or a unique snack idea that stands out from the crowd.
Making homemade food gifts is a passion, and these chocolate-dipped chips are among the most appreciated. They’re a fantastic way to share a little joy from your kitchen with friends and family, without spending hours on preparation. The delightful contrast of salty and sweet is always a crowd-pleaser, making these chips an epic snack for any occasion, from casual gatherings to elegant dessert spreads.
Why This 2-Ingredient Recipe is Your New Favorite Treat
In a world of complicated culinary endeavors, sometimes the simplest recipes yield the most spectacular results. Our chocolate covered potato chips embody this philosophy perfectly. With just two primary ingredients, you can whip up a batch of these delectable treats in mere minutes, making them ideal for last-minute cravings or spontaneous entertaining. This recipe is not only incredibly straightforward but also versatile, allowing you to customize flavors and textures to your heart’s content. Whether you’re a seasoned baker or a kitchen novice, you’ll find this recipe foolproof and immensely rewarding. It’s the kind of snack that everyone talks about and asks you to make again!
Essential Ingredients: Simplicity Meets Decadence
The beauty of this recipe lies in its minimalist ingredient list, proving that you don’t need a pantry full of exotic items to create something truly special. Quality ingredients, even in small numbers, make all the difference.
The Perfect Chocolate Base
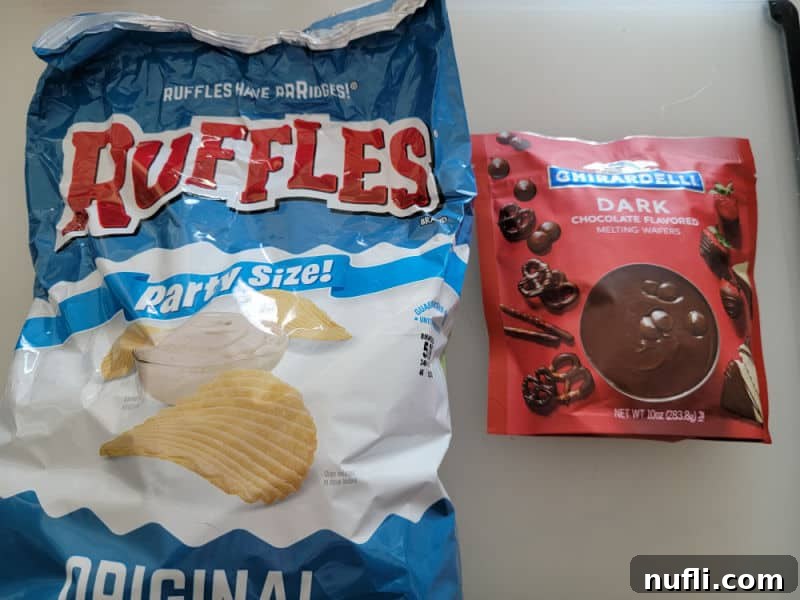
- Semi-Sweet Chocolate Chips or Chocolate Melting Wafers: The foundation of our delicious treat. We highly recommend using Ghirardelli chocolate melting wafers for their superior melting consistency and rich flavor. They melt smoothly without seizing, providing a beautiful, glossy coating. While semi-sweet is a classic choice, feel free to experiment with dark chocolate for a more intense flavor, creamy milk chocolate for a sweeter profile, or even white chocolate for a contrasting aesthetic and taste. The key is to choose a good quality chocolate that melts well.
Choosing Your Potato Chips for Optimal Crunch
- Potato Chips with Ridges: The other star of the show. You can use any of your favorite potato chips, but we’ve found that chips with ridges, like Ruffles, work exceptionally well. The ridges provide a fantastic texture and, more importantly, act as tiny reservoirs, capturing extra pockets of luscious melted chocolate with every dip. Kettle chips also offer a satisfying crunch and can hold up well to dipping, as do baked chips. The most important consideration is to avoid flavored chips; stick to classic salted varieties to let the chocolate flavor truly shine without any conflicting seasonings.
Elevate Your Treat: Delicious Optional Toppings
While these chocolate covered potato chips are divine on their own, a sprinkle of a well-chosen topping can elevate them to gourmet status and add an extra layer of flavor and visual appeal. This is where your creativity can truly shine!
- White Chocolate Drizzle: A simple yet elegant touch. After your main chocolate layer has set slightly, drizzle melted white chocolate over the chips for a beautiful marbled effect and an added touch of sweetness.
- Peanut Butter Drizzle: For the ultimate sweet and salty fan, a drizzle of melted peanut butter adds a nutty richness that pairs wonderfully with chocolate and chips.
- Caramel Drizzle: A swirl of warm, gooey caramel provides a luxurious, buttery note that makes these treats even more indulgent.
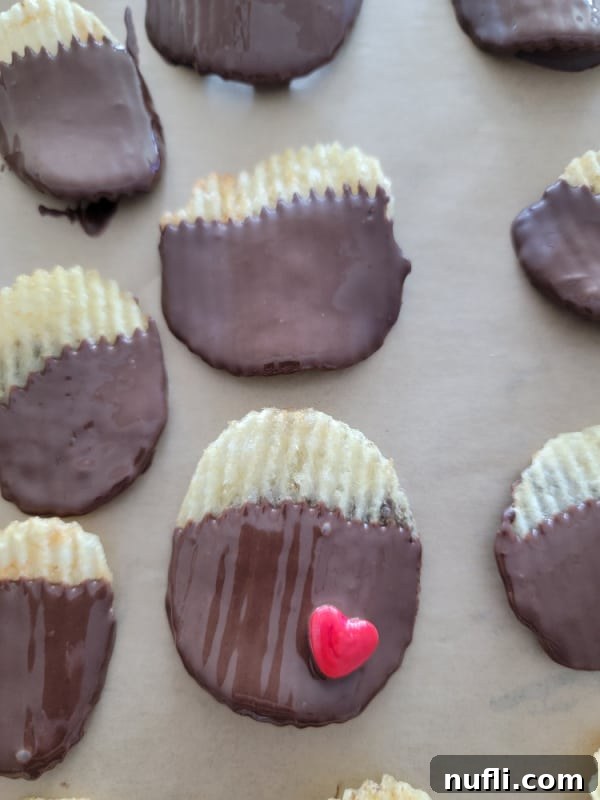
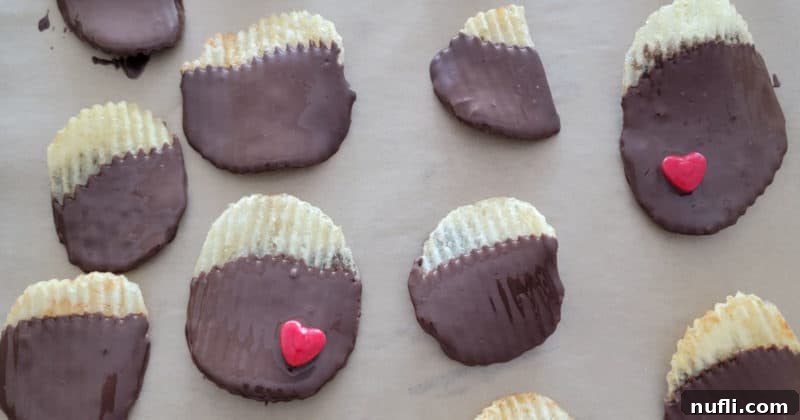
- Sprinkles: Perfect for celebrations or themed events. Colorful sprinkles add a festive pop and a playful texture, especially if you’re making these as a gift or for a party. We even added heart-shaped candies for a special touch when gifting!
- Toasted Coconut Flakes: For a tropical twist, sprinkle toasted coconut over the wet chocolate for a fragrant, chewy addition.
- Crushed Nuts: Chopped peanuts, pecans, or almonds add a satisfying crunch and a boost of nutty flavor.
- Chopped Dried Fruit: For a sophisticated touch, consider finely chopped dried cranberries or cherries, which offer a tart counterpoint to the sweet chocolate.
Remember, toppings should be added while the chocolate is still wet to ensure they adhere properly.
Essential Equipment for Dipping Success
Having the right tools makes the chocolate-dipping process smooth, efficient, and enjoyable. You won’t need anything fancy, just a few kitchen staples.
- Microwave-Safe Bowl: A sturdy glass bowl is ideal for melting chocolate. We especially love glass batter bowls with a handle, as they provide a secure grip and make stirring much easier, preventing accidental spills or burns. The handle also helps keep the bowl steady on your counter.
- Parchment Paper: An absolute game-changer for any chocolate dipping project. Lining your baking sheet with parchment paper ensures that the chocolate-covered chips won’t stick, making them incredibly easy to remove once cooled. Furthermore, it simplifies cleanup, saving you time and effort. If parchment paper isn’t available, a good non-stick cooking spray applied to your baking sheet is a must.
- Baking Sheet: Essential for setting your dipped chips. We’re big fans of baking sheets with raised sides, as they prevent chips from sliding off onto the floor when you transfer them or move the sheet, keeping your kitchen mess-free and your delicious treats safe.
How to Make Chocolate Covered Potato Chips: A Step-by-Step Guide
Creating these delightful treats is remarkably simple. Follow these steps for perfect results every time.
Step 1: Perfectly Melt Your Chocolate
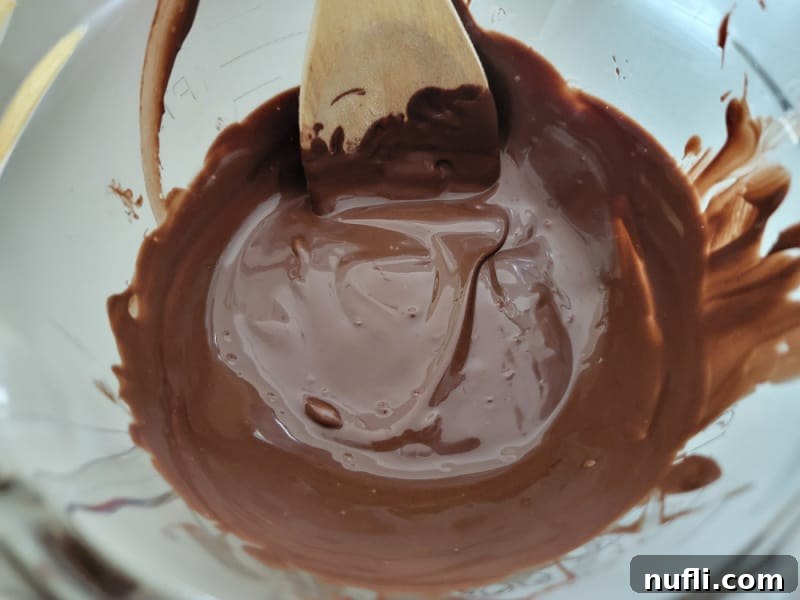
Achieving perfectly melted chocolate is crucial for a smooth, even coating. Place your chocolate chips or melting wafers in a microwave-safe bowl. Microwave on medium power in 30-second intervals. After each interval, remove the bowl and stir the chocolate thoroughly. Even if the chocolate doesn’t look fully melted, stirring helps distribute the heat and prevents burning. Continue this process until the chocolate is completely smooth and free of any lumps. It should be warm and fluid, but not excessively hot. Overheating chocolate can cause it to seize or burn, so gentle, incremental heating is key.
Step 2: The Art of Dipping
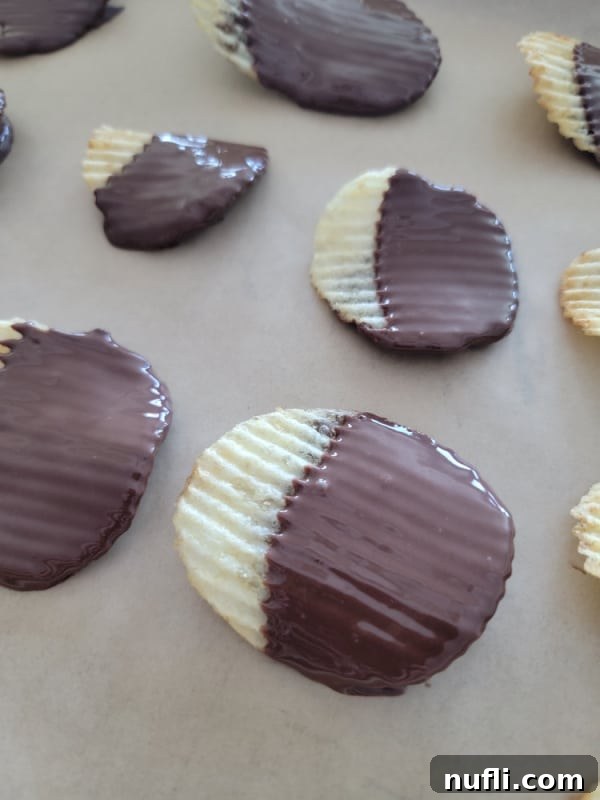
Once your chocolate is perfectly melted, it’s time for the fun part: dipping! Take one potato chip at a time and carefully dip one end (or the entire chip, if you prefer) into the warm melted chocolate. Gently lift the chip and allow any excess chocolate to drip back into the bowl. This prevents too thick a coating and ensures a clean, elegant finish. Place the dipped chips onto your parchment-lined baking sheet, leaving a small space between each chip to prevent them from sticking together. If adding optional toppings, sprinkle them on immediately while the chocolate is still wet.
Repeat the process with the remaining chips until all are coated. For faster setting, you can place the baking sheet in the refrigerator for 10-15 minutes, or simply allow them to cool at room temperature until the chocolate is firm and set.
Pro Tips for Flawless Chocolate Covered Potato Chips
Even though this recipe is incredibly simple, a few expert tips can elevate your chocolate covered potato chips from good to absolutely outstanding.
- Optimal Storage: For the best texture and freshness, store your chocolate-covered chips in an airtight container at room temperature once the chocolate has fully set. Avoid storing them in the refrigerator long-term, as the humidity can cause the chips to become soggy and lose their satisfying crispness. If you need the chocolate to set faster, a brief stint in the fridge (10-15 minutes) is fine, but transfer them to room temperature for longer storage.
- Enhance the Saltiness: If you crave an extra burst of salty flavor to balance the sweet chocolate, consider sprinkling a pinch of flaky sea salt over the wet chocolate immediately after dipping. This adds a beautiful gourmet touch and intensifies the salty-sweet experience.
- Flavor Variations Beyond Chips: This versatile technique isn’t limited to potato chips! You can easily adapt this recipe to create other delightful chocolate-covered treats. Chocolate covered pretzels are a classic choice, offering a different kind of salty crunch. You could also try dipping graham crackers, rice cakes, or even dried fruit for varied textures and flavors.
- Preventing Chocolate Seizing: When melting chocolate, it’s vital to avoid getting any water into it, as even a tiny drop can cause the chocolate to seize and become thick and grainy. Use dry utensils and bowls. If your chocolate does seize, sometimes adding a teaspoon of vegetable oil or shortening (not water!) can help bring it back to a workable consistency, but it may affect the final texture.
- Ensure Chips are Fresh: For the crispiest results, use fresh, unopened bags of potato chips. Stale chips will result in a less satisfying crunch.
- Work Quickly: Melted chocolate cools and thickens over time. Work at a steady pace to dip your chips while the chocolate is still warm and fluid. If it starts to thicken too much, a quick 10-15 second reheat in the microwave with a stir should bring it back to the right consistency.
Frequently Asked Questions (FAQs)
What kind of chocolate is best for melting?
High-quality chocolate melting wafers or good-quality chocolate chips (like Ghirardelli or Guittard) are ideal. They contain compounds that help them melt smoothly and consistently, creating a beautiful, glossy finish without requiring tempering. Standard chocolate bars can also be used, but may require a bit more careful melting to prevent seizing.
Can I use any type of potato chip?
While you can use any plain, unflavored potato chip, we highly recommend using chips with ridges (like Ruffles) or thicker kettle chips. These varieties provide a more substantial crunch and hold the chocolate better, making for a more satisfying bite. Avoid heavily flavored chips, as their seasonings will clash with the chocolate.
How long do chocolate covered potato chips last?
When stored properly in an airtight container at room temperature, chocolate covered potato chips can last for up to 1-2 weeks. Their freshness largely depends on the crispness of the chips and how well they are sealed from moisture.
Can I make these ahead for a party?
Absolutely! These are fantastic make-ahead treats. Prepare them a day or two in advance and store them in an airtight container at room temperature. This allows the chocolate to fully set and ensures they are perfectly crisp for your event.
More Irresistible Dessert Recipes You’ll Love
If you’re a fan of easy, delicious desserts, be sure to explore some of our other popular recipes:
- 2 Ingredient Oreo Bark
- White Chocolate Coconut Macadamia Nut Cookies
- Blueberry Cake
- Black Forest Cupcakes
- Chocolate Pretzel Bars
- Church Window Cookies
This recipe is also a highlight in our Road Trip Snacks Collection. Discover all our amazing dessert recipes, alongside our delightful copycat recipes and hearty Crock Pot Recipes.

Chocolate Covered Potato Chips
Easy 2-ingredient chocolate covered potato chips are the perfect salty-sweet snack.
Print Recipe
Ingredients
- 10 oz Chocolate Chips or chocolate melting wafers
- 4-5 Cups Ruffles Potato Chips
Instructions
- Melt chocolate in a microwave-safe bowl in 30-second intervals, stirring after every interval until fully melted.
- Carefully dip each potato chip in the melted chocolate, allowing the excess chocolate to run off the chip.
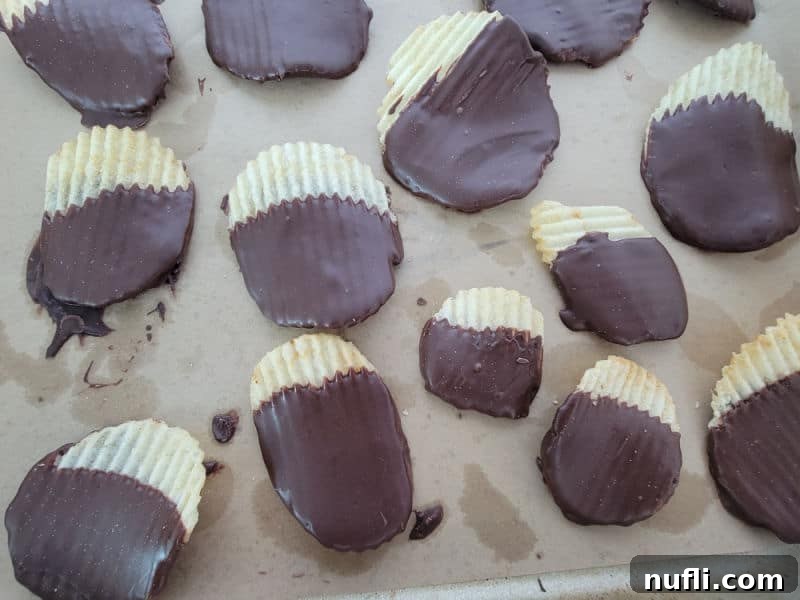
- Place on a parchment-lined baking sheet to cool and dry.
Kitchen Tools
- Parchment Paper
- Cookie Sheets
- Large Mixing Bowl
Nutrition Facts
Calories from Fat 45
Love this recipe? Follow @TammileeTIps on Pinterest!
Tried this recipe? Mention @TammileeTipsLife when you share a photo!
Connect with Us!
Stay updated with our latest recipes, tips, and culinary adventures by following Tammilee Tips on your favorite social media platforms. Join our community of food lovers and never miss out on delicious inspiration!
Follow Tammilee Tips on Facebook, Instagram, Pinterest, and Twitter for all our recipe posts and more!
