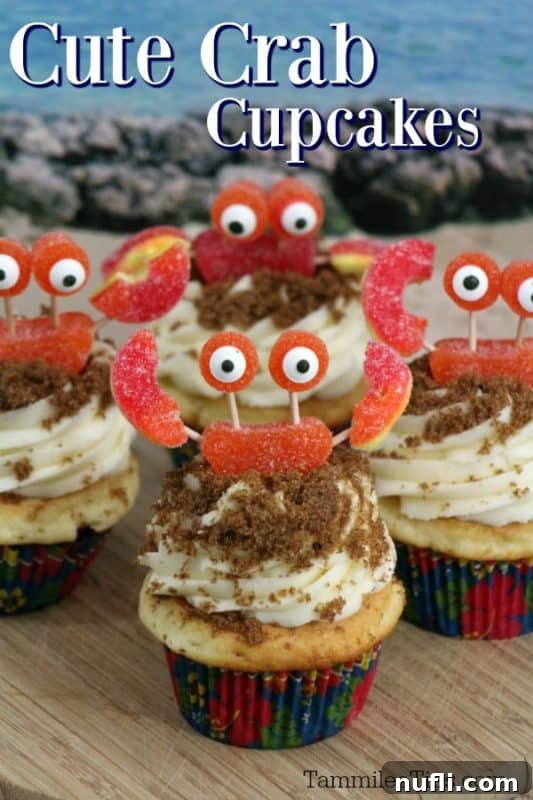
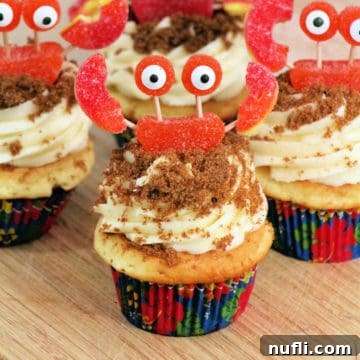
Get ready to dive into a world of whimsical baking as we continue our delightful Sea Creature Cupcake month! This time, we’re bringing the charm of the ocean straight to your kitchen with these absolutely adorable Crab Cupcakes. Perfect for anyone who loves marine life or simply enjoys a creative baking project, these treats are guaranteed to make a splash at any gathering.
For me, the ocean has always held a special place in my heart. You might not know this, but I actually dedicated years to studying Marine Biology in college. Imagine living in Hawaii, spending your days working with dolphins, and having classes that involved snorkeling through vibrant coral reefs, identifying exotic fish. It was certainly a challenging “student life,” but someone had to endure the daily excursions to the beach! Those years ignited a deep appreciation for the underwater world and its incredible inhabitants, shaping much of my perspective and even inspiring my culinary creativity.
There’s an undeniable magic about the beach, isn’t there? The rhythmic ebb and flow of the waves, the gentle sea breeze, and the captivating wildlife create an atmosphere of unparalleled tranquility. I often find myself dreaming of a vacation solely dedicated to lounging by the shore, watching the world drift by. Or perhaps another Alaska Cruise, offering breathtaking opportunities to spot majestic seals, playful otters, and awe-inspiring whales. Regardless of the destination, quality time spent near or on the water remains a top priority for me, and that love for the ocean clearly influences the fun, themed recipes I share, like these charming crab-themed delights.

Crafting these seriously cute Crab Cupcakes is simpler than you might think, and the result is an utterly delightful treat that’s perfect for a variety of occasions. Imagine these vibrant, ocean-inspired desserts gracing the table at an “Under the Sea” ocean birthday party, adding a whimsical touch to a baby shower, or completing the theme for a Moana or Little Mermaid celebration. They’re not just cupcakes; they’re tiny edible works of art that transport your guests straight to the beach! Let’s get started on baking and decorating these charming crustacean confections.
Dive into Deliciousness: Crafting Your Crab Cupcakes
Creating memorable themed treats begins with a perfect base. Our delightful crab cupcakes start with a classic, moist vanilla cupcake recipe, ensuring a tender crumb and a flavor that everyone will love. Followed by a rich, creamy frosting that provides the perfect canvas for our sandy shores, and finally, the whimsical candy crabs that bring these treats to life. Get ready to embark on a fun baking adventure!

Crab Cupcakes: An Ocean-Inspired Treat
These adorable Crab Cupcakes are perfect for any beach-themed party or ocean lover. They combine a light vanilla cupcake with a rich buttercream frosting and whimsical candy decorations.
Print Recipe
Ingredients
For the Cupcakes:
- ½ C Unsalted Butter (room temperature)
- 2 Egg Whites
- 2 Whole Eggs
- 2 C All-Purpose Flour
- 1 teaspoon Baking Powder
- ½ teaspoon Salt
- ¼ teaspoon Baking Soda
- ¾ C Buttermilk
- 1 ½ C Granulated Sugar
- 1 teaspoon Vanilla Extract
For the Frosting:
- 1 C Soft Unsalted Butter
- 4+ C Powdered Sugar
- 4 Tablespoon Heavy Whipping Cream
- ½ C Brown Sugar (for “sand”)
For the Crab Decorations:
- 1 package of Candy Eyes
- 1 bag of Orange Slices (gummy candy)
- 1 bag of Peach Rings
- 1 bag of Gum Drops
- 1 box of Toothpicks
Instructions
For the Cupcakes:
- Begin by preheating your oven to 350 degrees Fahrenheit (175°C). Prepare your cupcake tins by lining them with paper liners; this ensures easy removal and clean up.
- In a medium bowl, sift together the all-purpose flour, baking powder, salt, and baking soda. Sifting helps to aerate the dry ingredients and prevent lumps, leading to a smoother batter.
- In a separate, larger bowl, beat the room temperature unsalted butter on high speed for about 30 seconds until it’s lightened and creamy. This initial beating is crucial for incorporating air.
- Gradually add the granulated sugar and vanilla extract to the creamed butter, continuing to beat on high speed until the mixture is well combined, light, and fluffy. Scrape down the sides of the bowl as needed.
- Incorporate the egg whites first, beating well after each addition. Then, add the whole eggs one at a time, ensuring each egg is fully integrated into the batter before adding the next. This creates a smooth emulsion.
- Now, alternate adding the dry flour mixture and the buttermilk to the butter mixture. Begin and end with the flour mixture. Add approximately one-third of the flour mixture, mix on low speed until just combined, then add one-third of the buttermilk, mixing gently. Repeat this process two more times until all ingredients are just blended. Be careful not to overmix, as this can result in tough cupcakes.
- Fill your prepared cupcake liners about two-thirds full with batter. Bake in the preheated oven for 20-25 minutes, or until a toothpick inserted into the center of a cupcake comes out clean.
- Allow the cupcakes to cool in the cupcake tin for about 10 minutes before carefully transferring them to a wire rack to cool completely. Ensuring they are fully cooled before frosting is essential to prevent the frosting from melting.
For the Frosting:
- In a large mixing bowl, cream together the soft unsalted butter and the powdered sugar. Start on low speed to avoid a sugar cloud, then increase to high speed, beating until the mixture is light, fluffy, and creamy.
- If the frosting seems too thick or crumbly, add the heavy whipping cream a few drops at a time until you achieve a smooth, spreadable consistency. You want the frosting to be firm enough to hold its shape.
- Test the frosting by lifting the beater; it should form and hold a stiff peak. If it’s too soft, gradually add more powdered sugar, ½ cup at a time, beating after each addition until the desired consistency is reached.
- Scoop the white frosting into a pastry bag fitted with a large frosting tip (a round or star tip works well for a classic swirl). Twist the open end of the pastry bag to push the frosting towards the tip, ensuring an even flow.
- Frost each cooled cupcake by starting at the outer edge and piping in a circular motion, working your way towards the center to create a beautiful, mounded top.
- To create the “sandy” effect, lightly sprinkle brown sugar over the frosted top of each cupcake. This adds a delightful texture and completes the beach theme.
For the Crab Decorations:
- First, take your peach rings and cut each one in half. These will form the crab’s claws.
- Next, using a tiny dab of frosting as “glue” (or water if preferred), attach the candy eyes to the top of an orange gum drop. These will be the crab’s eyes on stalks.
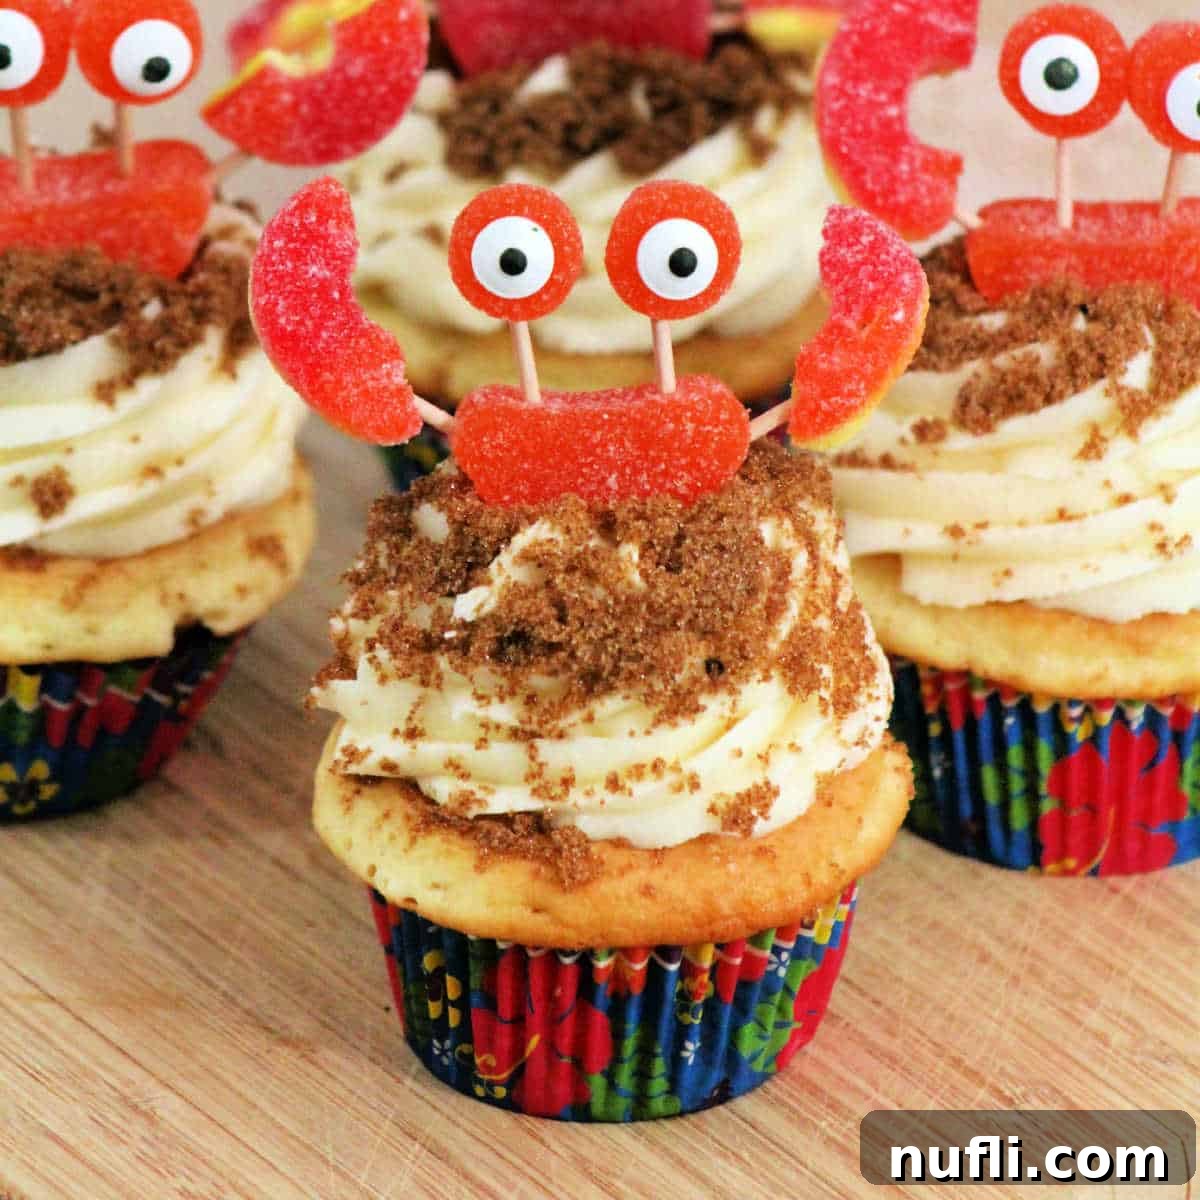
- Gently place an orange slice gummy in the center of the “sand”-covered frosted cupcake. This delicious gummy will serve as the crab’s main body.
- To attach the eyes, break a toothpick in half. Stick one end of a toothpick half into the base of the gumdrop eye, and the other end into the top-side of the orange slice crab body. Repeat for the second eye.
- For the claws, take another toothpick, cut in half. Insert one end of a toothpick half into the side/top of the crab’s body, and then stick the other end into the cut edge of a peach ring half, ensuring the curved part of the peach ring points upwards, resembling a crab claw. Repeat on the opposite side with the remaining peach ring half to complete your adorable crab.
As a quick but important safety note from my own experience: I highly recommend using heat-resistant silicone potholders in your kitchen. A couple of years ago, we had a scary incident where we unknowingly left a cloth potholder on a burner that had been accidentally turned on. Thankfully, we walked into the kitchen just in time to see smoke and were able to quickly extinguish the small fire. Since then, we’ve exclusively switched to silicone options for peace of mind and enhanced safety.
If you’re as passionate about discovering new and delicious recipes as I am, you’re in the right place! Be sure to explore our extensive collection of culinary delights. Dive into our copycat recipes to recreate your restaurant favorites at home, indulge your sweet tooth with our decadent dessert recipes, or simplify your meal prep with our convenient Crock-Pot Recipes. There’s something for every palate and occasion!
Stay connected with Tammilee Tips for all our latest recipe posts and exciting updates! You can follow us on MSN, Facebook, Instagram, and Pinterest. We love sharing our culinary adventures and connecting with fellow food enthusiasts!
