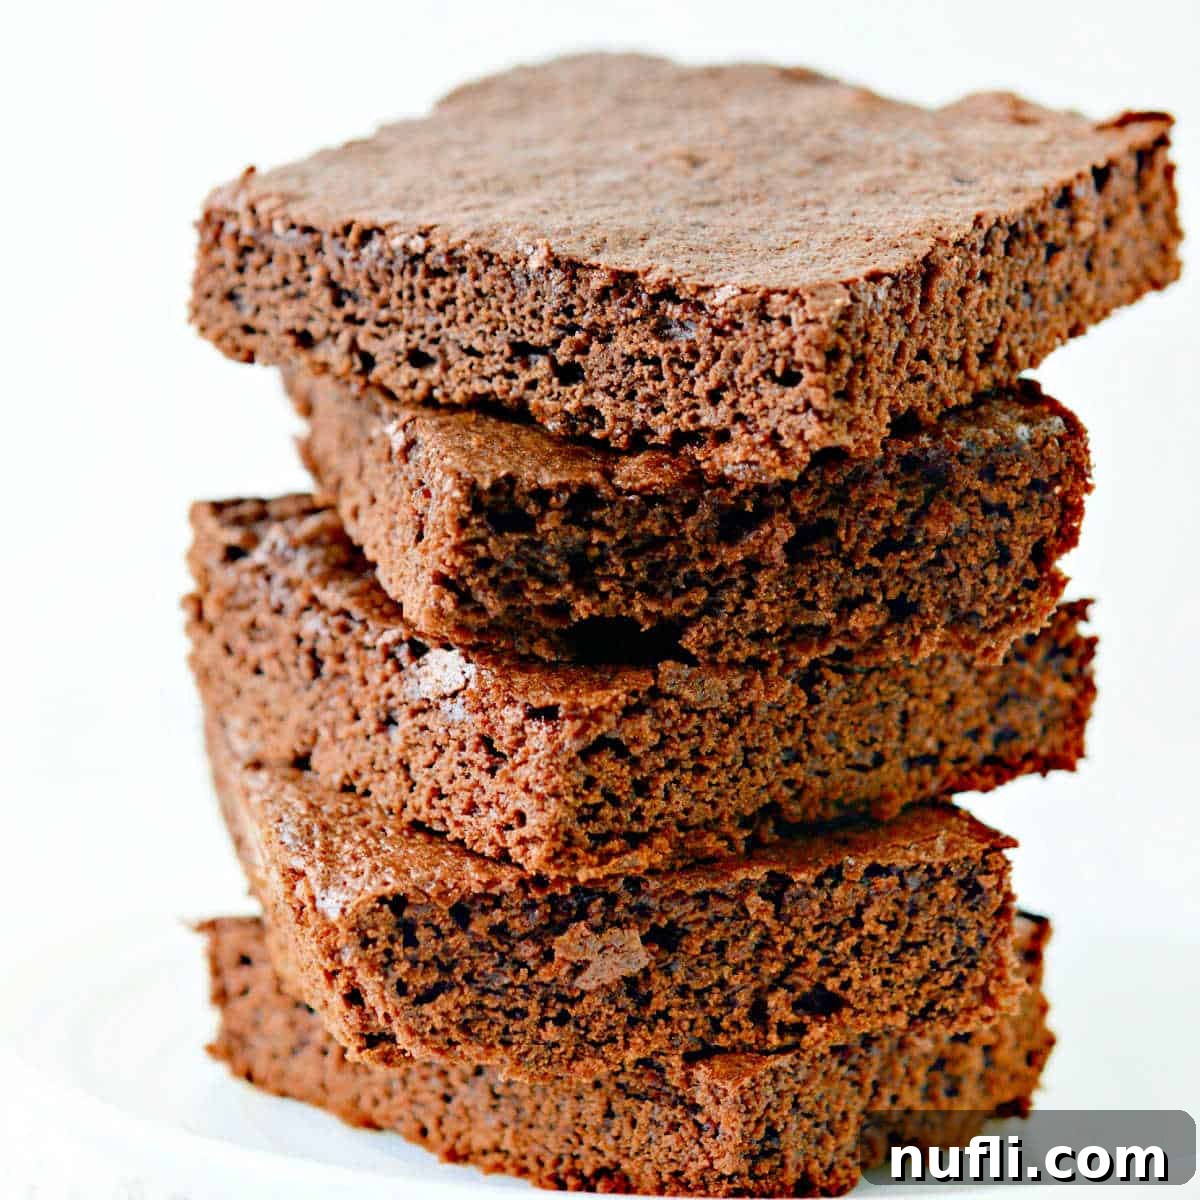
There’s an undeniable magic in a warm, freshly baked brownie. That first bite, with its rich chocolate flavor and fudgy, chewy texture, can truly brighten any day. Forget the boxed mixes for a moment – while convenient, nothing quite compares to the deep satisfaction and superior taste of classic chocolate brownies made entirely from scratch. This recipe is designed to deliver that pure, unadulterated chocolate goodness, creating a dessert that’s both comforting and incredibly decadent.
Imagine a generous square of homemade brownie, still warm from the oven, perhaps topped with a scoop of creamy vanilla bean ice cream that slowly melts into a luscious pool. It’s a simple pleasure that evokes happy memories and creates new ones. Whether you’re a seasoned baker or just starting your culinary journey, this recipe promises a delightful experience and a truly unforgettable treat.
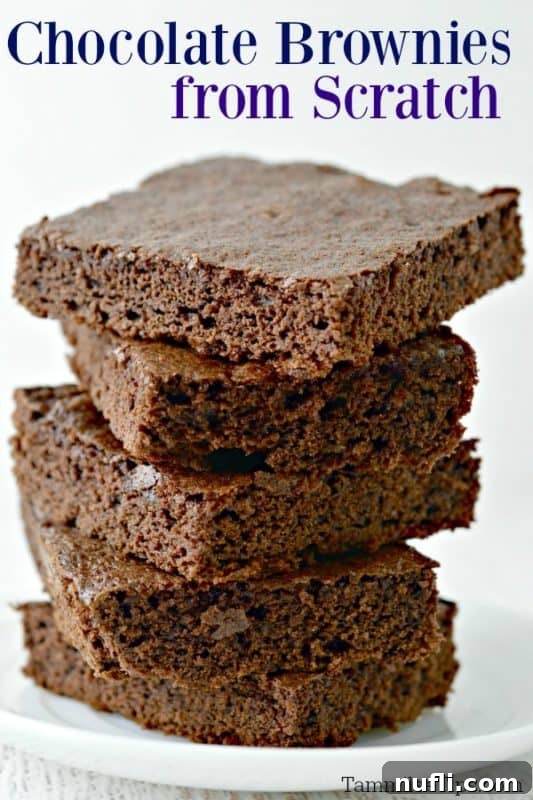
The Ultimate Classic Chocolate Brownies from Scratch Recipe
These aren’t just brownies; they are a celebration of chocolate. Crafted with simple, wholesome ingredients, this recipe yields a batch of brownies that are intensely chocolatey, perfectly moist, and wonderfully fudgy. They strike that perfect balance, offering a delightful chewiness around the edges and a melt-in-your-mouth center.
When it comes to brownies, everyone has a preference. Are you team “centerpiece” – a soft, gooey slice from the middle? Or do you gravitate towards the “crusty edge piece,” savoring that delightful crackle and chew? Personally, I’m all about those crispy, chewy edges! A few years ago, my husband gifted me a special brownie pan designed to create edge pieces for every single serving, and I must confess, it was a game-changer. This recipe ensures a fantastic texture no matter where you slice your brownie.
While boxed brownie mixes certainly have their place for quick treats, there’s a unique joy and superior flavor profile that comes from baking brownies from scratch. You control the quality of ingredients, the depth of chocolate, and the final texture, resulting in a truly personalized and superior dessert. This guide will walk you through creating the best homemade brownies, a treat so good you might just shed a happy tear!
Essential Ingredients for Perfect Homemade Brownies
Creating truly epic classic chocolate brownies starts with a few simple, high-quality ingredients. Each component plays a crucial role in achieving that rich flavor and ideal fudgy texture. Below is an overview; specific measurements and detailed instructions can be found in the recipe card at the end of this post.
Key Ingredients:
- Softened Butter: Provides richness and helps achieve a delicate crumb structure. Softened butter creams beautifully with sugar, incorporating air for a lighter, yet still fudgy, brownie.
- Unsweetened Cocoa Powder: The heart of your chocolate flavor. Using unsweetened cocoa allows you to control the sweetness and ensures a deep, intense chocolate taste.
- Vegetable Oil: Contributes to the moistness and fudgy texture. The liquid fat helps keep the brownies tender long after they’ve cooled.
- Granulated Sugar: Sweetens the brownies and contributes to the crackly top crust we all love.
- Eggs: Act as a binding agent, provide structure, and add to the richness and moistness of the brownies. They are key to that signature fudgy consistency.
- Vanilla Extract: A crucial flavor enhancer. Vanilla complements and deepens the chocolate notes, making them even more prominent.
- All-Purpose Flour: Provides the necessary structure for the brownies. Be careful not to overmix, as this can lead to tough brownies.
- Baking Powder: A leavening agent that gives the brownies a slight lift, preventing them from being too dense, while still maintaining their fudgy character.
- Salt: Balances the sweetness and enhances all the flavors, especially the chocolate. Don’t skip it!
Optional Toppings to Elevate Your Brownies:
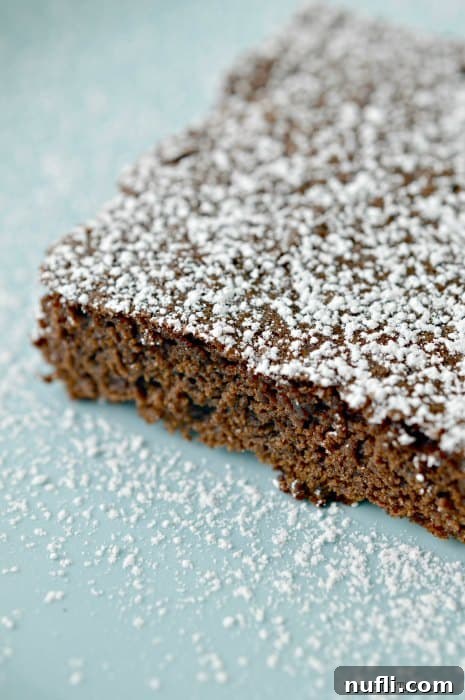
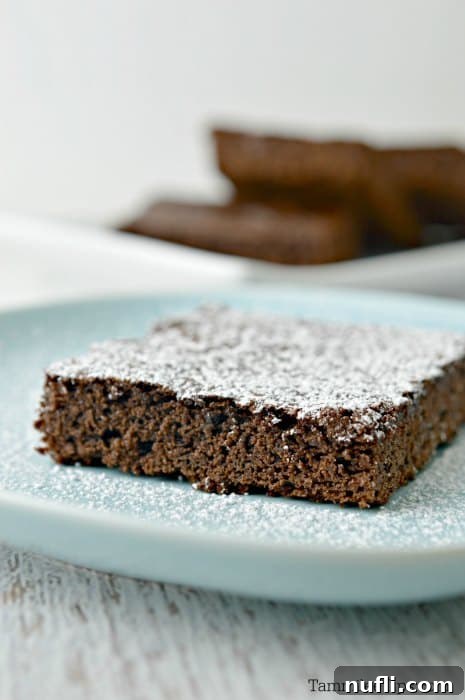
While these classic brownies are magnificent on their own, a touch of topping can take them to the next level. Consider dusting with powdered sugar for an elegant finish, or stirring in milk chocolate chips, dark chocolate chunks, walnuts, or pecans for added texture and flavor. A simple glaze made from powdered sugar and milk, or a drizzle of chocolate syrup or caramel, can add extra indulgence. Butterscotch chips offer a delightful contrast, adding a sweet, creamy note.
Recommended Equipment for Easy Baking
Having the right tools can make all the difference in your baking experience. Here’s what you’ll need for these classic brownies, along with a few tips:
- Hand Mixer or Electric Mixer: Essential for creaming the butter and sugar thoroughly, ensuring a smooth batter. A sturdy wooden spoon can also work if you’re up for a little arm workout!
- 8×8 Baking Pan: The ideal size for this recipe, yielding perfectly thick and fudgy brownies. Ensure it’s greased well for easy removal.
- Parchment Paper: I’m a huge advocate for lining your baking pan with parchment paper, leaving an overhang on the sides. This creates “handles” that make lifting the cooled brownies out of the pan incredibly easy, simplifying cleanup and serving.
- Heat-Resistant Potholders: Safety first! Using high-quality, heat-resistant potholders is essential when handling hot baking pans. A word of caution: always ensure your kitchen cloths are away from hot burners to prevent accidents.
Preparation and Storage Tips for Brownies
Planning ahead and knowing how to properly store your homemade brownies can extend their deliciousness and ensure you always have a treat on hand.
Make Ahead:
If you’re looking to get a head start, you can prepare the brownie batter in advance. For best results, refrigerate any unbaked batter in an airtight container for up to 24 hours before baking. Remember that brownie batter contains eggs, so it should never be left at room temperature for more than two hours to ensure food safety.
Storage:
Once baked and cooled, brownies without perishable toppings (like cream cheese frosting) can be stored at room temperature in an airtight container for three to four days. If you prefer, or if your brownies have perishable additions, they will last up to five days in the refrigerator. Always ensure they are in an airtight container to prevent them from drying out and absorbing other odors.
Freezing/How to Freeze:
Brownies freeze beautifully, making them perfect for meal prep or unexpected cravings. To freeze individual brownies, wrap each piece tightly in a layer of plastic wrap, followed by aluminum foil. Transfer the wrapped brownies to a large, freezer-safe Ziploc bag. Alternatively, you can wrap the entire cooled block of brownies (still in its pan, or removed) with plastic wrap and then foil. For optimal freshness and to prevent freezer burn, enjoy your frozen brownies within three months.
How to Reheat:
When you’re ready to enjoy a warm brownie, you have a couple of options. For a single serving, a quick zap in the microwave for 10-20 seconds will bring it back to a delightful warmth and gooeyness. For multiple brownies, you can gently reheat them in an oven preheated to 275°F (135°C) for about 5-10 minutes, or until warmed through.
Recipe Variations and Tips for the Best Classic Chocolate Brownies
This classic brownie recipe is incredibly versatile. Don’t be afraid to experiment with variations to customize your treat!
Substitutions:
- Brown Sugar for White Sugar: For a slightly chewier brownie with a subtle caramel undertone, you can replace the granulated white sugar with an equal amount of brown sugar. The molasses in brown sugar also contributes to a richer color.
- Butter Variations: While softened butter is specified, you can try using melted butter for a chewier, denser brownie, though it might affect the crackly top.
Dietary Adaptations:
- Vegetarian Option: This recipe is naturally 100% vegetarian, making it a delicious choice for everyone.
- Vegan Option: To make these brownies vegan, simply substitute the butter with a plant-based butter alternative and use an egg replacer (such as flax eggs or a commercial vegan egg substitute) for the eggs.
- Gluten-Free: For a gluten-free version, swap the all-purpose flour with your favorite gluten-free all-purpose flour blend. Ensure your blend contains xanthan gum, or add it separately, for proper structure.
- Sugar-Free: The original recipe contains 13 grams of sugar per serving. To make them sugar-free, replace the white sugar with a high-quality sugar-free sweetener suitable for baking.
Flavor Boosts and Add-ins:
- Spicy Mexican Chocolate Brownies: For an intriguing sweet-and-spicy kick, add a few dashes of ground cayenne pepper and cinnamon powder to the batter. The chili subtly enhances the chocolate flavor.
- Coffee Enhancement: A teaspoon of instant espresso powder (not brewed coffee) can dramatically deepen the chocolate flavor without making the brownies taste like coffee.
- Citrus Zest: A touch of orange zest can brighten the chocolate and add a wonderful aromatic note.
- Nuts: Walnuts or pecans can be folded into the batter for added crunch and earthy flavor.
- Chocolate Chunks/Chips: Stir in milk, dark, or white chocolate chips, or even chopped chocolate bars, for extra pockets of melted chocolate throughout the brownies.
- Other Candy Additions: Consider folding in chopped caramels, M&M’s, or other favorite candies for a fun twist.
Batch Size Adjustments:
This recipe yields 16 generous servings and is easily scalable. For a larger crowd, simply double the ingredients and bake in a larger pan (e.g., a 9×13-inch pan), adjusting baking time as needed. For fewer servings, you can halve the recipe and bake in a smaller pan, or freeze the leftover batter/brownies.
Recipe Perfection Tips:
- Do Not Overbake: The key to fudgy brownies is to take them out of the oven when a toothpick inserted into the center comes out with moist crumbs, not completely clean. The brownies will continue to set as they cool.
- Cool Completely: Resist the urge to cut into warm brownies! Allowing them to cool completely results in cleaner cuts and a more stable, fudgy texture.
- Plastic Knife Trick: We’ve found that cutting fudgy brownies with a plastic knife often yields the cleanest, non-sticky slices.
- Grease and Flour (or Parchment): Always properly prepare your baking pan. Greasing and lightly flouring (or using cocoa powder for chocolate recipes) or lining with parchment paper ensures easy removal.
Serving Suggestions for Decadent Brownies
In our home, there’s never a wrong time for a brownie that oozes chocolatey delight in every bite. They are an easy dessert to make for a large group or a cozy treat for yourself. Here are some pairing suggestions to inspire your menu planning:
Perfect Dessert Pairings:
Enhance the brownie experience with these complementary desserts and toppings:
- Ice Cream: Classic vanilla bean, coffee, mint chocolate chip, or even a rich chocolate ice cream are heavenly companions.
- Whipped Cream: A dollop of fresh whipped cream adds a light, airy contrast.
- Sauces: Drizzle with warm caramel sauce, chocolate syrup, raspberry coulis, or a decadent butterscotch sauce.
- Berry Compote: Fresh berries or a lightly sweetened berry compote cut through the richness beautifully.
- Other Desserts: Consider serving alongside a slice of Ooey-Gooey Butter Cake for a textural contrast, or with Best Rice Krispie Treats for a nostalgic twist.
Refreshing Drinks to Accompany Brownies:
A delicious beverage can perfectly round out your brownie indulgence:
- Coke Slushie: A fun, fizzy, and refreshing choice.
- Red Robin Freckled Lemonade: The tartness of lemonade balances the sweetness of the brownie.
- Copycat McDonald’s Sweet Tea: A classic Southern sweet tea offers a soothing contrast.
- Milk: A tall, cold glass of milk is always a perfect pairing with brownies.
- Coffee or Espresso: The bitterness of coffee can highlight the chocolate notes in the brownies beautifully.
When to Serve These Delicious Brownies
These classic chocolate brownies are incredibly versatile and perfect for almost any occasion:
- Dessert: The obvious choice, whether for a weeknight treat or a special meal.
- Snack Time: A perfect pick-me-up any time of day.
- Potlucks & Gatherings: Always a crowd-pleaser and easy to transport.
- Cookouts & BBQs: A delightful sweet ending to a savory meal.
- Holidays: Especially beloved during Christmas or other festive seasons.
- Comfort Food: For those days when you just need a hug in dessert form.
- Celebrations: Birthdays, anniversaries, or any occasion that calls for a sweet treat.
More Delicious Recipe Collections to Explore
If you loved this brownie recipe, be sure to check out these other fantastic collections:
- Easy Dessert Recipes with 5 Ingredients (Or Less!)
- Recipes That Use Sweetened Condensed Milk
- Easy Lemon Desserts That Taste Amazing!
Do you love discovering new recipes? Explore our popular copycat recipes, delightful dessert recipes, and convenient CrockPot Recipes.
For all our latest recipes and culinary inspiration, follow Tammilee Tips on Facebook, Instagram, and Pinterest.
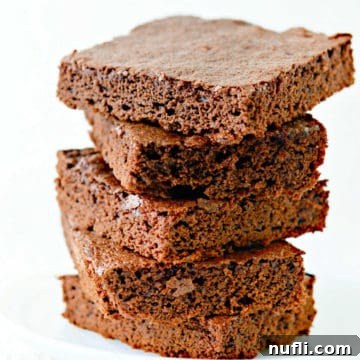
Classic Scratch Made Chocolate Brownie Recipe
How to make delicious Classic Chocolate Brownies from Scratch
Print Recipe
Prep Time: 10 minutes
Cook Time: 15 minutes
Total Time: 25 minutes
Servings: 16
Calories: 131 kcal
Author: Tammilee Tips
Ingredients
- ⅓ Cup Butter, softened
- ⅓ Cup unsweetened cocoa powder
- 2 Tablespoons Vegetable Oil
- 1 Cup White Sugar
- 2 Eggs
- 1 Teaspoon Vanilla Extract
- ¾ Cup All Purpose Flour
- ½ Teaspoon Baking Powder
- ¼ Teaspoon Salt
Instructions
- In a large bowl, cream together the softened butter and the white sugar until light and fluffy. Add in the cocoa powder, vanilla extract, vegetable oil, and eggs, mixing well until thoroughly combined.
- Gradually stir in the all-purpose flour, baking powder, and salt. Mix gently until just combined and no lumps of dry ingredients remain. Be careful not to overmix the batter.
- Spread the brownie batter evenly into a greased and floured (or parchment-lined) 8×8 baking dish.
- Bake at 375 degrees Fahrenheit (190°C) for 15 to 20 minutes, or until a toothpick inserted into the center of the brownies comes out with moist crumbs attached, but not wet batter.
- Allow the brownies to cool completely in the pan on a wire rack before cutting into squares.
- Optional toppings: Serve plain, or top with powdered sugar, chocolate chips, a powdered sugar + milk glaze, chocolate syrup, caramel, or butterscotch chips.
Kitchen Tools
- Hand Mixer
- 8×8 Pan
- Parchment Paper
Nutrition
Calories from Fat 54
Love this recipe? Follow @TammileeTIps on Pinterest
Tried this recipe? Mention @TammileeTipsLife when you share a photo!
Recipe originally shared on May 8, 2015. Updated December 2020.
