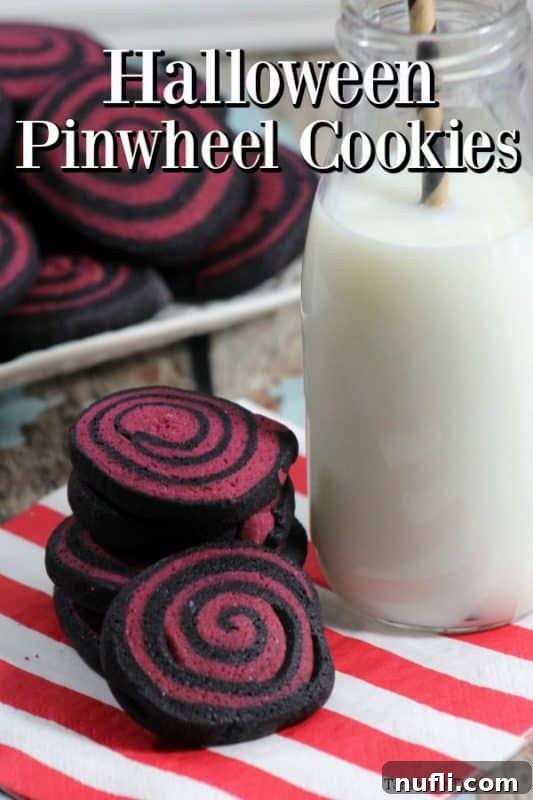
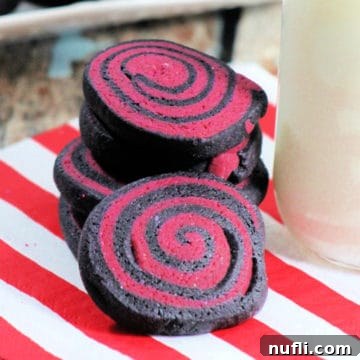
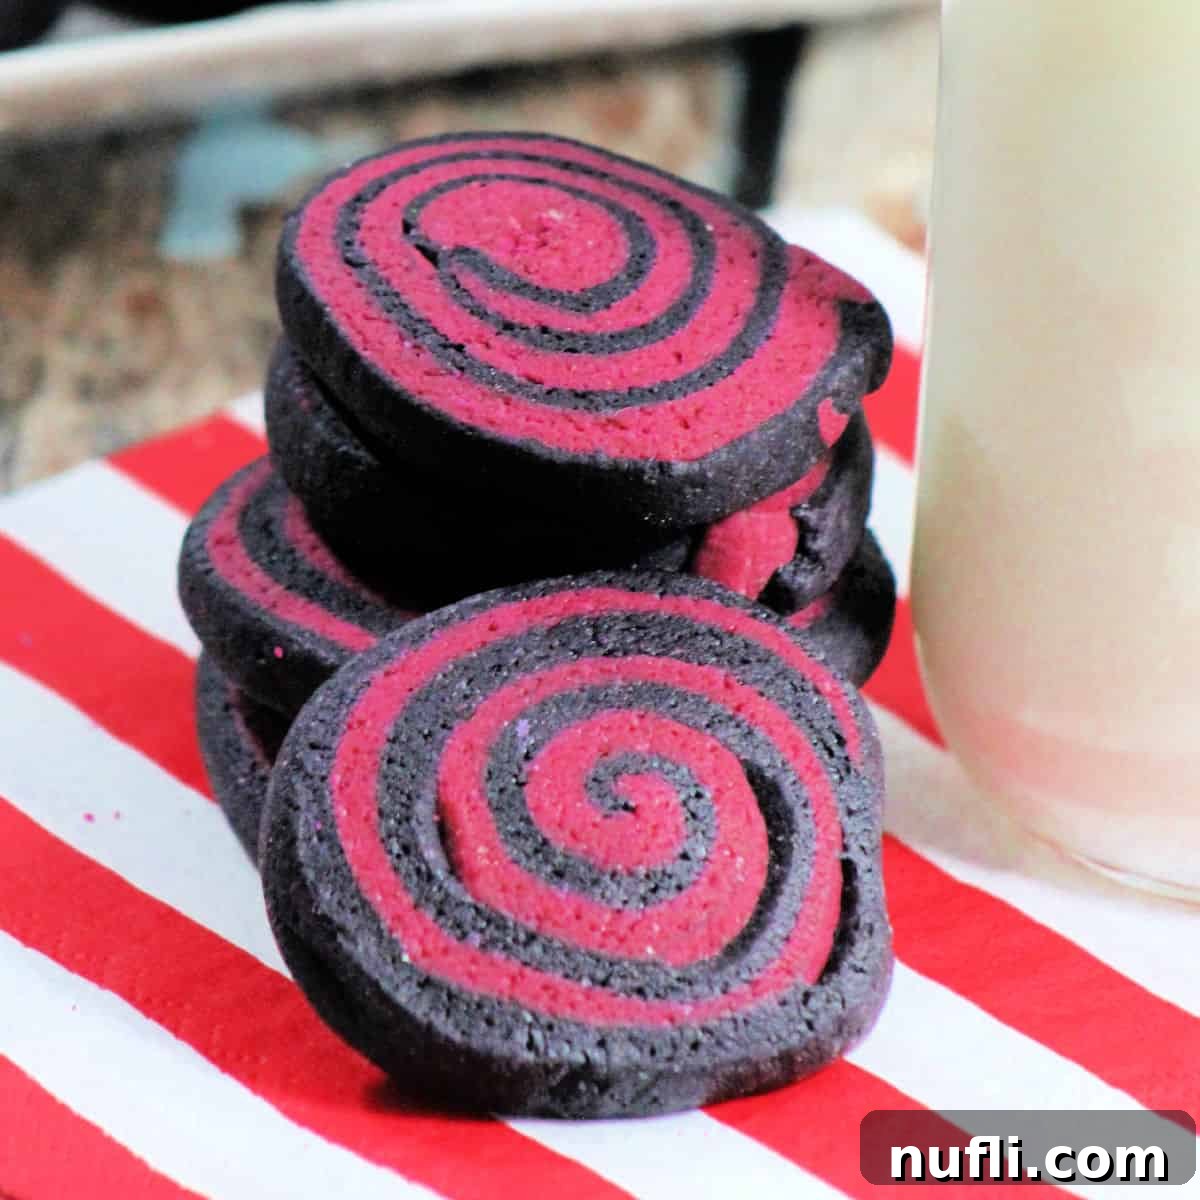
As the leaves begin to turn and a crisp chill fills the air, there’s no better way to usher in the spooky season than with a batch of homemade Halloween Pinwheel Cookies. These delightful treats are not only a feast for the eyes with their mesmerizing swirl patterns but also incredibly fun to make. What makes them truly special is their remarkable versatility – you can effortlessly switch up the colors to match any theme or holiday, making them a year-round favorite. Imagine vibrant green and orange for a classic Halloween vibe, or perhaps a sophisticated black and white for a more elegant, gothic touch. The creative possibilities are endless, allowing you to design uniquely festive cookies every time.

Mastering Halloween Pinwheel Cookies: A Guide to Spooky Swirls
There’s a unique joy that comes with Halloween baking. It’s an opportunity to experiment with bold colors, playful shapes, and imaginative themes, all culminating in treats that bring smiles and a touch of magic to the season. These pinwheel cookies perfectly embody that spirit, offering a delightful blend of simplicity and stunning visual appeal. Beyond October 31st, their adaptable nature makes them a fantastic choice for any celebration. Picture them in cheerful red and white for Valentine’s Day, classic red and green for Christmas, or even school colors for homecoming events and game day celebrations. The ability to customize the colors means this recipe is far more than just a Halloween special; it’s a versatile foundation for creative baking year-round.
Before diving into the recipe, let’s explore some key considerations for achieving perfect pinwheel cookies, along with a detailed look at the ingredients and essential equipment.
Essential Ingredients for Spooky Pinwheel Cookies
Crafting these beautiful pinwheel cookies requires a selection of common baking staples, plus a splash of vibrant food coloring to achieve that signature Halloween look. Here’s what you’ll need, along with a brief explanation of each ingredient’s role:
- All-Purpose Flour: The structural backbone of our cookies, providing the necessary body and texture.
- Baking Powder: A leavening agent that helps the cookies achieve a slight lift and a tender crumb without being too cakey.
- Salt: Essential for balancing the sweetness and enhancing the overall flavor of the cookies. Don’t skip it!
- Unsalted Butter: Provides richness and contributes to the tender texture. Using unsalted butter gives you control over the salt content in the recipe. Ensure it’s softened to room temperature for proper creaming.
- Granulated Sugar: Sweetens the cookies and helps with browning, contributing to a delightful crispness around the edges.
- Eggs: Act as a binder, bringing all the ingredients together and adding moisture. They also contribute to the cookie’s structure and richness.
- Vanilla Extract: A classic flavor enhancer that complements the other ingredients beautifully. Use a good quality extract for the best results.
- Black Gel Food Coloring: Gel food colorings are highly concentrated, delivering vibrant hues without adding excess liquid to your dough, which can alter the texture. This is key for achieving a deep, dramatic black.
- Burgundy Gel Food Coloring: Alongside black, burgundy (or deep red) creates a wonderfully spooky and elegant contrast, perfect for a sophisticated Halloween theme. Feel free to swap this for orange, green, or purple for different looks.
Essential Equipment for Pinwheel Cookie Success
Having the right tools can make all the difference in your baking experience. For these pinwheel cookies, a few key pieces of kitchen equipment will ensure a smooth process and perfect results:
- Large Mixing Bowl: A sturdy mixing bowl is crucial for combining your ingredients. We highly recommend a glass batter bowl with a handle; its weight helps keep it stable on the counter while mixing, and the handle offers better control.
- Parchment Paper: An absolute game-changer for baking! Lining your cookie sheets with parchment paper prevents sticking, ensures even baking, and makes cleanup incredibly easy. It also allows cookies to slide off effortlessly after cooling.
- Baking Sheet: Opt for baking sheets with raised edges. This simple design feature is a lifesaver, preventing cookies from accidentally sliding off the sheet as you transfer them or place them in and out of the oven – a lesson learned the hard way!
- Heat-Resistant Pot Holders/Oven Mitts: Safety first! Invest in high-quality, heat-resistant silicone pot holders or oven mitts. They offer superior protection compared to cloth versions and are a must-have for safely handling hot baking sheets.
- Rolling Pin: Essential for flattening your dough evenly. A good quality, heavy rolling pin will make this task much easier.
- Stand Mixer or Hand Mixer: While not strictly essential (you can mix by hand!), an electric mixer greatly simplifies the creaming and mixing process, ensuring a smooth, well-combined dough.
- Plastic Wrap: Crucial for chilling the dough effectively, preventing it from drying out and making it easier to handle.

More Spooktacular Halloween Recipes to Try
If you’re loving the Halloween baking spirit, be sure to explore some of our other fantastic holiday-themed treats. These recipes are perfect for parties, family fun, or simply enjoying the festive season:
- Crazy Eye Cookies: Spooky and sweet, these cookies are sure to be a hit with their playful, watchful “eyes.”
- Bloody Colada Recipe: A frightfully delicious beverage to quench your thirst at any Halloween gathering.
- Chocolate Pretzel Owls: Adorable and crunchy, these owl treats are simple to make and perfect for kids.
- Candy Corn Chocolate Bark: A quick and easy no-bake treat that captures the iconic colors of Halloween.
- Frankenstein Twinkies: Transform a classic snack cake into a monstrously cute treat.
For a complete collection of ghoulish delights, check out all of our Halloween Recipes and Party Ideas!
Looking for more baking inspiration? We have a wide array of quick and easy cookie recipes suitable for any occasion.
And for those who love to cook and bake, don’t miss our diverse recipe categories, including copycat recipes for your favorite restaurant dishes, a collection of delightful dessert recipes, and our incredibly convenient CrockPot Recipes.
Stay connected with Tammilee Tips for all our latest culinary adventures! Follow us on MSN, Facebook, Instagram, and Pinterest to get daily doses of delicious recipes and helpful tips.

Halloween Pinwheel Cookies
Learn how to make amazing and visually stunning Halloween Pinwheel Cookies with this easy-to-follow recipe.
Ingredients
- 5 cups All-Purpose Flour
- 2 teaspoons Baking Powder
- 1 teaspoon Salt
- 1 ½ cups Unsalted Butter, softened
- 2 cups Granulated White Sugar
- 4 Large Eggs
- 1 teaspoon Vanilla Extract
- Black Gel Food Coloring
- Burgundy Gel Food Coloring
Instructions
- Prepare the Wet Ingredients: In a large mixing bowl, cream together the softened unsalted butter and granulated sugar until the mixture is light, fluffy, and smooth to the touch, without any grainy sugar crystals. This step incorporates air, leading to a tender cookie.
- Add Eggs: Incorporate all four eggs into the creamed butter and sugar mixture. Continue to mix on medium speed until fully combined and smooth.
- Introduce Vanilla: Stir in the vanilla extract, mixing until its fragrant essence is evenly distributed throughout the batter.
- Combine Dry Ingredients: In a separate bowl, sift together the all-purpose flour, baking powder, and salt. Sifting helps to eliminate lumps and ensures these dry ingredients are evenly dispersed.
- Mix Wet and Dry: Gradually add the sifted dry mixture to the wet mixture, mixing on low speed until just combined. Be careful not to overmix, as this can develop the gluten in the flour and result in tough cookies.
- Divide the Dough: Carefully divide the completed cookie dough into two equal halves. Place each portion into separate mixing bowls.
- Color the First Dough: In the first bowl, add the black gel food coloring. Mix thoroughly until the dough is uniformly colored a deep, consistent black. Gel food coloring provides intense color without altering dough consistency.
- Color the Second Dough: In the second bowl, add the burgundy gel food coloring. Mix well until this portion of the dough achieves a rich, even burgundy hue.
- Chill the Dough: Remove each ball of colored dough from its bowl and wrap it tightly in plastic wrap. Refrigerate both portions for at least one hour. Chilling is crucial as it firms up the butter in the dough, making it much easier to roll out and preventing the colors from bleeding.
- Prepare for Rolling: Lightly flour two clean cutting boards and your rolling pin. This prevents the dough from sticking during the rolling process.
- Roll the Primary Color: Take your chosen “primary” color (which will form the outer layer of the pinwheel) from the refrigerator. Lightly toss it with flour and, using your floured rolling pin, roll it out evenly on one of the floured cutting boards to about ¼ inch thick. Aim for a rectangular shape.
- Roll the Secondary Color: Repeat the rolling process with your “secondary” colored dough. Roll it out on the second floured cutting board to the same thickness (¼ inch).
- Layer the Dough: Carefully lift the secondary colored dough using a metal spatula and gently lay it directly on top of the primary colored dough. Gently press them together.
- Seal the Layers: Use your rolling pin to lightly roll over the combined layers. This helps to bond the two doughs together and removes any air pockets. Trim away any uneven edges to create a neat rectangle.
- Create the Pinwheel Log: Starting from one long edge, carefully and tightly roll the combined chilled dough into a log. A tight roll is key to achieving a distinct pinwheel swirl.
- Wrap and Freeze: Wrap the completed dough log tightly in plastic wrap, twisting the ends to seal it securely. Place the wrapped log in the freezer for about an hour. Freezing makes the dough firm enough for clean slicing, ensuring your pinwheel shape holds beautifully.
- Preheat Oven: While the dough is chilling, preheat your oven to 325°F (160°C). Line a baking sheet with parchment paper.
- Slice the Cookies: Remove the chilled dough log from the freezer and unwrap it. Using a sharp knife, carefully slice the dough into pieces approximately 2 inches thick, maintaining the circular shape.
- Bake: Arrange the sliced cookie pieces on your parchment-lined baking sheet, leaving some space between each cookie. Bake in the preheated oven for 13 minutes. Cookies should be lightly golden at the edges.
- Cool: Once baked, remove the cookies from the oven and let them cool on the baking sheet for a few minutes before transferring them to a wire rack to cool completely. This prevents them from breaking and ensures they set properly.
Kitchen Tools
- Hand Mixer or Stand Mixer
- Large Mixing Bowls (at least 2)
- Rolling Pin
- Sharp Knife
- Baking Sheets
- Parchment Paper
- Plastic Wrap
- Wire Cooling Rack
- Heat-Resistant Pot Holders/Oven Mitts
Tips for Perfect Pinwheel Cookies
- Room Temperature Butter: Ensure your butter is truly at room temperature. It should be soft enough to indent with your finger but not melted. This is essential for proper creaming and a smooth dough.
- Gel Food Coloring is Best: Liquid food coloring can add too much moisture to your dough, affecting its texture. Gel food coloring provides vibrant color with minimal liquid.
- Don’t Skip Chilling: The chilling steps are non-negotiable for pinwheel cookies. They prevent the dough from spreading excessively and allow for clean, defined swirls.
- Even Thickness: When rolling out the doughs, aim for an even thickness (about 1/4 inch). This ensures consistent baking and a uniform pinwheel pattern.
- Roll Tightly: When rolling the two layers into a log, roll as tightly as possible to minimize gaps and create a beautiful, compact spiral.
- Sharp Knife for Slicing: A very sharp knife will give you clean cuts and prevent the dough from squishing, preserving the pinwheel shape.
- Watch Your Oven: Ovens can vary. Keep an eye on your cookies during the last few minutes of baking to prevent overbaking. They should be just lightly golden.
Creative Variations
- Holiday Themes: Swap black and burgundy for red and green for Christmas, pink and red for Valentine’s Day, or pastels for Easter.
- Flavor Boost: Add a touch of almond extract, peppermint extract, or orange zest to the dough for an extra layer of flavor.
- Sprinkle Fun: Before rolling the combined dough into a log, sprinkle a thin layer of festive sprinkles between the two colored doughs for an added pop of color and texture.
- Marble Effect: For a less defined but equally appealing look, gently swirl the two colored doughs together just before rolling into a log.
Storage Instructions
Once completely cooled, store your Halloween Pinwheel Cookies in an airtight container at room temperature for up to 5-7 days. For longer storage, you can freeze the baked cookies for up to 2-3 months. Thaw at room temperature before serving.
Alternatively, the unbaked dough log can be frozen for up to 3 months. When ready to bake, simply slice the frozen log and bake as directed, adding a minute or two to the baking time if needed.
Nutrition
Calories from Fat 135
Love this recipe?
Follow @TammileeTIps on Pinterest for more delicious ideas!
Tried this recipe?
Share your creations and mention @TammileeTipsLife on Instagram!
Recipe originally shared on October 2, 2015. Updated October 2020 and further enhanced for clarity and SEO in [Current Year].
