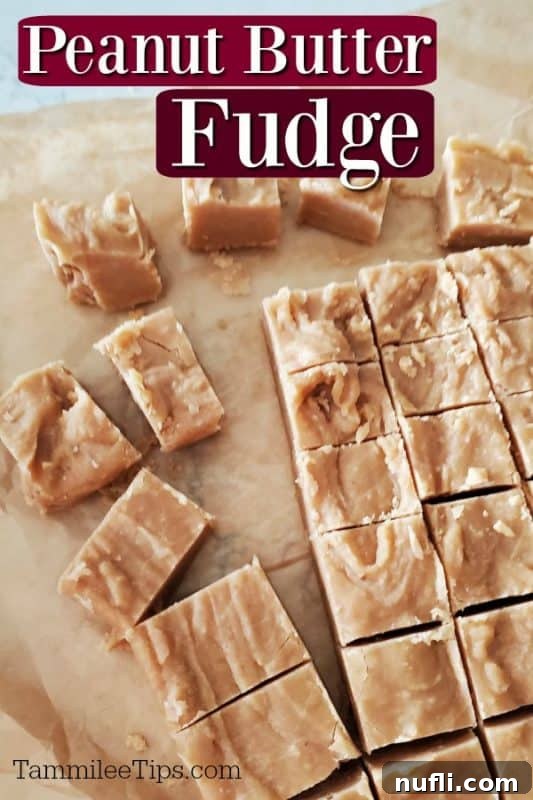
Indulge in the simplest, most delightful treat you could ever imagine: Homemade Peanut Butter Fudge. This isn’t just any fudge; it’s a sublime creation born from just four common ingredients, ready to transform your kitchen into a haven of sweet aromas in mere minutes. Forget complicated candy thermometers and endless stirring – this recipe is designed for ultimate ease, guaranteeing a perfectly creamy, melt-in-your-mouth experience every single time. Whether you’re a seasoned baker or a complete novice, this easy peanut butter fudge recipe will empower you to craft a luscious dessert that tastes like it came straight from a gourmet confectionary. It’s the ultimate quick snack, a charming dessert for impromptu gatherings, or even a thoughtful, edible gift that will impress everyone on your list with its rich flavor and effortless preparation.

Irresistible Peanut Butter Fudge: Simplicity Meets Decadence
Prepare to be amazed! This Peanut Butter Fudge is not only incredibly easy to make but also boasts a flavor profile that is simply divine. The sheer delight comes from realizing that such a rich and satisfying dessert can be created using just four staple ingredients. It’s a revelation that transforms the perception of homemade candy from a daunting task into a joyous, quick culinary adventure. Since its initial debut on our website in July 2012, this recipe has consistently proven itself as a timeless favorite, cherished for its straightforward method and undeniably delicious outcome. Its enduring popularity is a testament to the magic that happens when simple components combine to create something truly extraordinary. We are certain you’ll find yourself returning to this recipe again and again, whether you’re whipping up a batch for a special occasion, preparing heartfelt homemade gifts, or simply craving a moment of pure, sweet indulgence.
In a culinary landscape often dominated by complex recipes requiring extensive ingredient lists and specialized techniques, there’s something truly refreshing about a dessert that defies expectations with its minimalist approach. Our 4-ingredient peanut butter fudge stands out precisely because of its commitment to simplicity. You won’t need to embark on a quest for exotic components or dedicate hours to meticulous preparation. The inherent beauty of this recipe lies in the harmonious synergy of a few basic pantry items, which collectively create a rich, dense, and utterly irresistible fudge. This streamlined process not only saves precious time but also allows the pure, unadulterated essence of peanut butter to take center stage, shining through without any complex flavor distractions. It serves as a delicious reminder that, especially when it comes to satisfying your sweet cravings with minimal effort, less truly can be more.
Crafting Your Perfect Peanut Butter Fudge: The Four Essential Ingredients
The secret to this spectacular fudge lies in its surprisingly short and sweet ingredient list. Each component plays a vital role in achieving the desired texture and flavor:
- Granulated Sugar: This is the foundational element that provides the essential sweetness and structural integrity to your fudge. When combined with milk and subjected to the boiling process, the sugar undergoes a transformation, forming the crystalline structure that gives fudge its characteristic firm yet creamy texture. For optimal results and consistent success, it is highly recommended to use standard white granulated sugar. While the allure of experimenting with various alternative sweeteners might be tempting, adhering to granulated sugar for this particular recipe ensures the proper chemical reactions occur, guaranteeing that coveted perfect fudge consistency.
- Milk: Far more than just a liquid, milk serves as a crucial partner to the sugar in this recipe. Its primary role is to help dissolve the sugar thoroughly and facilitate the crucial boiling process. For the absolute creamiest, most luxurious, and utterly decadent fudge, we strongly recommend using whole milk. The higher fat content inherent in whole milk contributes significantly to the velvety-smooth texture that makes this fudge so irresistible. However, if whole milk is not readily available, 2% milk can serve as an acceptable substitute, though be aware that your fudge might exhibit a slightly less rich consistency. It is advisable to avoid skim milk, as it lacks the necessary fat content required to achieve an ideal and satisfying fudge texture.
- Vanilla Extract: A mere splash of vanilla extract works wonders, elevating the overall flavor profile of the peanut butter fudge by infusing it with a layer of comforting warmth and nuanced complexity. While this might appear to be a minor detail, the quality of your vanilla makes a remarkably noticeable difference in the final product. Opting for pure vanilla extract is always preferred over imitation vanilla due to its superior and authentic flavor. To preserve its delicate and aromatic qualities, ensure you add the vanilla extract at the very end of the cooking process, immediately after removing the mixture from the heat.
- Creamy Peanut Butter: Undoubtedly the star of this delectable show! Creamy peanut butter is an absolute necessity for achieving that signature smooth, velvety, and irresistible fudge texture. It is crucial to steer clear of natural peanut butter varieties that exhibit significant oil separation, as their variable oil content can disrupt the delicate setting process of the fudge, potentially leading to an undesirable greasy or crumbly result. For guaranteed success and the perfect consistency, stick with a classic, no-stir creamy peanut butter. The fats and emulsifiers present in these types of peanut butter are precisely what contribute to the desired texture and rich, comforting flavor profile.
Yep, that is the whole list of ingredients! Just four simple items for extraordinary flavor.
Essential Equipment for Effortless Fudge Making
While the ingredient list is short, having the right tools on hand will make the fudge-making process even smoother and more enjoyable. Here’s what you’ll need:
- Heavy-Bottomed Saucepan: A high-quality, heavy-bottomed saucepan is your invaluable companion for this recipe. Its design ensures that heat is distributed evenly across the base, significantly reducing the risk of the sugar and milk mixture scorching or burning on the bottom. Scorching can impart an unpleasant burnt taste to your otherwise perfect fudge. A saucepan with a non-stick surface is an added bonus, making both the cooking process and subsequent cleanup much easier.
- Parchment Paper: A true game-changer and a huge fan favorite for making homemade fudge! Lining your chosen baking dish with parchment paper guarantees effortless removal of the entire slab of fudge once it has fully set. This makes the crucial step of cutting the fudge into perfect, clean squares incredibly simple and significantly minimizes cleanup. Always ensure that you leave a generous overhang of parchment paper on the sides of the dish; these “handles” will allow you to easily lift the solidified fudge right out of the pan.
- 8×8 Inch Baking Dish (or Small Casserole Dish): The dimensions of your chosen dish will directly influence the thickness of your final fudge pieces. An 8×8 inch square baking dish is often considered ideal, as it yields nice, thick, and substantial squares that are perfectly bite-sized and satisfying. If you happen to prefer thinner pieces, a 9×13 inch pan can also be utilized, though you may need to make slight adjustments to the cooling times accordingly.
- Sturdy Wooden Spoon or Heat-Resistant Spatula: You will require a dependable utensil for stirring the mixture, particularly as it heats up and begins to thicken. A robust wooden spoon or a high-quality, heat-resistant silicone spatula works exceptionally well for effectively scraping the bottom and sides of the pan. This action is crucial for preventing any sticking and ensuring that all ingredients are evenly cooked and incorporated throughout the process.
- Measuring Cups and Spoons: In both baking and candy making, precision is an absolute must. Ensure you have accurate standard measuring cups for your dry ingredients, such as sugar and peanut butter, and a dedicated liquid measuring cup for milk. Additionally, precise measuring spoons for the vanilla extract will guarantee the correct flavor balance.
Recipe Tips for Achieving Fudge Perfection
Making fudge can sometimes feel like a delicate science, but with these straightforward tips, you are practically guaranteed a flawless batch every single time:
- Patience with the Boil: This is arguably the most common pitfall when embarking on the fudge-making journey. It might seem as though the sugar and milk mixture is taking an eternity to reach a vigorous, rolling boil, but resisting the temptation to excessively increase the heat is absolutely paramount. A slow and steady approach, maintaining a medium-low to medium heat, allows the sugar to dissolve completely and properly without burning or crystallizing. Aim for a gentle, consistent boil for the specified 2.5 minutes. If the mixture boils too rapidly, the sugar can crystallize prematurely, resulting in a grainy, rather than smooth, fudge. Conversely, if it doesn’t boil long enough, the fudge may fail to set properly, remaining too soft.
- Avoid Over-Stirring While Boiling: Once your sugar and milk mixture has reached a rolling boil, it’s important to resist the urge to stir it continuously. Initially, stir just enough to ensure the sugar is fully dissolved. However, once it’s boiling, allow it to simmer gently without excessive agitation. Over-stirring at this stage can introduce unnecessary air bubbles into the mixture and encourage sugar crystals to form along the inner sides of the pan. If these crystals then fall back into the main mixture, they can lead to an undesirable grainy texture in your finished fudge.
- Prepare Your Dish in Advance: Time is of the essence when it comes to pouring fudge, as it begins to set remarkably quickly once the creamy peanut butter and vanilla extract are incorporated. To ensure a smooth and stress-free transfer, have your parchment-lined 8×8 inch baking dish fully prepared and waiting on your counter before you even begin to boil the milk and sugar. This proactive step prevents any frantic rushing and eliminates the risk of the fudge hardening prematurely in the saucepan before you’ve had a chance to pour it.
- Precise Measurements are Key: Baking and candy making are often precise sciences, and this fudge recipe is certainly no exception. Accurate measurements of all four ingredients are absolutely vital for achieving the correct, delightful texture and perfect sweetness. Always use level measuring cups for your dry ingredients, such as sugar and peanut butter, and employ a precise measuring spoon for the vanilla extract to ensure consistent results every time.
- Proper Cooling is Crucial: Patience is a virtue, especially when it comes to cooling your fudge. Allow the fudge to cool completely and undisturbed at room temperature before you even attempt to cut into it. This essential cooling period can take several hours, or ideally, even overnight, depending on your kitchen’s temperature. Rushing this critical step can result in soft, crumbly pieces that don’t hold their shape well. For a slightly quicker setting process, you can carefully place the dish in the refrigerator after it has had an initial cool-down period of about 30 minutes at room temperature. However, avoid immediate refrigeration, as this abrupt temperature change can sometimes lead to a less creamy texture.
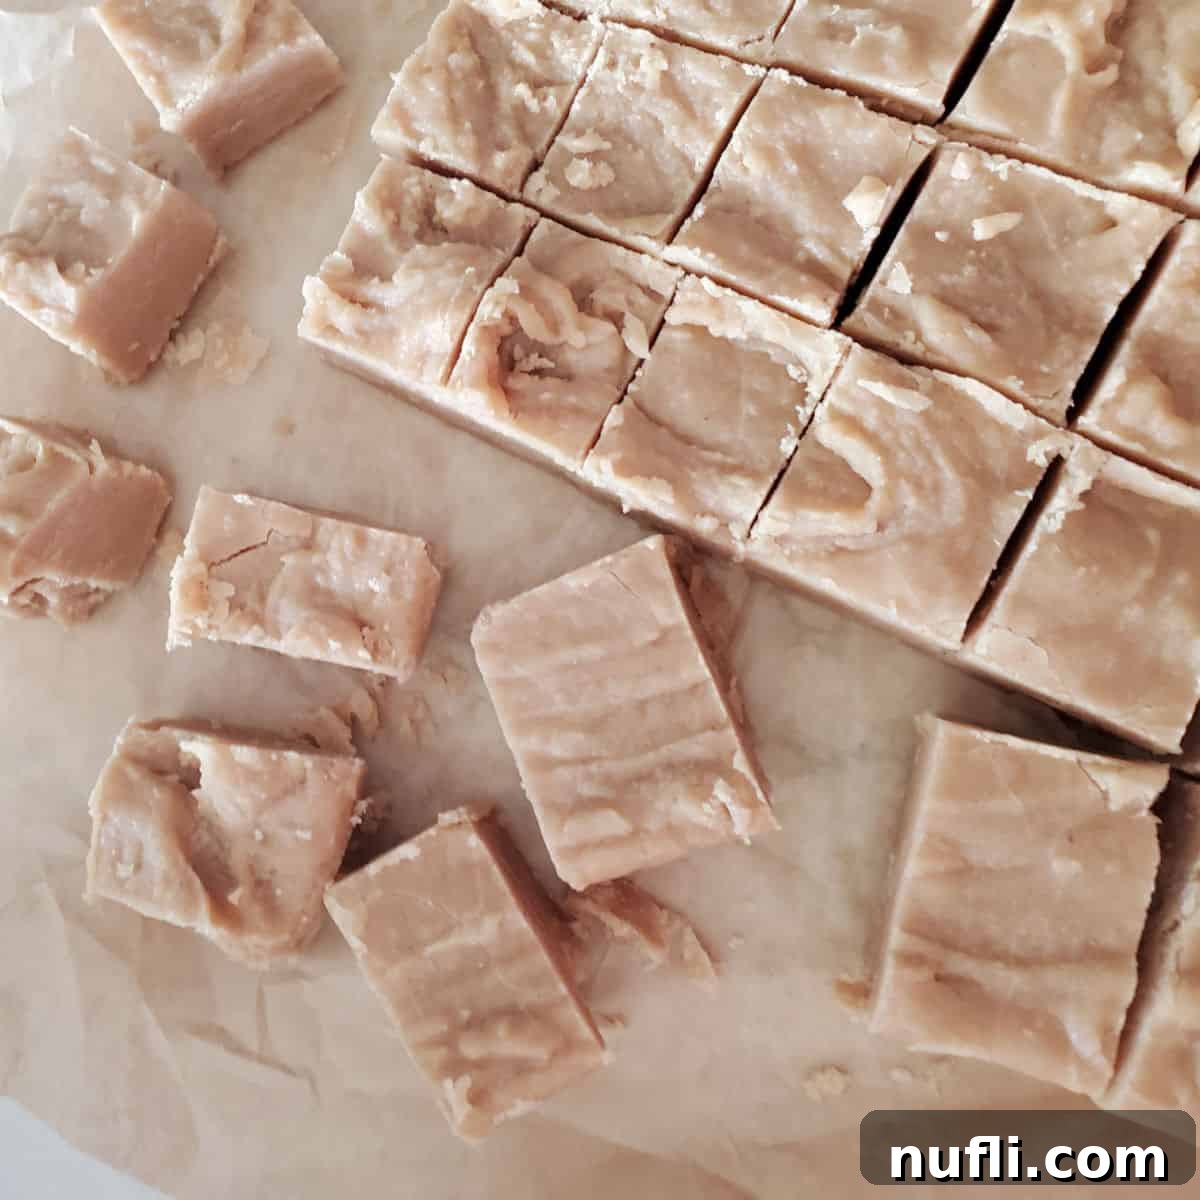
- Mastering Cutting Techniques: Once your fudge is fully set and firm, lift the entire slab out of the pan using the convenient parchment paper overhang. Transfer it to a clean, stable cutting board. For clean, precise cuts, equip yourself with a large, sharp knife. For exceptionally smooth edges, a pro tip is to warm the knife blade slightly under hot water and then wipe it completely dry between each cut. Remember, fudge is wonderfully rich and decadent, so cutting it into small, manageable squares ensures that a little piece goes a long way in satisfying sweet cravings!
More Easy Dessert Recipes to Explore
If you love the simplicity and deliciousness of this 4-ingredient fudge, you’ll be thrilled to discover more of our effortless dessert creations. These recipes are designed to bring maximum flavor with minimal fuss:
- 3-Ingredient Apple Dump Cake
- Cherry Cake Bars
- Mini Baked Alaskas
- Nutella Mug Cake
- 3-Ingredient Peanut Butter Cookies
Do you love discovering new recipes? Be sure to check out our extensive collection of copycat recipes, a wide array of dessert recipes for every sweet craving, and our incredibly convenient CrockPot Recipes that make meal prep a breeze.
Stay connected with Tammilee Tips for all our latest recipe posts, cooking inspiration, and more! Follow us on Facebook, Instagram, and Pinterest to never miss out on delicious ideas.

Easy 4 Ingredient Peanut Butter Fudge Recipe
This Easy Peanut Butter Fudge Recipe only takes 4 ingredients and turns out incredibly delicious! So simple to make and tastes amazing – the perfect quick snack or dessert!
Rating: 5 from 1 vote
Print Recipe | Rate This Recipe
Prep Time: 10 minutes
Cook Time: 15 minutes
Total Time: 25 minutes
Servings: 28
Calories: 98 kcal
Author: Tammilee Tips
Ingredients
- 2 cups White Sugar
- ½ cup Milk
- 1 Teaspoon Vanilla Extract
- ¾ cup Creamy Peanut Butter
Instructions
- Bring sugar and milk to a boil in a heavy-bottomed saucepan. Once boiling, allow it to continue to boil vigorously for 2.5 minutes, stirring occasionally to prevent sticking.
- Remove the mixture from the heat. Immediately add the creamy peanut butter and vanilla extract, stirring vigorously until all ingredients are completely combined and the mixture is smooth.
- Promptly pour the hot fudge mixture into your prepared 8×8 inch baking dish that has been lined with parchment paper.
- Allow the fudge to cool undisturbed at room temperature for several hours, or ideally overnight, until it is completely firm and set. Once firm, lift out using the parchment paper, cut into squares, and serve.
Kitchen Tools
- Heavy-bottomed Saucepan
- 8×8 Inch Baking Pan
- Parchment Paper
- Sturdy Spoon or Heat-Resistant Spatula
Notes
Once you add the peanut butter and vanilla to the hot mixture, it will begin to cool and harden very quickly. It is crucial to have your baking dish already prepared and ready on the counter to receive the fudge immediately. This ensures a smooth transfer and prevents the fudge from setting prematurely in the saucepan.
Nutrition Facts
Calories from Fat 27
Love this recipe? Follow @TammileeTIps on Pinterest for more delicious ideas!
Tried this recipe? Share your photo and mention @TammileeTipsLife on Instagram!
Recipe originally shared on July 2, 2012. Updated on April 15, 2020, with expanded tips and information.
